Easy Sourdough Bread (No Dutch Oven Required)
Looking for a sourdough bread recipe without a Dutch oven? Here’s a simple method for baking homemade sourdough bread using basic kitchen tools.
Print
Save
Pin
Equipment
- Kitchen scale for accurate measurements
- Large bowl or plastic tub for mixing
- Dough whisk or wooden spoon for mixing
- Plastic wrap or damp towel to cover the dough
- Razor blade or sharp knife for scoring
- Baking stone, baking steel, or pizza stone
- Cast iron skillet with hot water for steam
- Optional: Banneton basket or proofing basket for shaping
Ingredients
- 4 cups 500g bread flour (or mix of purpose flour and whole wheat flour)
- 1 ½ cups 350g warm water
- ½ cup 100g active sourdough starter
- 2 teaspoon 10g salt
Instructions
Mix the Dough
- In a large mixing bowl, combine flour, water, sourdough and salt.
- Use a dough whisk or wooden spoon to mix until it forms a rough dough. Cover with plastic wrap and let it rest for 30 minutes.
- Helpful hint: For better results, always use a kitchen scale for precise measurements.
Stretch and Folds
- Instead of traditional kneading,I like to use the stretch and fold method:
- With wet hands, grab one side of the dough, stretch it up, and fold it over to the center.
- Rotate the bowl 90 degrees and repeat. Do this 4 times to complete one set.
- Perform 3 sets of stretch and folds every 45 minutes, covering the dough with a damp towel in between each set.
- What to look for:
- By the end of the third set, the dough should feel smoother, more elastic, and hold its shape better.
Bulk Fermentation
- Allow the dough to rise at room temperature for 4-6 hours after the final set of stretch and folds. This is the bulk fermentation stage, where the dough develops flavor and structure.
- How to know it’s ready: The dough should have risen significantly, with visible bubbles on the surface. When you gently press the dough with your finger, it should spring back slowly (this is known as the poke test).
Shape the Dough
- Turn the dough onto a lightly floured surface. Use a bench scraper to gently shape it into a rectangle. Fold the top and bottom edges toward the center, then roll it tightly into a loaf shape.
- Place the shaped dough into a lightly greased loaf pan or a proofing basket lined with parchment paper.
Refrigerate Overnight
- Cover the dough with plastic wrap or a damp towel and place it in the refrigerator overnight. This slow, cold fermentation enhances the flavor and gives better structure to the loaf.
Preheat the Oven
- The next day, preheat your oven to 475°F (245°C) Preheat your oven to 475°F (245°C) with your baking stone and cast iron skillet inside.
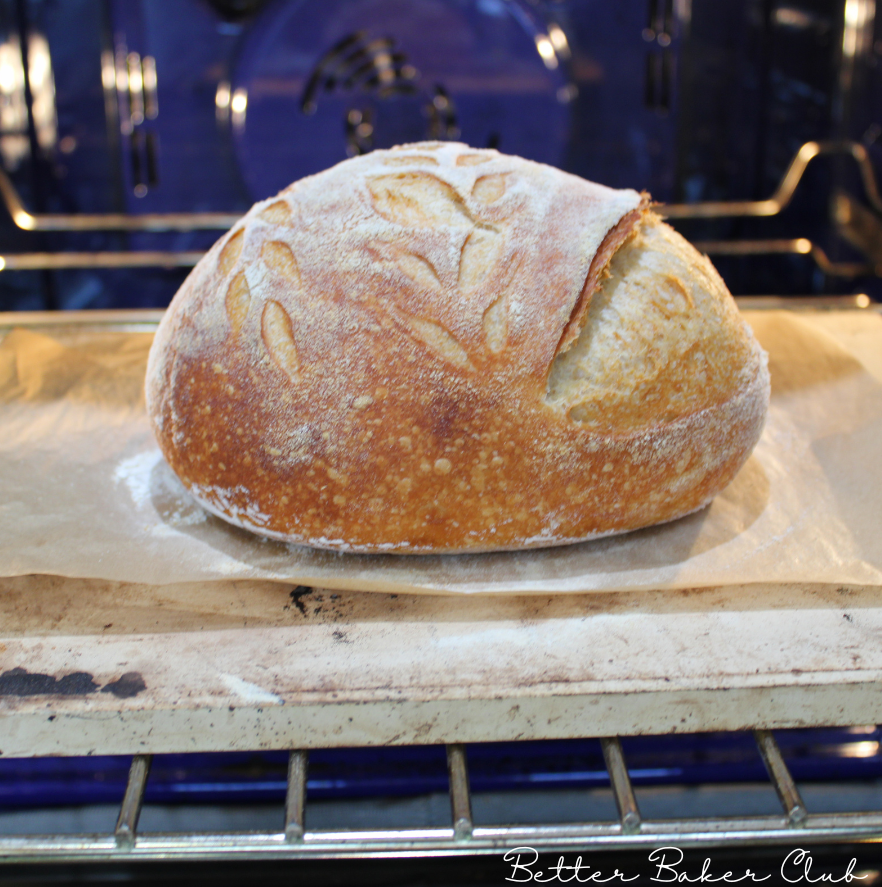
Score and Bake
- Invert the dough onto a baking peel dusted with flour, or a piece of parchment paper. Use a razor blade or sharp knife to score the top of the dough. This helps control how the bread expands during baking. Place it on the baking stone, and fill the cast iron skillet with boiling hot water. Optional: cover the loaf with an inverted roasting pan to trap the steam. Bake covered 20 minutes, then reduce the oven temperature to 425°F (220°C) and bake for another 15-20 minutes until the crust is golden brown and the loaf sounds hollow when tapped.
Scoring tip: A deep score helps the bread expand properly and improves the final look of your loaf.
Cool and Slice
- Remove the loaf from the pan and let it cool on a wire rack for at least an hour. Cooling allows the crumb to set, giving you a soft, airy interior perfect for slicing.
Notes
Freezing: For longer storage, sourdough bread freezes well. Slice the loaf before freezing, then wrap the slices in plastic wrap and place them in a freezer bag. Thaw individual slices as needed. Frozen sourdough bread will last up to 3 months.
Reheating Tip: To refresh a stored loaf, lightly mist the crust with water and warm it in a 350°F (175°C) oven for 5-10 minutes. This helps restore the crust's crispness and the interior's softness.
Pro Tip: If you plan to eat the bread over several days, slicing and freezing half of the loaf on the first day ensures that it stays fresh longer without becoming stale.
