





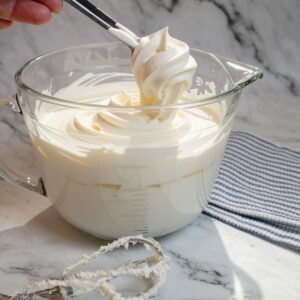


Learn how to make pink chocolate for dipping your favorite treats!
Don't have any colored candy melts on hand? No worries! Making pink chocolate at home is simple and uses only three easy-to-find ingredients. If you have almond bark, pink gel color, and coconut oil, then you can make perfectly colored pink dipping chocolate for dipping delicious treats like these cake pops.
Ready to start selling your dipped creations? Be sure to check out this helpful post to know how much to charge for a cake pop.
Want more content like this? I share recipes, home bakery tips, and simple strategies to help you bake better, and sell more!
Follow me on social!

Disclosure: As an Amazon Associate, I earn money from qualifying purchases.
Pink-dipped goodies are popular for Valentine's Day, Mother's Day, baby showers, and bridal showers. Just dip fresh strawberries, pretzel rods, or marshmallows in pink chocolate for easy and adorable treats.
The easy way to make pink chocolate for dipping
To get started making pink chocolate, you'll need the following ingredients:
- Almond bark
- 2-4 Drops of pink food coloring
- Coconut oil
Sure, you can use pink-colored candy melts for a pink chocolate coating, but if you don't have any on hand you can easily make a pink candy coating using ingredients that you can find in most grocery stores.
What you need to melt and color chocolate
Before you get started, make sure you have the right tools on hand. Chocolate sets up quickly, so it's a good idea to be prepared and work quickly so that your chocolate-dipped treats turn out perfectly!
Here's what you'll need:
- Microwave-Safe Bowl- or you can use a double boiler and glass bowl
- Piping bag or Resealable bag- optional, for drizzling a contrasting color like dark chocolate
- Baking tray-It's helpful to use a small one that fits in your refrigerator
- Parchment paper or Wax paper-keep the dipped treats from sticking
- Paper towels- for cleaning fingers and keeping things tidy
- Silicone spatula- I love these heat-resistant spatulas for stirring over heat.
Instructions for making pink dipping chocolate
The full instructions for this easy recipe can be found on the recipe card at the bottom of the post.
Step 1: Chop Your Chocolate
Begin by cutting the almond bark bar into smaller pieces so that it can melt more quickly and evenly.

Step 2: Melting the Chocolate
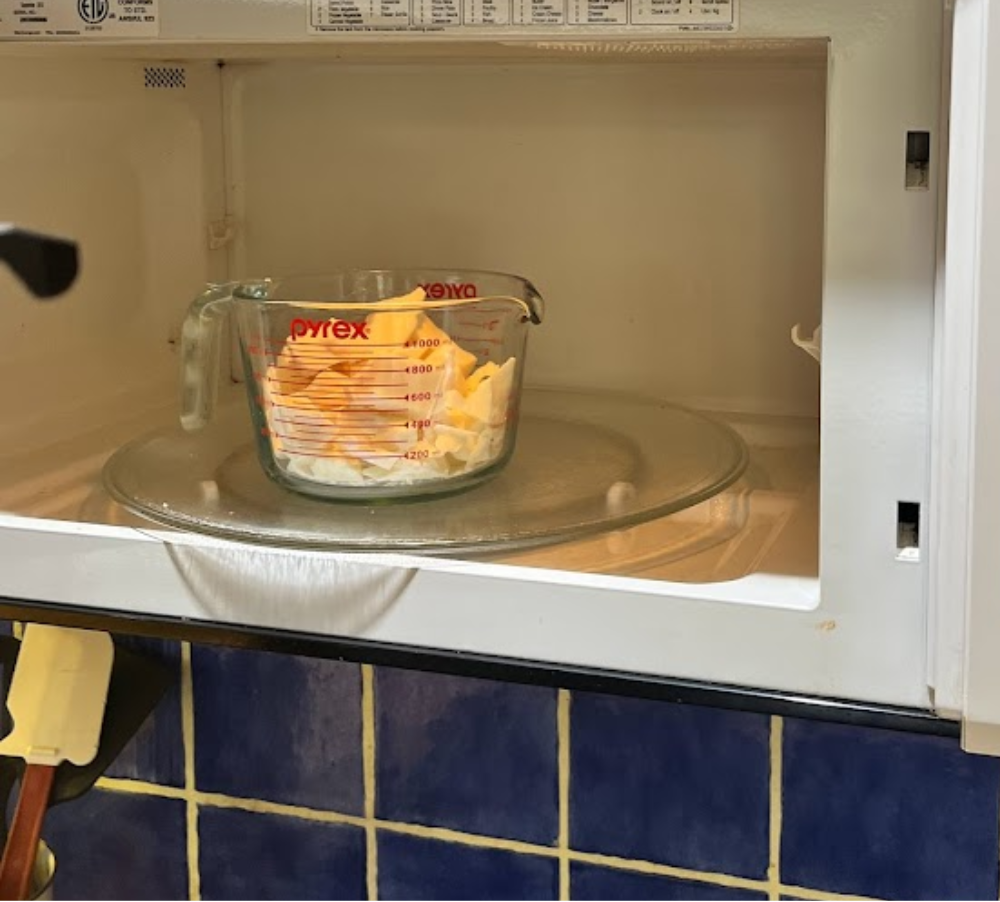
For the microwave method: Place your almond bark pieces in a microwave-safe bowl and melt them in 30-second intervals, stirring in between until smooth.
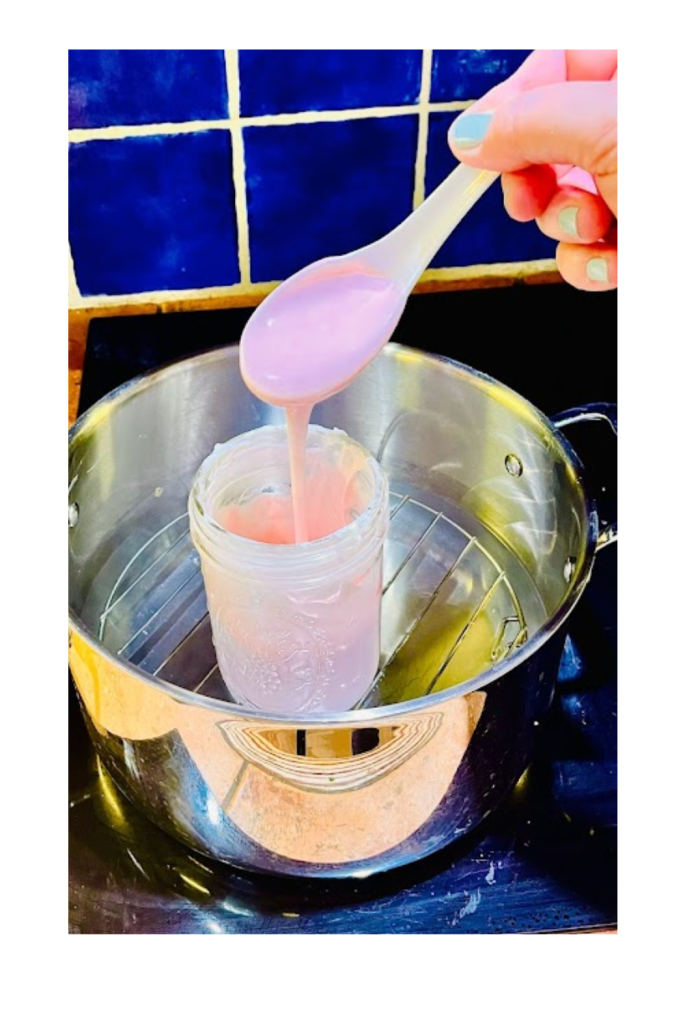
For the double boiler method: Melt the almond bark pieces over low heat in a heatproof bowl, stirring consistently to avoid burning.
I love using this 4.2 Qt. tempered glass bowl for melting chocolate! It's made of thick tempered glass that holds up well to use as a double boiler.
Step 3: Adding Color
For a lighter pink hue, add a few drops of pink food coloring.
For a darker pink color, or to make a hot pink coating, add a few drops of red food coloring.
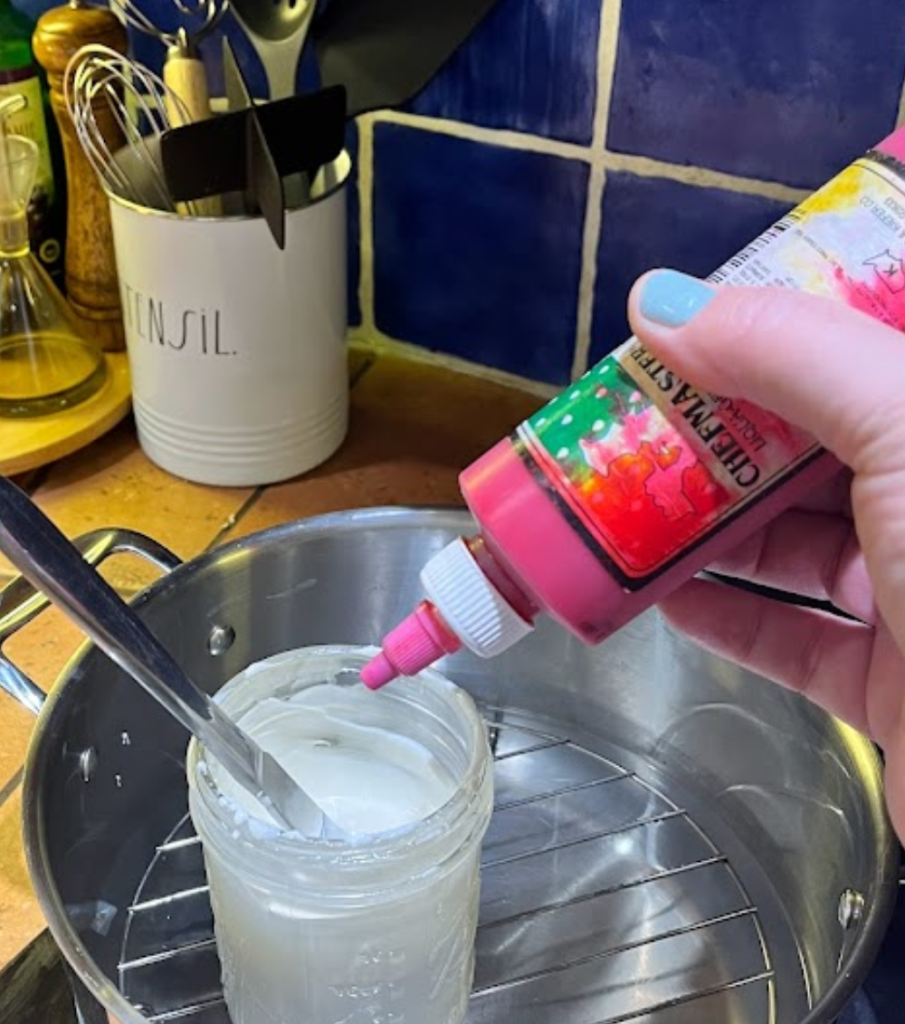
Chef Master rose pink Aqua-gel® food color is my favorite pink color. It allows you to get a pale pink color that is perfect for baby showers, weddings, and Mother's Day.
Step 4: Mixing in Coconut Oil
If you find that you need to adjust the consistency of the melted chocolate, you can add a small amount of coconut oil. Start by adding one teaspoon at a time until the desired dipping consistency is achieved. A little goes a long way.
💡PRO TIP: If you want your finished treats to have a hard candy coating, then omit the coconut oil.
Step 5: Dipping Your Treats
You're now ready to dip your treats! Use this versatile pink dipping chocolate for making adorable pretzel rods, festive cake pops, or pink chocolate strawberries.
- Submerge the item into the melted pink chocolate, making sure that the entire piece is coated evenly. You can rotate it gently to cover all sides.
- Allow excess chocolate to drip off. You can gently shake or tap it against the edge of the bowl to help remove excess chocolate.
- After dipping each treat, place it on a parchment paper-lined baking sheet. The parchment paper prevents the items from sticking to the tray and makes it easier to remove them later.
Allow the chocolate to set and harden. You can speed up this process by placing the tray in the refrigerator. Once set, you can decorate the dipped treats with additional drizzles of chocolate, luster dust, pink sprinkles, or other candy coatings if desired.
My Favorite Supplies
I've linked my favorite supplies for coloring chocolate below. You can also visit my Amazon store to see my full selection of baking and chocolate pipping supplies.
Storing leftover Pink Chocolate
To store leftover dipping chocolate, pour the remaining chocolate onto a piece of wax paper or parchment paper.
Once it has hardened, break it into smaller pieces. Place it in an airtight container, and make sure to label the container with the chocolate type and date.
Keep it in a cool, dark cupboard rather than the refrigerator to avoid moisture. When you're ready to use it again, gently reheat the chocolate, and check for freshness by looking for any unusual smells or changes in texture. If it seems off, it's best not to use it.
Pink Dipping Chocolate
Ingredients
- 24 oz Almond Bark
- 2 teaspoon Refined Coconut Oil or substitute vegetable shortening
- 4 drops Pink Gel Color
Instructions
- Begin by cutting the almond bark bar into smaller pieces so that it can melt more quickly and evenly.
- Microwave method: Place your almond bark pieces in a microwave-safe bowl and melt them in 30-second intervals, stirring in between until smooth.
- Double boiler method: Melt the almond bark pieces over low heat in a heatproof bowl, stirring consistently to avoid burning.
- For a light pink color, start by adding 3-4 drops of pink gel color. For a darker pink color, add a few drops of red coloring.
- Adjust the consistency by adding 1 tsp. coconut oil at a time until you reach the desired thickness.
- Dip your treats by submerging them into the melted pink chocolate, making sure the entire piece is coated evenly.
- Allow excess chocolate to drip off by lightly tapping it against the edge of the bowl.
- After dipping each treat, place it on a parchment paper-lined baking sheet.
- Allow the chocolate to set and harden. You can speed up the process by placing the tray into the refrigerator.
- To store leftover dipping chocolate, pour the remaining chocolate onto a piece of wax paper or parchment paper. Once it has hardened, break it into smaller pieces. Place it in an airtight container, and make sure to label the container with the chocolate type and date. Keep it in a cool, dark cupboard rather than the refrigerator to avoid moisture.

Dipping treats in pink chocolate is so much fun! Whether you're preparing for a special occasion or just want to add a pop of color to some pretzels, marshmallows, or strawberries this simple recipe is a guaranteed hit.
Disclosure: As an Amazon Associate, I earn money from qualifying purchases.
Leave a Reply