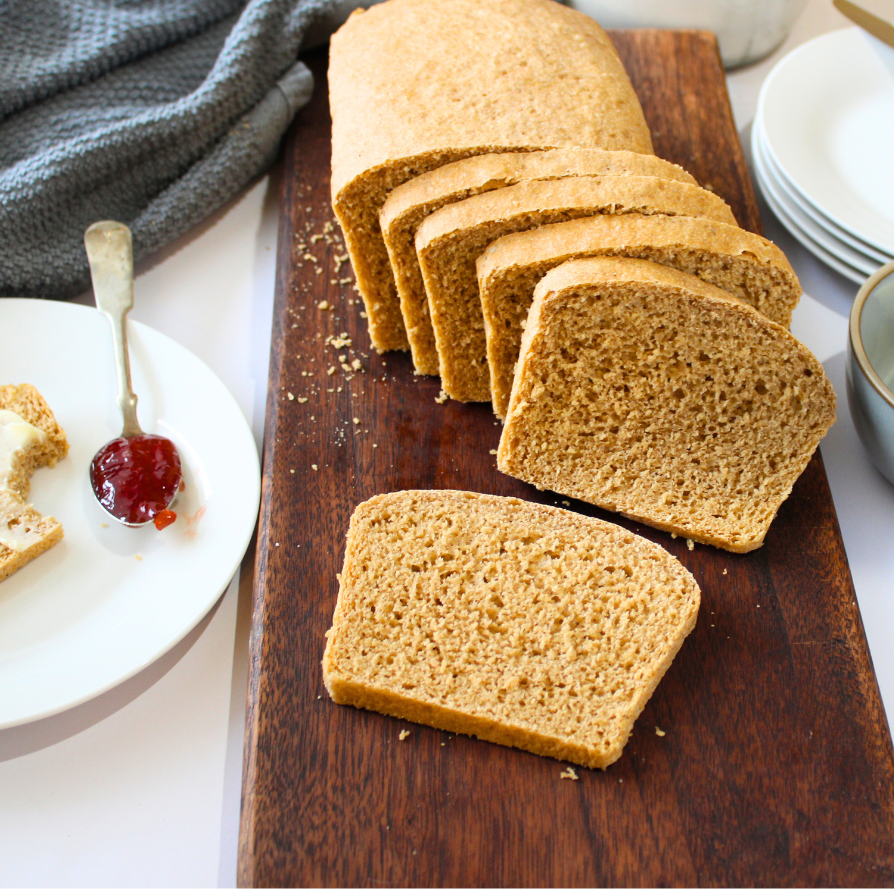
This sugar free whole wheat bread recipe focuses on simple ingredients and easy techniques to create a soft and flavorful loaf of whole wheat bread. This is the same method I use in many of my bread recipes and it’s what makes my 5 Ingredient White Bread so spongy and soft. You’ll love how easy it is to bake a loaf of bread at home that’s just as good as the pricey whole-grain bread from the store.

Mastering Whole Wheat Baking
I remember when I first started trying to bake whole wheat bread at home—I could never get the texture right. The loaves were always dense, heavy, and nowhere near as soft as I wanted. I thought it was impossible to make a loaf with 100% whole wheat flour that didn’t feel like a brick, unless you added lots of oil or substituted half white flour.
Baking bread has always been one of my favorite things to do. And although cakes and cupcakes took up much of my time as a professional baker, my baking journey actually began with artisan bread. I honed my skills at the San Francisco Baking Institute, and one of the most valuable lessons I learned there was how to work with whole wheat flour to achieve the kind of soft, light texture I once thought was impossible.
Let’s get started by learning the right technique for making soft, delicious homemade whole-wheat bread!
My Favorite Trick for Extra Soft Oil Free, Sugar Free Whole Wheat Bread
This recipe uses the poolish technique, a simple and easy method that makes bread softer and more flavorful without the complexity of sourdough.
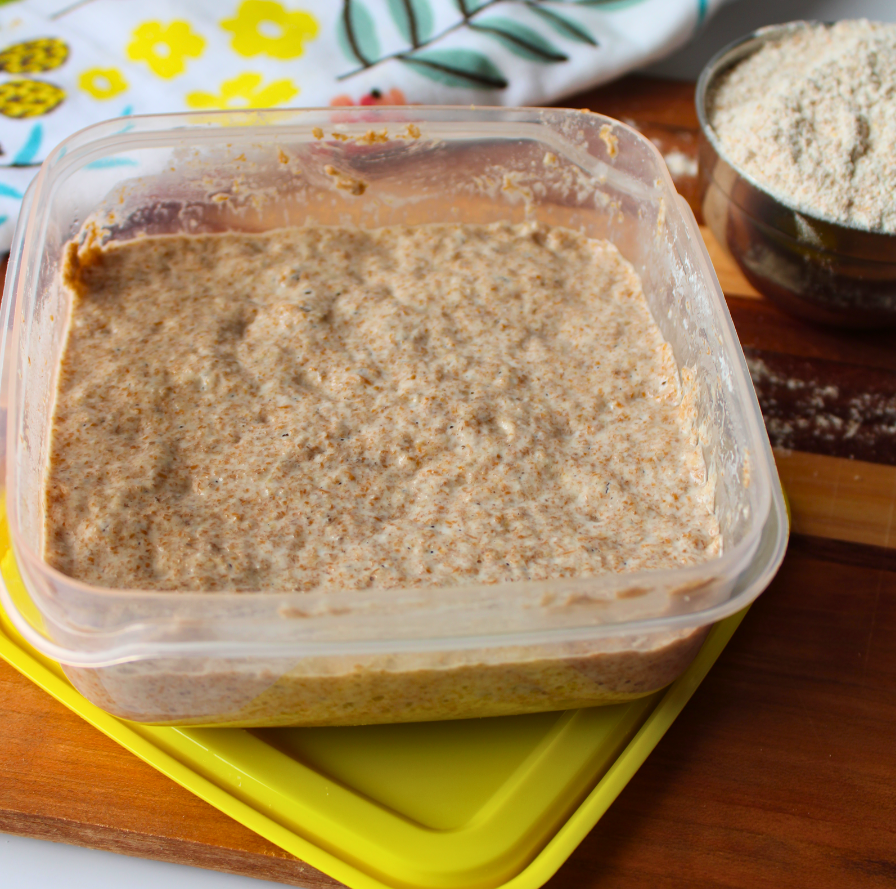
Poolish: A mixture of flour, water, and a small amount of yeast that you prepare the night before. It ferments overnight, allowing the yeast to develop slowly, which creates a rich flavor and a soft crumb in the final loaf.

Unlike sourdough, which requires maintaining a starter over time, the poolish takes just a few minutes to mix, and you use it the next day. This extended fermentation time helps break down the flour, making the dough more manageable and the bread lighter. While it does require a little planning ahead, you’ll save time on day two, with the bread ready in about two hours—and the result is absolutely worth it!
Here’s why this recipe is so good:
- Made with 100% whole wheat flour
- No added sugar or oil
- Soft and light texture, despite being whole wheat
- Uses a simple overnight starter for extra flavor
- Easy recipe with basic ingredients
- Tastes just as good as store-bought bread
Ingredients You’ll Need for This Sugar Free Whole Wheat Bread Recipe
To make this soft, sugar-free whole wheat bread, gather these simple ingredients:
- Whole wheat flour -Use regular whole wheat, white wheat, or organic flour.
- Yeast- Active dry or instant yeast works fine. Instant yeast works faster, so keep an eye on the dough as it will rise more quickly.
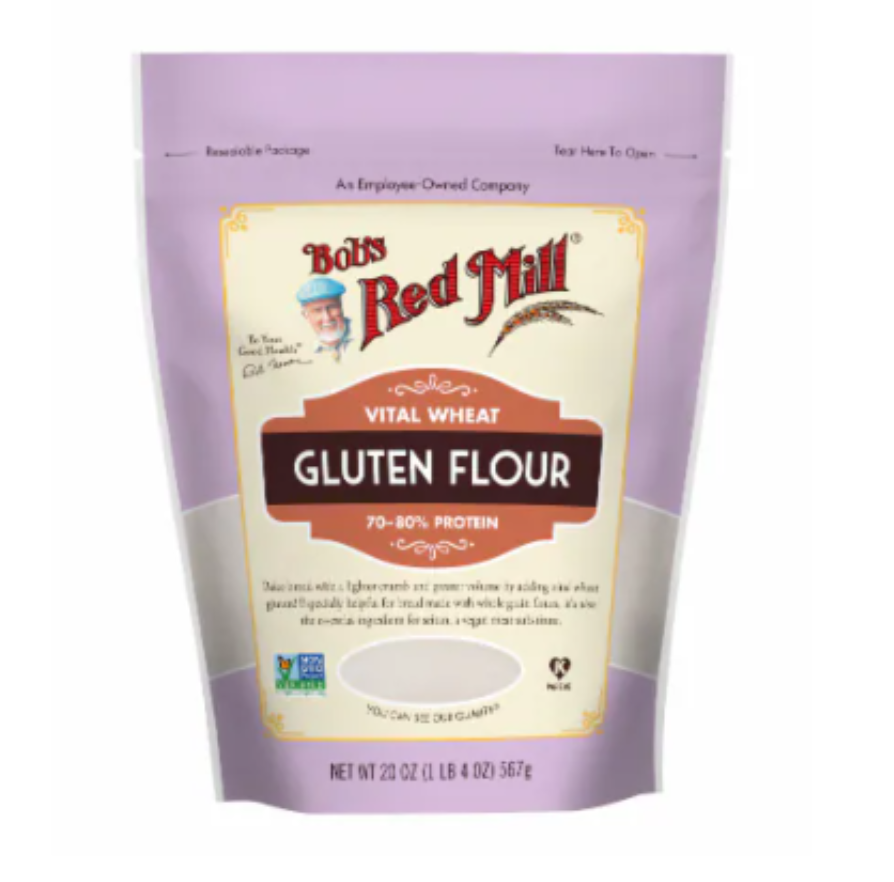
- Vital Wheat Gluten- Since whole wheat flour is lower in protein, adding VWG give this loaf some extra spring.
- Warm water- Use warm water around 105°F to 110°F to activate it. (It should feel warm on your wrist)
- Salt- Regular table salt is fine or you can use your favorite sea salt.
This combination of ingredients ensures your whole wheat sandwich bread has a soft, delicious crumb without relying on added sugars or oils.
Why This Recipe Works
This recipe works because of the poolish starter, which you mix the night before. By letting the yeast work overnight, the dough develops a deeper flavor, similar to a sourdough, but without the long fermentation times.
- Day 1 (The Poolish): In a medium container with a lid, combine your whole wheat flour, warm water, and a pinch of yeast to create the poolish. Cover the and leave it on the counter overnight.
- Day 2 (The Bread Dough): After the poolish has developed overnight, you’ll mix in the remaining ingredients. The mixing, first rise, final proof and baking take about two hours in total.
What is Vital Wheat Gluten
Vital wheat gluten is made from wheat flour. It’s especially helpful for baking bread made with whole-grain flours. It helps create a lighter crumb and greater volume for a perfect loaf of bread.
You can find vital wheat gluten in the baking aisle of most grocery stores. I recommend Bob’s Red Mill Vital Wheat Gluten Flour.

Baker’s Tips for Perfect Sugar Free Whole Wheat Bread
For the best results, follow these simple tips:
- Weigh the flour: Use a food scale if possible to get accurate measurements for the flour and water.
- Use a stand mixer: Mix the dough with a dough hook until it becomes smooth and pulls away from the sides of the bowl.
- Let it rise properly: If you’re using instant yeast, remember that the rise time may be faster.
- Prepare the pan: Line the loaf pan with parchment paper or use a non-stick pan.
- The loaf is ready to bake when the shaped dough has doubled in size.
Step-by-Step Guide to Making Sugar Free Whole Wheat Bread

Make the Poolish Starter (Night Before)
- In a small mixing bowl, combine 1/2 cup of whole wheat flour, 1/2 cup of warm water, and 1/4 tsp of active dry yeast.
- Stir until a thick paste forms.
- Cover with plastic wrap and leave in a warm place overnight.
Make the Bread Dough (Day 2)
- In the bowl of your stand mixer, combine the poolish, 2 more cups of whole wheat flour, 1 tsp sea salt, and 1 cup of warm water.
- Mix on medium speed with a dough hook until the dough comes together.
- Let the dough rest for 30 minutes, then give it the first knead.
First Rise
- Transfer the dough to a lightly floured surface and knead briefly to form a smooth dough ball.
- Place the dough in a bowl sprayed with pan spray for the first rise, about 30 minutes.
Shape and Second Rise
- Once the bread dough has risen, shape it into a loaf and place it in a 9’x5′ loaf pan for the second rise, about 45 minutes.
Bake
- Preheat your oven to 350°F.
- Brush the loaf with a little water to help create a softer crust
- Bake the bread on the center oven rack for 30-35 minutes or until the top of the loaf is firm to the touch.
Cool and Serve
- Let the shaped loaf cool on a rack before slicing. I love this bread with peanut butter, but you can enjoy it with any topping you love!
Why You’ll Love This Recipe
This is not your typical store-bought bread. Baking your own bread gives you full control over the ingredients and results in a flavorful, nutritious loaf that will fill your whole house with the wonderful smell of freshly baked bread. Plus, the starter adds a complex flavor, and the lack of sugar or oil means it’s one of the healthiest bread options out there.
Recipe Card
Be sure to print this recipe card to have on hand the next time you’re craving delicious, homemade bread. This is a great recipe for both beginners and seasoned bakers, and it’s sure to become your go-to recipe for whole wheat sandwich bread.

Soft and Delicious Whole Wheat Bread
Ingredients
For the Poolish
- 1/2 cup warm water 115g
- 1/2 cup whole wheat flour 90g
- 1/8 tsp active dry yeast 1g
For the Dough
- 2 cups whole wheat flour 295g
- 3/4 cup warm water 168g
- 1 tsp sea salt 9g
- 1 tbsp vital wheat gluten 11g
- 2 1/8 tsp active dry yeast 6g
Instructions
Day 1: Prepare the Poolish Starter
- In a large mixing bowl, combine 1/2 cup warm water, 1/2 cup whole wheat flour, and 1/8 tsp active dry yeast. (set aside remainder of the packet for dough)
- Stir until a smooth, sticky dough forms.
- Cover the bowl with plastic wrap and leave it in a warm place to ferment overnight (about 12-16 hours).
Day 2: Make the Dough
- Measure 3/4 cup warm water and add the remainder of the yeast packet. (about 2 1/8 tsp) Stir to dissolve the yeast and allow it to rest for 5 minutes.
- In the bowl of your stand mixer (or a large bowl if mixing by hand), combine the poolish, yeast, and water mixture, 2 cups whole wheat flour, 1 tbsp vital wheat gluten, and 1 tsp sea salt.
- Using a dough hook mix on low speed for 2 minutes. If mixing by hand knead and stir to combine all ingredients.
- Knead the dough for about 5 minutes on medium speed, until smooth and elastic. If the dough is too sticky, add a little flour as needed, but avoid adding too much to keep the bread soft.
First Rise
- Transfer the dough to a greased bowl and cover with a tea towel. Let it rest in a warm place for 30 minutes, or until it has almost doubled in size.
Shape and Second Rise
- After the dough has risen, turn it out onto a lightly floured surface and shape it into a loaf.
- Place the shaped loaf into a non-stick loaf pan. You can also line it with parchment paper to avoid sticking.
- Cover the loaf again with a tea towel and let it rise for another 30-45 minutes, or until it has risen over the edge of the pan.
- This is a good time to preheat the oven to 350°F. Once the dough has risen to the top of the loaf pan its time to bake.
Bake
- Bake the bread on the center oven rack for 35-40 minutes, until the top is firm. You can tip the loaf out of the pan to check for doneness. The bread should sound hollow when tapped on the bottom.
- Allow the bread to cool completely on a rack before slicing.
