Sourdough bakers know how important it is to keep their active sourdough starter alive and thriving with regular feedings. But what happens when you need a break from constant care or want a backup starter? The good news is that freezing sourdough starter is an excellent way to preserve it for long-term storage without the need for daily attention.
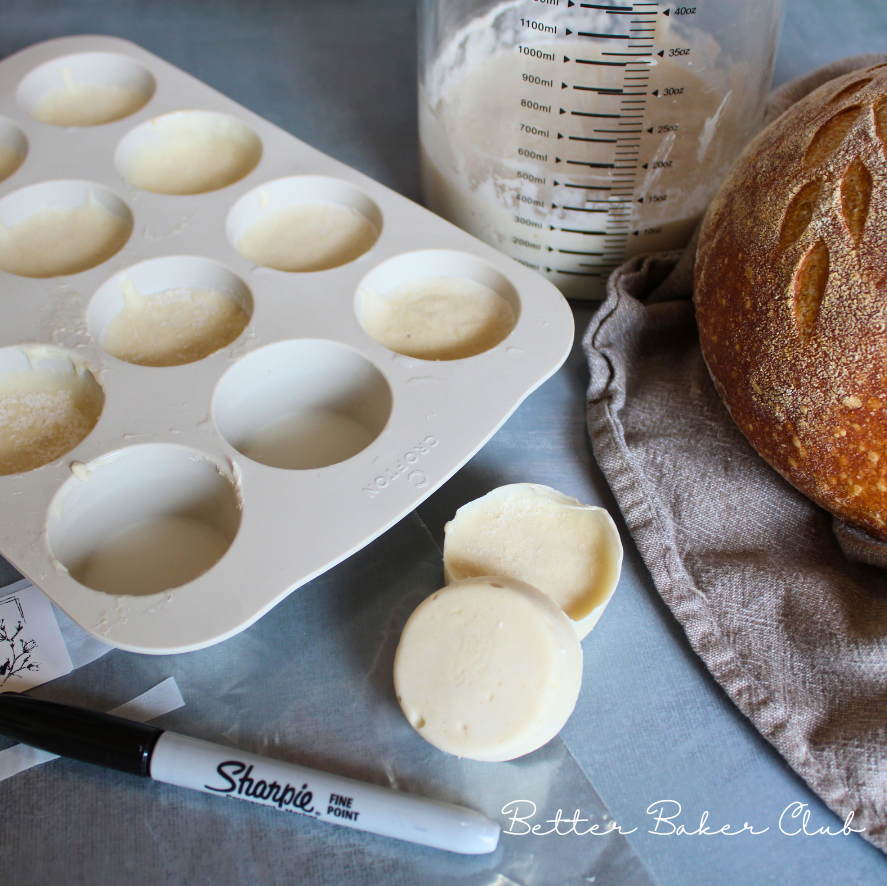
Why Freeze Sourdough Starter?
Freezing sourdough starter is a good idea if you want to:
- Take a break from your feeding schedule.
- Save excess starter for future recipes like pizza dough or homemade bread.
- Keep a frozen stash as insurance in case your current starter fails.
Feeding a Starter at Room Temperature vs. Feeding for Freezing
Did you know there is a difference between feeding a regular starter and feeding one for freezing? Here’s how to keep a starter healthy, whether you’re baking regularly or freezing it for later.
Feeding a Starter at Room Temperature
- Frequency: Once or twice a day to keep it active.
- Ratio: Use equal parts of starter, flour, and water for a 1:1:1 ratio by weight (e.g., 50g starter, 50g flour, 50g water).
- Goal: Maintain a bubbly, active starter ready for regular baking.
Feeding a Starter for Freezing
- Frequency: One feeding before freezing.
- Ratio: Use a thicker consistency of 1:2:2 ratio by weight (e.g., 50g starter, 100g flour, 100g water).
- Goal: Make sure the starter is well-fed and thick to survive the freezing process.
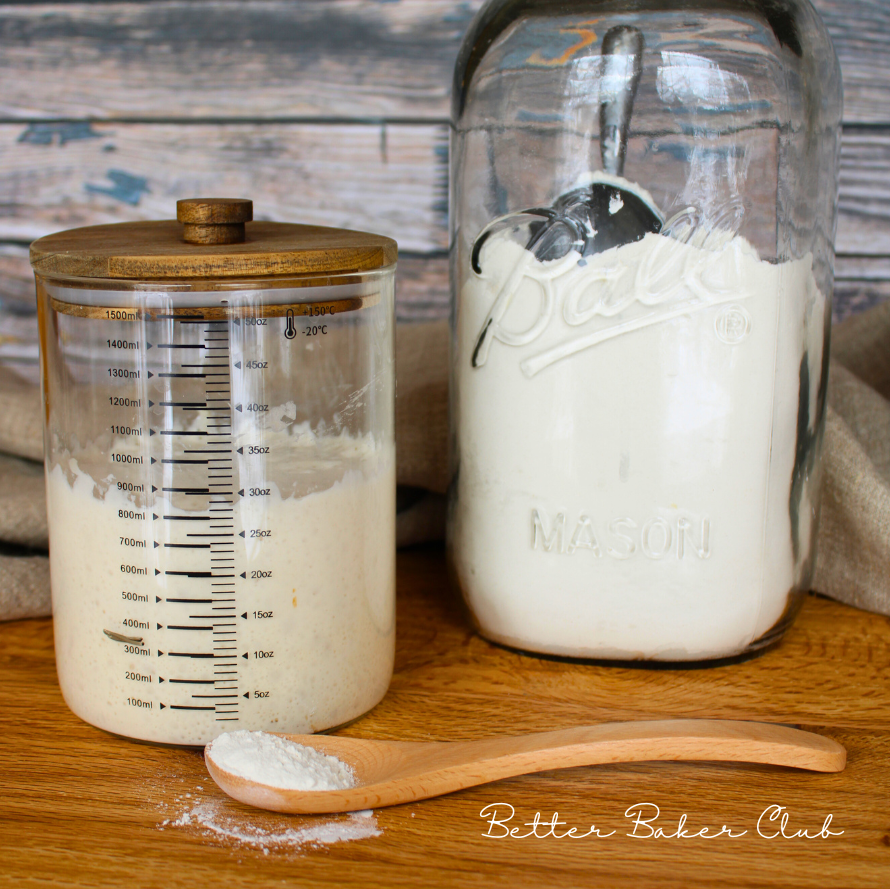
- Additional Step: Before freezing, allow the starter to sit in a warm spot until it’s bubbly and at peak activity.
Use a 1:2:2 Ratio for Freezing
The 1:2:2 ratio means you’re feeding your sourdough starter double the amount of flour and water compared to the starter’s weight. This strengthens your starter and prepares it for long periods without feeding. Using a thicker consistency also helps prevent separation and minimizes the formation of ice crystals, which can harm the yeast and bacteria.
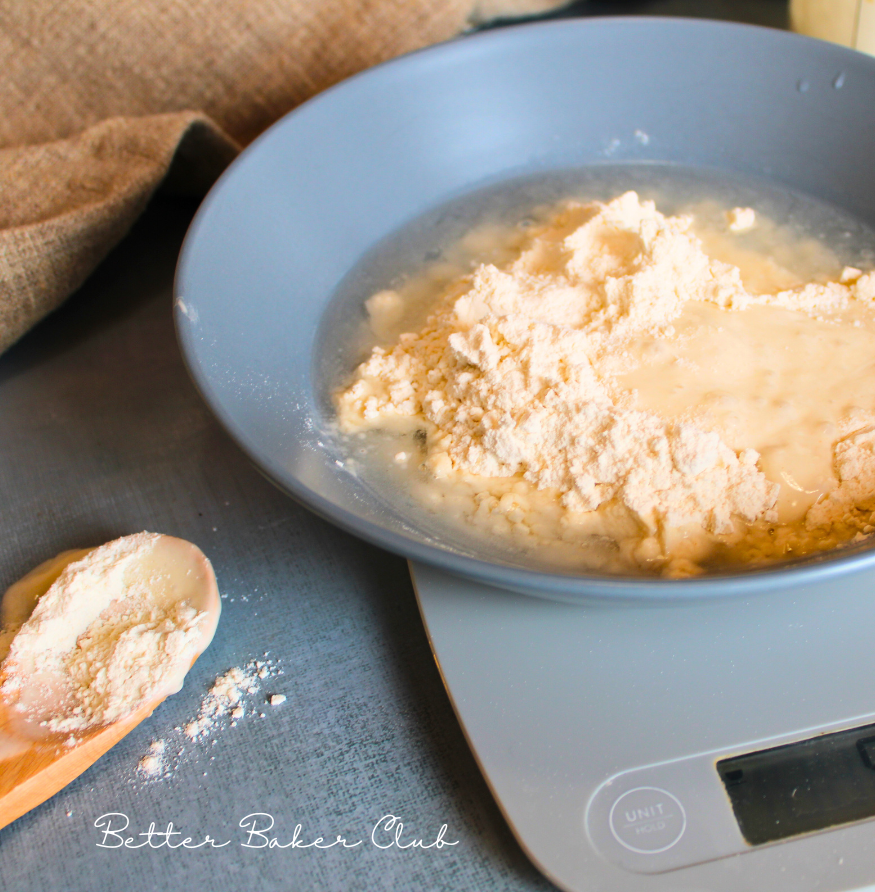
Before you begin, Make sure you are using a mature, fed, and active sourdough starter.
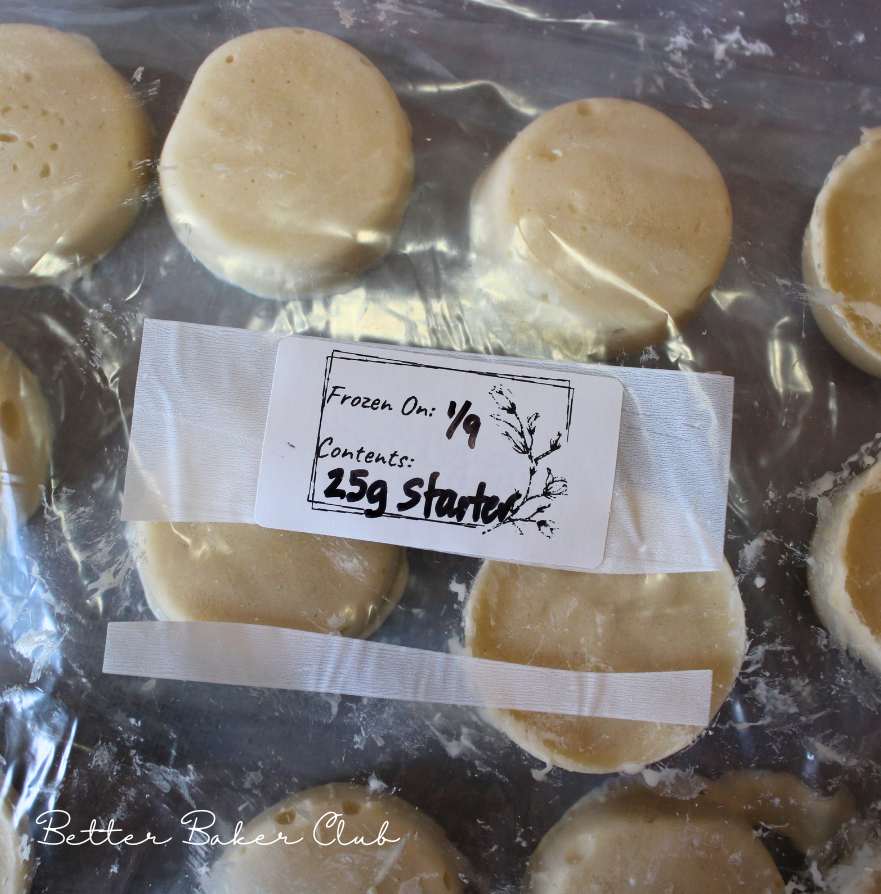
- Freeze in small pieces for convenient use later. Depending on how much you typically use, an ideal portion size would be around 25-50 grams of starter.
- Avoid too much air in the container to prevent freezer burn.
Step-by-Step Instructions for How to Freeze Sourdough Starter
1. Preparing the Starter
Feed your starter with a 1:2:2 ratio of fresh flour and warm water (e.g., 50g starter, 100g flour, 100g water).
Allow the starter to rest in a warm spot for 12-24 hours until it reaches peak activity.
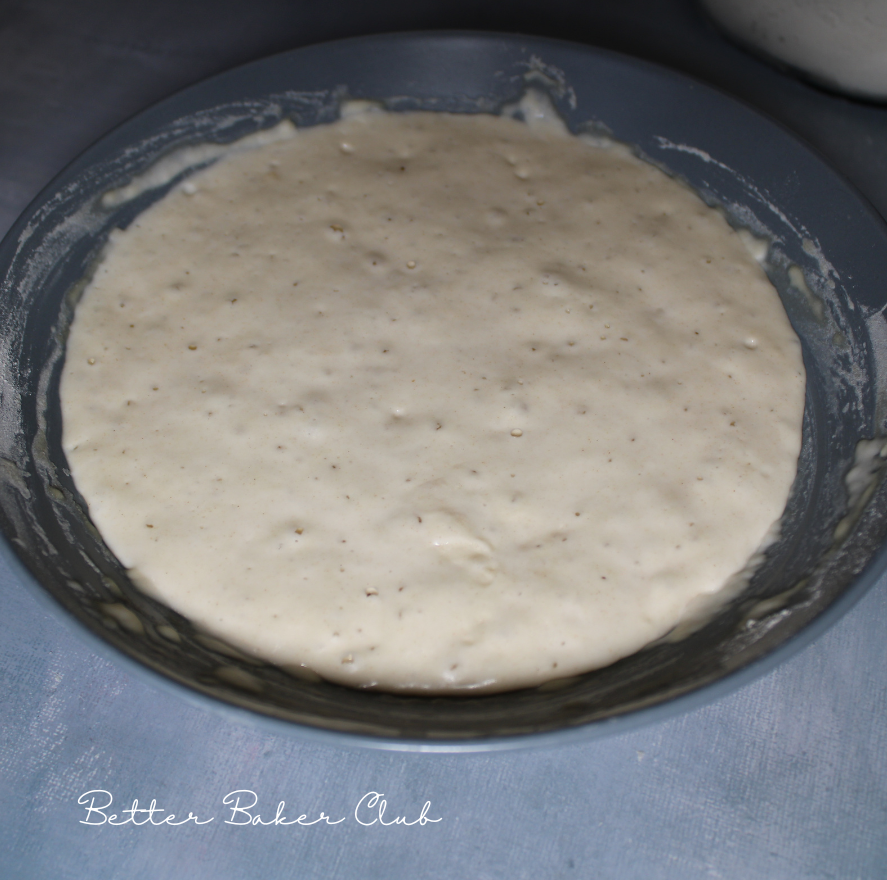
2. Portioning and Storing
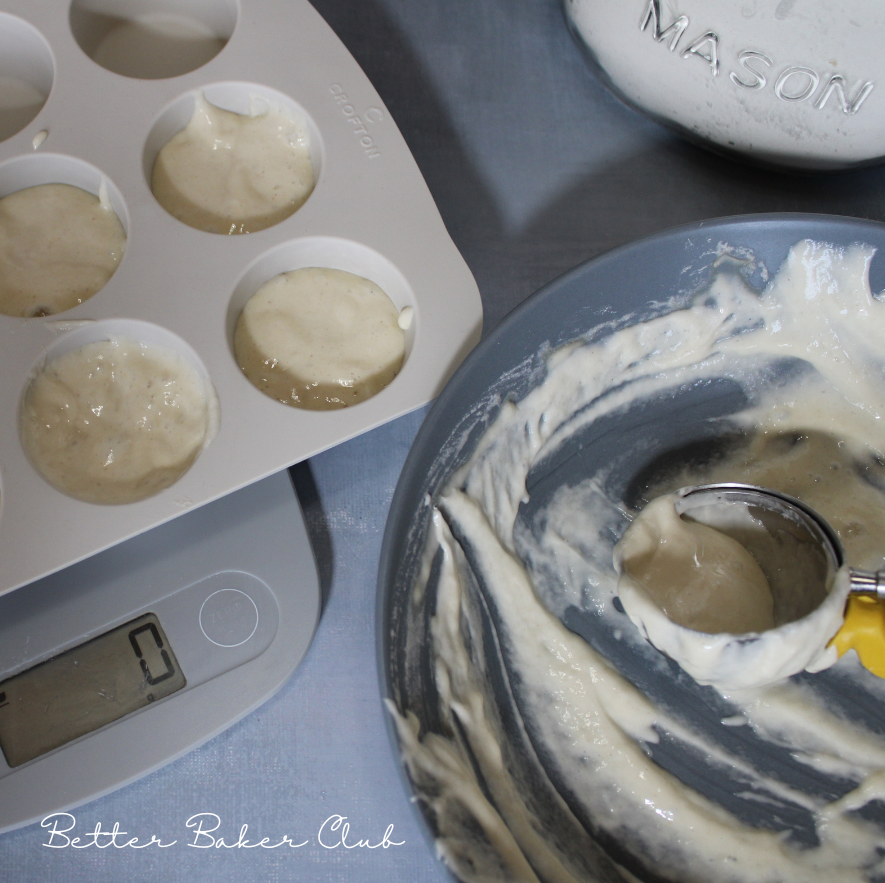
- Freeze in small pieces for convenient use later.
Spoon the active starter into silicone molds or a silicone ice cube tray.
3. Choosing the Right Container
Once frozen, transfer the starter to a safe container such as:
- A freezer-safe ziplock bag.
- A mason jar with a secure lid.
- Any airtight container that will protect it from ice crystals and freezer burn.
Label the container with the date of freezing and the weight of the portion for easy rehydration.
Thawing and Reactivating Your Frozen Sourdough Starter
- Remove a portion of the frozen starter from the freezer.
- Place it in a glass jar or bowl and add equal parts flour and warm water (e.g., 25g flour, 25g water).
- Allow the starter to sit in a warm spot for 12-24 hours.
- Continue with regular feedings until the starter becomes bubbly and active again.
Alternative Method: Drying Sourdough Starter
If you want to save on freezer space or prefer a long-term storage method, drying your starter is another great option. Here’s how:
- Spread a thin layer of starter on a piece of parchment paper.
- Allow it to dry completely in a dry, well-ventilated area.
- Break the dried starter into small pieces and store it in a freezer-safe bag or airtight container.
- To use, rehydrate the starter by adding warm water and feeding it over several days.
Common Problems and Troubleshooting
- Problem: Frozen or dried starters can take longer to reactivate due to dormant yeast and bacteria.
- Solution: Feed your reactivated starter twice daily with fresh flour and filtered water, and keep it in a warm spot to help the yeast revive.
Tools Needed
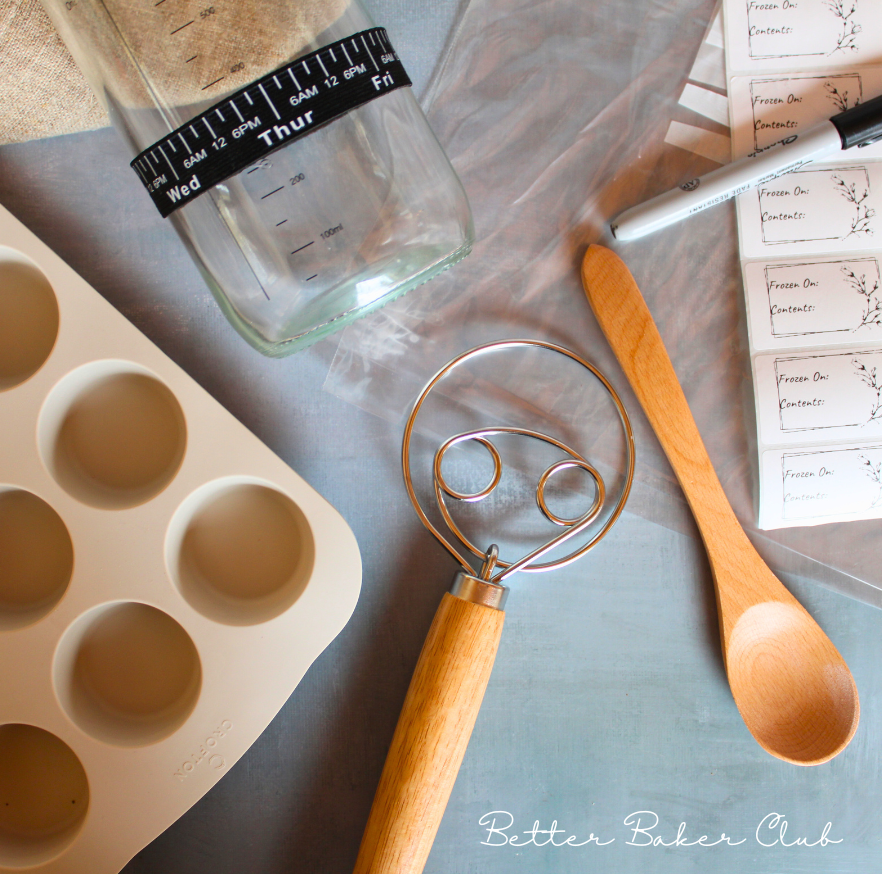
Freezing your sourdough starter doesn’t require fancy gadgets, but having the right tools makes the process of freezing and rehydrating easier!
Some links may be affiliate links, meaning I may earn a small commission at no extra cost to you.
- Silicone molds like this one hold the perfect amount of starter.
- You can also use silicone muffin tins or silicone ice cube trays to portion your sourdough for freezing.
- I love this reusable freezer bag for storing frozen sourdough starters.
FAQ Section
Q: Can I freeze sourdough discard?
A: Yes, freezing sourdough discard is a convenient way to save it for recipes like pancakes, waffles, or crackers.
Q: How long can I keep sourdough starter frozen?
A: For best results, use your frozen starter within 3-6 months.
Q: Does freezing affect the quality of the starter?
A: The main downside is that frozen starter may take longer to reactivate, but with proper feeding, it will regain its strength.

What to Do After Reviving Your Sourdough Starter
Now that your sourdough is fresh and active, it’s time to start baking! Here are some of my favorite recipes for using sourdough starter and discard:
Using Fresh Active Starter
After reviving your starter, you can start by making a simple but delicious loaf of sourdough bread. Ready to try something different? This sourdough pizza crust is one of my go-to recipes when I have plenty of active starter.
Creative Ways to Use Sourdough Discard
Don’t let extra starter go to waste! Sourdough discard works great in recipes like:
You can also freeze discard for future use. Using discard adds a tangy depth of flavor to baked goods.

Now You Know How to Freeze Sourdough Starter
Have you tried freezing your sourdough starter? Let me know in the comments below! If you found this guide helpful, don’t forget to check out our related posts on sourdough recipes and homemade sourdough bread.
