


If you want to make chocolate treats, but are not sure where to start, then check out this guide to learn about the best melting chocolate for molds!

Whether you're a seasoned chocolatier or a newbie in the kitchen, using the right chocolate can make all the difference in creating beautiful treats.
Follow me on social!
What are the different types of chocolate for molds?
First things first, let's talk chocolate! There are many types out there, from white chocolate to dark chocolate, and each has its characteristics.
Milk Chocolate
Milk chocolate is smooth, sweet, and one of the most popular types of chocolate. It’s a great choice if you’re just getting started with candy molds or dipped treats. Here's why I love it:
-
Easy to find: You can find milk chocolate bars at any grocery store. For molding, though, it’s better to use chocolate that’s made for melting, like wafers or callets. These are easier to work with and give you better results.
-
Good for beginners: Milk chocolate melts easily and has a mild, creamy taste that most people love. It’s less likely to turn grainy than white chocolate and isn’t as strong as dark chocolate.
-
Best uses: Great for filling simple molds or drizzling over treats like cookies, pretzels, and fruit.
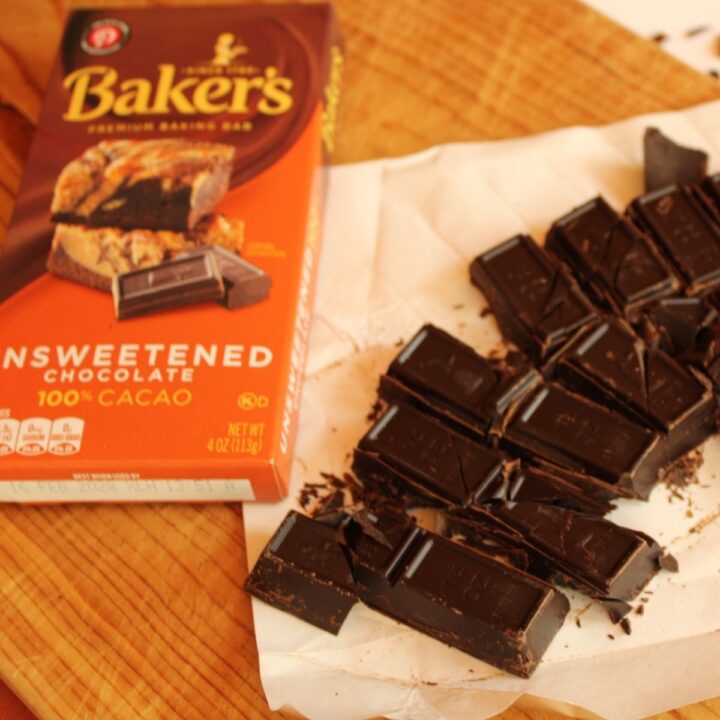
Dark Bittersweet Chocolate Feves or Couverture Chocolate
Chocolate feves are small, flat pieces of chocolate, similar to chocolate chips but bigger and better for melting smoothly.
Here's why professional chocolatiers love using them:
-
Higher cocoa solids content for a deep, rich chocolate flavor.
-
Lower melting point, making them ideal for intricate molds and detailed work.
-
Great for treats that need to look as good as they taste.
Wilton Candy Melts, Compound Chocolate, and Confectionery Coating
Compound chocolate—also called confectionery coating or compound coating—is a chocolate alternative made with cocoa powder, vegetable fats, and sweeteners.
Here’s why it’s a go-to for many bakers:
-
Easy to use – great for beginners or when you're short on time.
-
No tempering required, and it's widely available at craft stores.
-
Super convenient for cake pops, dipping, or decorating.
And if you’ve ever wondered about almond bark—yep, that’s a type of compound chocolate too!
Recommended Chocolates for Molding and Dipping
Choosing the right chocolate makes all the difference when you're molding treats or dipping desserts. Whether you're aiming for a professional finish or something quick and convenient, here are some top picks:
Callebaut W2 White Chocolate Couverture Callets (2.2 lb)
This premium Belgian white chocolate has a creamy, balanced flavor and melts smoothly—perfect for molding and enrobing.
Callebaut 811 Dark Chocolate Callets (2.2 lb)
Known for its rich cocoa flavor and silky texture, this is a go-to dark chocolate for professional treat makers who want shine and snap.
Ghirardelli Milk Chocolate Flavored Melting Wafers (12 oz)
These are super beginner-friendly. They melt easily in the microwave and are ideal for dipping fruits, cookies, or cake pops.
Merckens Milk Chocolate Coating Melting Wafers (2 lb)
A reliable, budget-friendly choice that melts consistently and works well for large batches of dipped or molded treats.
Guittard Milk Chocolate A’Peels (5 lb)
This option is great for serious treat makers. It melts smooth, sets quickly, and has a creamy milk chocolate flavor perfect for bulk molding.
Wilton Candy Melts (White, 12 oz)
Available in many colors, these candy melts are easy to use and great for decorative work—even if you’re just starting out with molded chocolates.
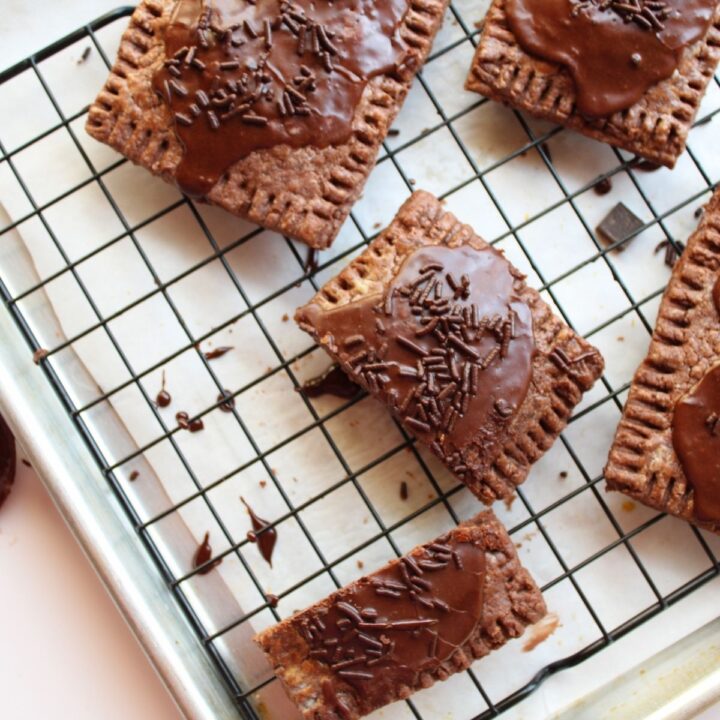
What can you make with chocolate molds?
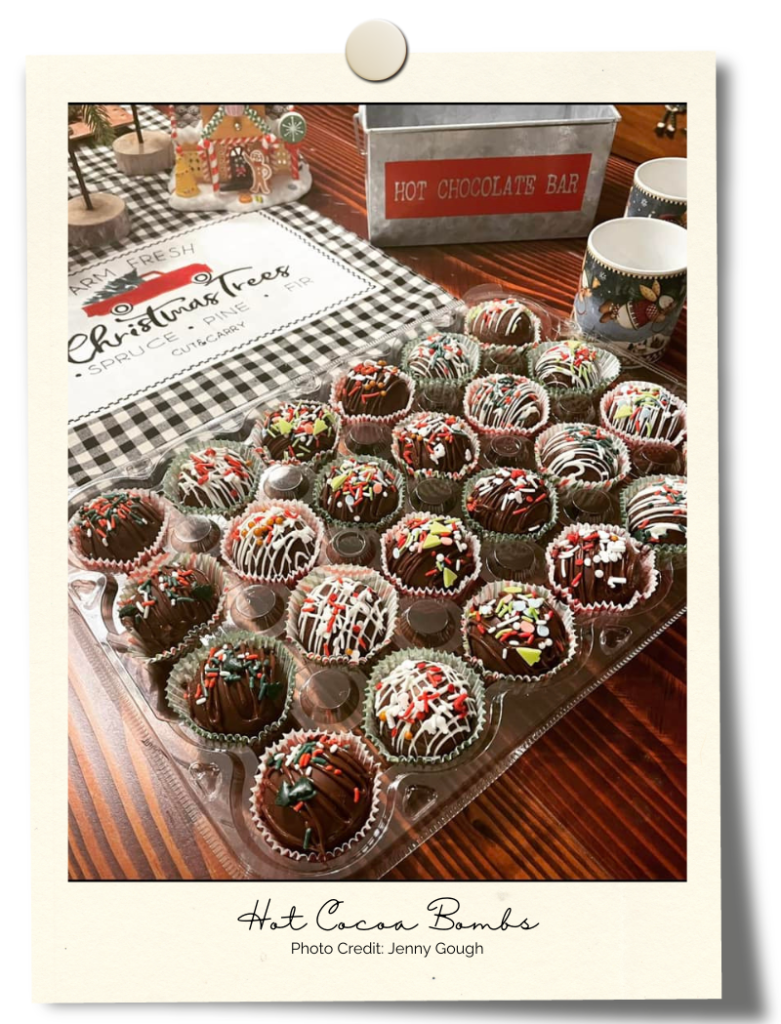
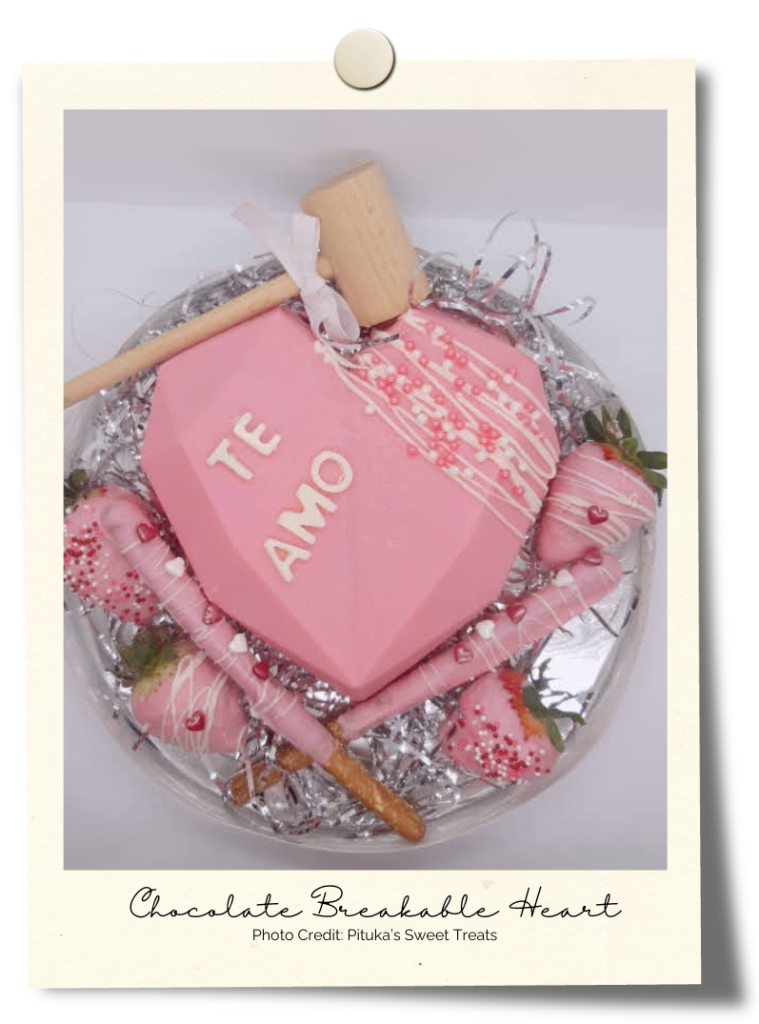
With chocolate molds, you can create a variety of trendy treats like hot cocoa bombs, chocolate-covered Oreos, cakecicles, and breakable hearts, to name just a few.
Fun and Creative Things to Make with Chocolate Molds
Chocolate molds are an easy way to make impressive, professional-looking treats. Here are some delicious ideas to try:
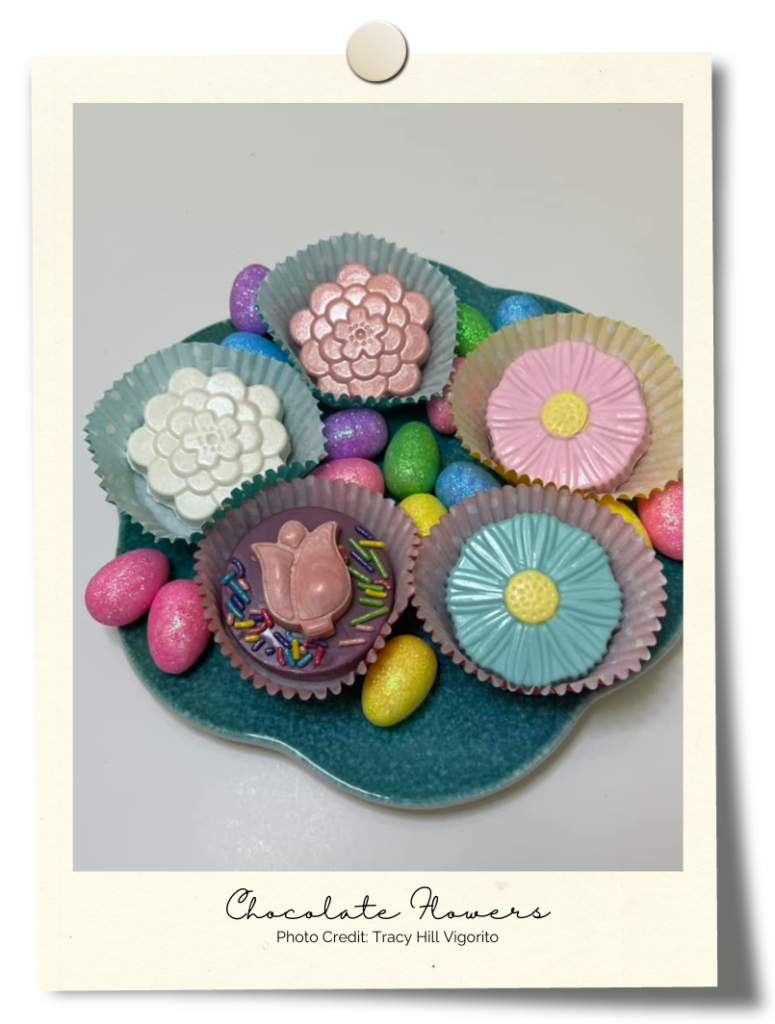
-
Chocolate bars – Customize with layers, mix-ins, or edible gold flakes.
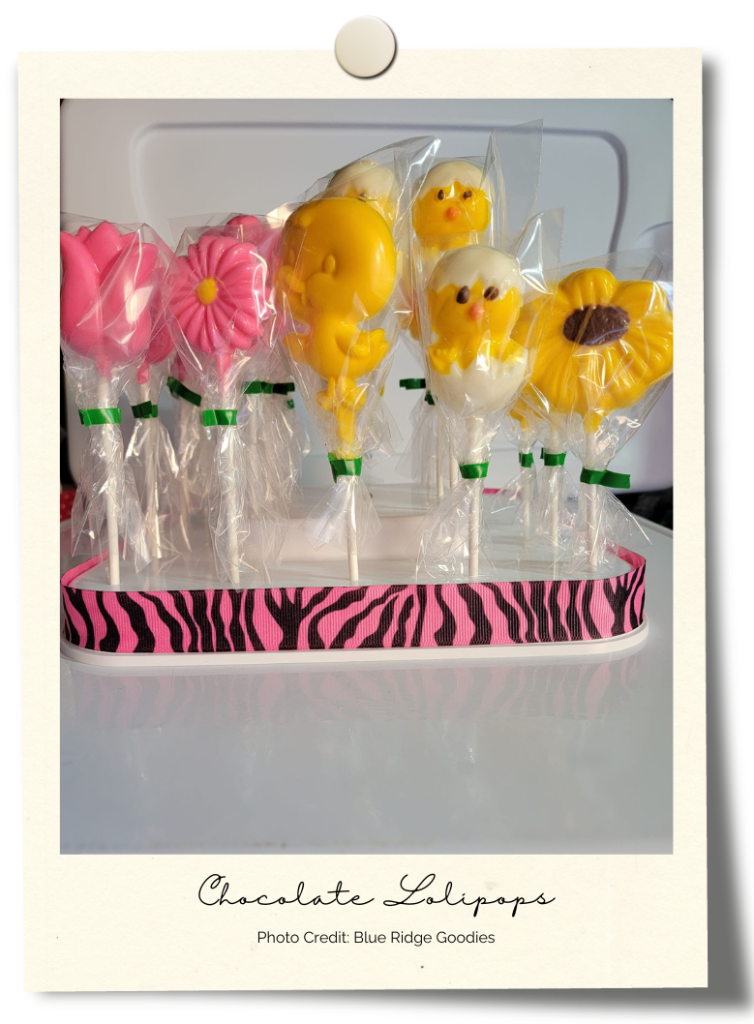
-
Chocolate lollipops – Add sprinkles or edible glitter for a festive touch.
-
Chocolate truffles – Use molds for smooth, consistent shapes.
-
Marine-themed sea shells – Perfect for ocean or beach-themed cakes and favors.
-
Mini bows – Great for decorating cupcakes, cookies, or boxed treats.
-
Cakesicles – A trendy dessert that’s easy to decorate and personalize.
-
Cocoa bombs – Fill with hot cocoa mix, mini marshmallows, or peppermint chips.
-
Chocolate-covered Oreos – Coat in melted chocolate and decorate for any occasion.
-
Customized chocolate chips for baking recipes – Mold into fun shapes or initials for a unique twist.
There are so many options for using chocolate molds to create delicious treats and decorative elements for any occasion!
How to Melt Chocolate for Molding
Here are two different ways to melt chocolate. Choose the method that works best for you!
Double Boiler Method:
Fill a small saucepan with about 1-2 inches of water and bring it to a gentle simmer over medium-low heat.
Place a heatproof bowl on top of the saucepan, ensuring that the bottom of the bowl does not touch the water. This creates a double boiler.
Add the chocolate chips or chopped chocolate into the bowl.
Stir the chocolate continuously as it melts, using a rubber spatula or wooden spoon.
Once the chocolate is almost completely melted, remove the bowl from the heat and continue stirring until it's smooth and fully melted.
Microwave Method:
Place the chocolate chips or chopped chocolate into a microwave-safe bowl.
Microwave the chocolate in short intervals, such as 15-30 seconds at a time, on medium power.
After each interval, remove the bowl from the microwave and stir the chocolate thoroughly.
Continue microwaving and stirring until the chocolate is almost completely melted. Be careful not to overheat it.
Once the chocolate is almost melted, remove it from the microwave and continue stirring until it's smooth and fully melted.
Both methods work well for melting chocolate, but the double boiler method gives you more control and helps prevent the chocolate from overheating, while the microwave method is quicker and more convenient for smaller quantities of chocolate.

How to Use Silicone Molds with Chocolate (Step-by-Step)
Step 1: Clean and Dry Your Molds
Make sure your silicone molds are completely clean and dry. Any moisture or residue can leave marks on your finished chocolates.
Step 2: Melt Your Chocolate
Melt your chocolate until smooth using a microwave or double boiler. Candy wafers or couverture both work well.
Step 3: Fill the Molds
Spoon the melted chocolate into the molds, or use a disposable pastry bag for more control.
Step 4: Remove Air Bubbles
Gently tap the molds on the counter to release any air bubbles, helping your chocolates set with a smooth finish.
Step 5: Chill to Set
Place the filled molds in the fridge for 5–10 minutes, or until the chocolate is completely firm.
Step 6: Unmold the Chocolates
Turn the mold upside down and gently press on the bottom of each cavity to release the chocolates. If needed, chill again briefly and try once more.
Storage and Shelf Life of Homemade Chocolates
Once your chocolates are out of the molds and looking great, you'll want to keep them that way. Here’s how to store your homemade treats so they stay fresh, smooth, and ready to enjoy.
Keep Them Cool and Dry
The ideal storage temperature for chocolate is between 60°F and 70°F. Avoid refrigerating unless your environment is very warm or humid—cold temps can cause white streaks known as sugar bloom.
Use Airtight Containers
Store your chocolates in an airtight container, away from heat, direct sunlight, and anything with a strong smell. Chocolate easily absorbs odors, so avoid storing near onions, garlic, or spices.
Stack with Care
If you need to layer your chocolates, place a sheet of parchment or wax paper between each layer to prevent smudging or sticking.
Shelf Life by Chocolate Type
Here’s a general guideline for plain molded chocolates:
-
Dark chocolate: up to 3 months
-
Milk chocolate: about 2 to 3 weeks
-
White chocolate: about 2 to 3 weeks
If your chocolates have fillings like caramel or ganache, store them in the fridge and eat them sooner. Just let them come to room temperature before serving to avoid condensation.
FAQs About Melting Chocolate
How can I avoid wasting chocolate when filling molds?
When filling molds with melted chocolate, it's common to have extra overflow. To prevent waste, gently tap the molds on a cookie sheet before chilling. This removes excess chocolate and helps fill each cavity evenly for smooth, clean shapes.
Why is using vegetable oil or coconut oil important when melting chocolate?
Adding a small amount of vegetable or coconut oil can improve the consistency and shine of your melted chocolate. It makes the chocolate easier to pour and control, especially if you're using squeeze bottles or piping bags.
How do I know if I've melted the chocolate properly?
Melt chocolate slowly and gently—either using a double boiler or in the microwave in short bursts. Stir often and stop just before it's fully melted; the residual heat will finish the job. This prevents overheating and keeps the texture smooth.
Why is it important to use high-quality chocolate for molding?
High-quality chocolate contains real cocoa butter, which melts more smoothly and sets with a nice shine. Lower-quality versions often have added oils or fillers that can affect the flavor and texture of your final product.
What chocolate should I use for molds?
Choose couverture chocolate or premium chocolate wafers. These have higher cocoa content and are made specifically for melting and molding, giving you that perfect snap and finish.
What is the best type of chocolate to use for melting?
Look for chocolate that lists cocoa butter as a key ingredient—like bars, chips, or chocolate feves. These melt more evenly and give a glossy, professional finish without needing to temper.
How can I prevent chocolate from seizing when melting?
Keep all tools completely dry. Even a single drop of water can cause chocolate to seize and turn grainy. Melt it low and slow, and stir frequently for best results.
What is the best melting chocolate for molds?
When it comes to crafting delicious molded chocolates, it's important to choose the best chocolate for the job. Don't be tempted to skimp on quality. High-quality chocolate helps you get great results every time!
So, next time you're at the grocery store or craft store, pick up some high-quality chocolate. Test it in your silicone molds, and get ready to have fun creating your own molded chocolate treats!
Share your go-to chocolate brands or any tips you have for achieving perfect results in the comments below!
Kathleen says
Looking for an oreo cookie mold with design already in the mold. I have a butterfly, Xmas, and golf ball molds
Almas Azhar says
It is very helpful thanks a lot.... I am looking forward to start my cooking bakery business.....
Better Baker says
Thank you for taking the time to check out the blog! I’m so pleased to hear the post helped you out.