
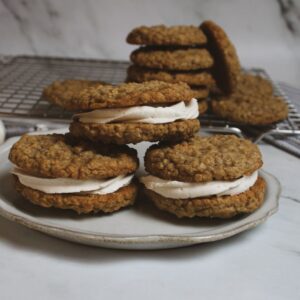


Graduation cut out cookies are such a fun (and delicious!) way to celebrate the end of the school year. For this buttercream version, I keep things simple: we’re using frosting that’s easy to work with, perfect for beginners, and, most importantly, tastes incredible.
Whether you’re brand new to decorating or just looking for fresh inspiration, this post will walk you through everything you need to create cookies that look as good as they taste.
Recipes You’ll Need for These Graduation Cut Out Cookies
Before we get started, here are the two base recipes I use in this tutorial:
Buttercream Frosting for Cookies – easy to pipe and sets up for stacking
No-Spread Sugar Cookie Recipe – holds its shape perfectly for cut-out cookies
Be sure to print these recipes so you’re organized and ready when it's time to bake!
Supplies You’ll Need for Decorating Graduation Cut Out Cookies
You don’t need a ton of fancy tools to get beautiful results—just a few basics that make the process smooth and fun. Here’s what I recommend:
- Graduation-themed cookie cutters – Look for a cap, gown, and diploma shape set.
- Piping bags or decorating bags – Reusable or disposable bags both work great.
- Coupler set – Lets you easily switch out piping tips without changing the bag.
- Piping tips – Use a #3 or #4 tip for outlining and a #5 or #6 tip for filling in.
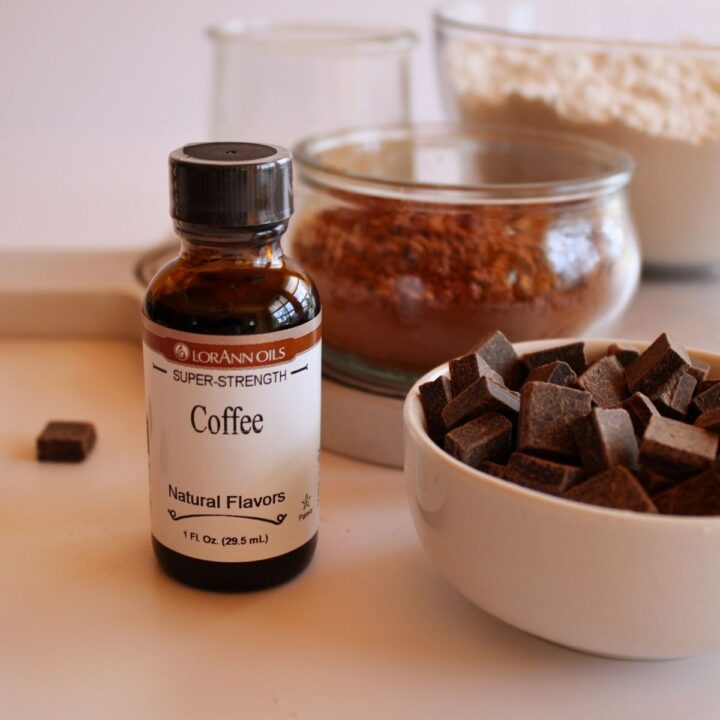
- Gel food coloring – You’ll need white, black, and one or two school colors.
- Cooling rack + cookie sheet – Make sure cookies are fully cool before decorating.
- Toothpicks – Handy for fixing small mistakes or moving icing into tight corners.
I’ve linked to my favorite versions of these tools so you can see exactly what I use in my kitchen.
Why I Use Buttercream Frosting Instead of Royal Icing
I love decorating with buttercream because it’s perfect for beginner bakers. It’s softer, easier to pipe, and still crusts over so you can store or stack your cookies later.
I use my go-to buttercream frosting for cookies because:
- It spreads and pipes easily.
- It sets up with a slight crust, so cookies don’t stick together.
- It holds color beautifully when tinted with school colors.
But unlike royal icing, it doesn’t dry rock-hard or lose its creamy texture, so each bite soft and delicious!
How to Decorate Graduation Cut Out Cookies with Buttercream Frosting
I'm going to walk you through my exact decorating process. This method is simple, and with a little practice, your cookies will look polished and party-ready.
Step 1: Bake Your Cookies
I use this no-spread sugar cookie recipe every time. It’s sturdy and holds its shape when baked—perfect for detailed cookie cutters.
Here’s how I prep the dough:
- Roll the dough to ¼ inch thickness (6mm) between two sheets of parchment paper.
- Cut out your cookies using your graduation-themed cutters: gown, diploma, and grad cap.
- Place on a cookie sheet and bake as directed.
Let the cookies cool completely before you decorate!

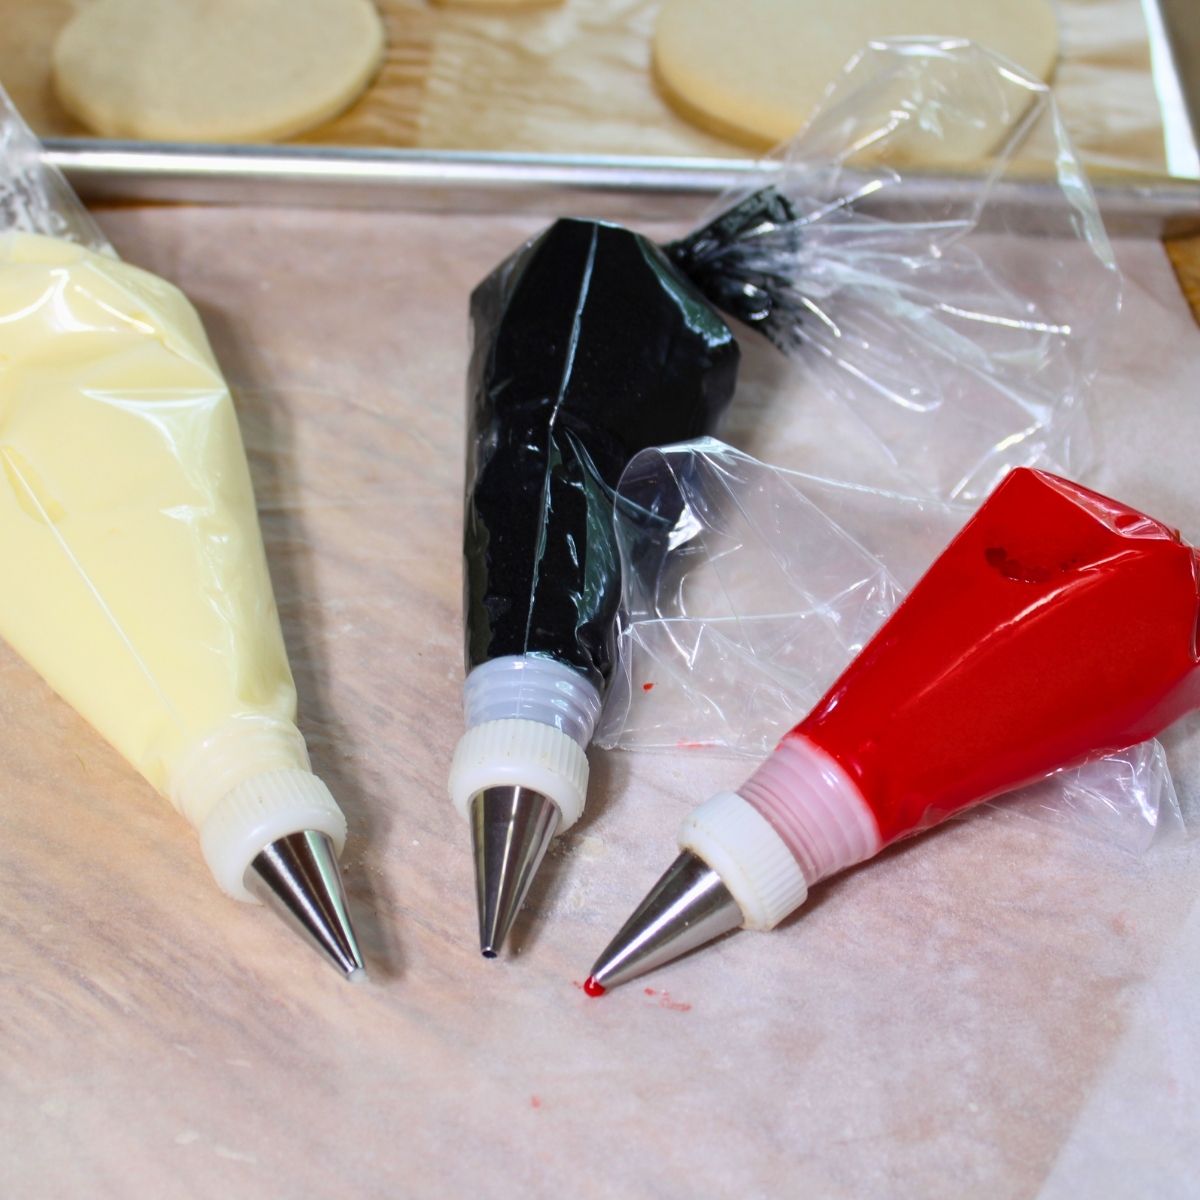
Step 2: Make a Batch of Buttercream Frosting
Here’s how I like to do it:
Start by mixing up a batch of my cookie decorating icing.
Then, divide the frosting into bowls. Portion out enough frosting for white, black, and for each school color you’re using.Tint each bowl with gel food coloring so the colors are rich and vibrant.
Here’s a tip I swear by: After adding the color, I microwave the bowl of icing for about 10-15 seconds. It makes the frosting easier to pipe and helps deepen the color even more.
Load each color into a separate decorating bag and you’re ready to go!
(I go into more detail in the icing recipe post if you want the full step-by-step.)
Step 3: Decorate with Confidence (Even if You're New!)
This part is fun, even if you’ve never decorated cookies before. The shapes are simple, and the buttercream makes it easier than royal icing.
How to Decorate Graduation Cookies with Buttercream
- Start by outlining your cookie shape using a #3 tip.
- Then, switch to a #5 tip and zigzag the icing to fill in the space.
- Let it crust slightly before adding details in complementary colors.
This frosting is forgiving. You can even fix little mistakes with a toothpick or a warm spatula.

How to Set Up Your Pastry Bag for Decorating
Before you start piping, take a minute to prep your decorating bag the right way. I always use a coupler set so I can easily switch between different tip sizes without needing a new bag.
Here’s how to do it:
- Drop the base of the coupler into your empty piping bag and snip the end so the coupler just fits through.
- Add your buttercream to the bag.
- Place your piping tip (start with a #3 or #4 for outlining) over the coupler and secure it with the coupler ring.
- Later, you can swap to a #5 or #6 tip for filling in, using the same bag.
This makes it so much easier to decorate each cookie with clean outlines and smooth fills—all with one bag and one color at a time.
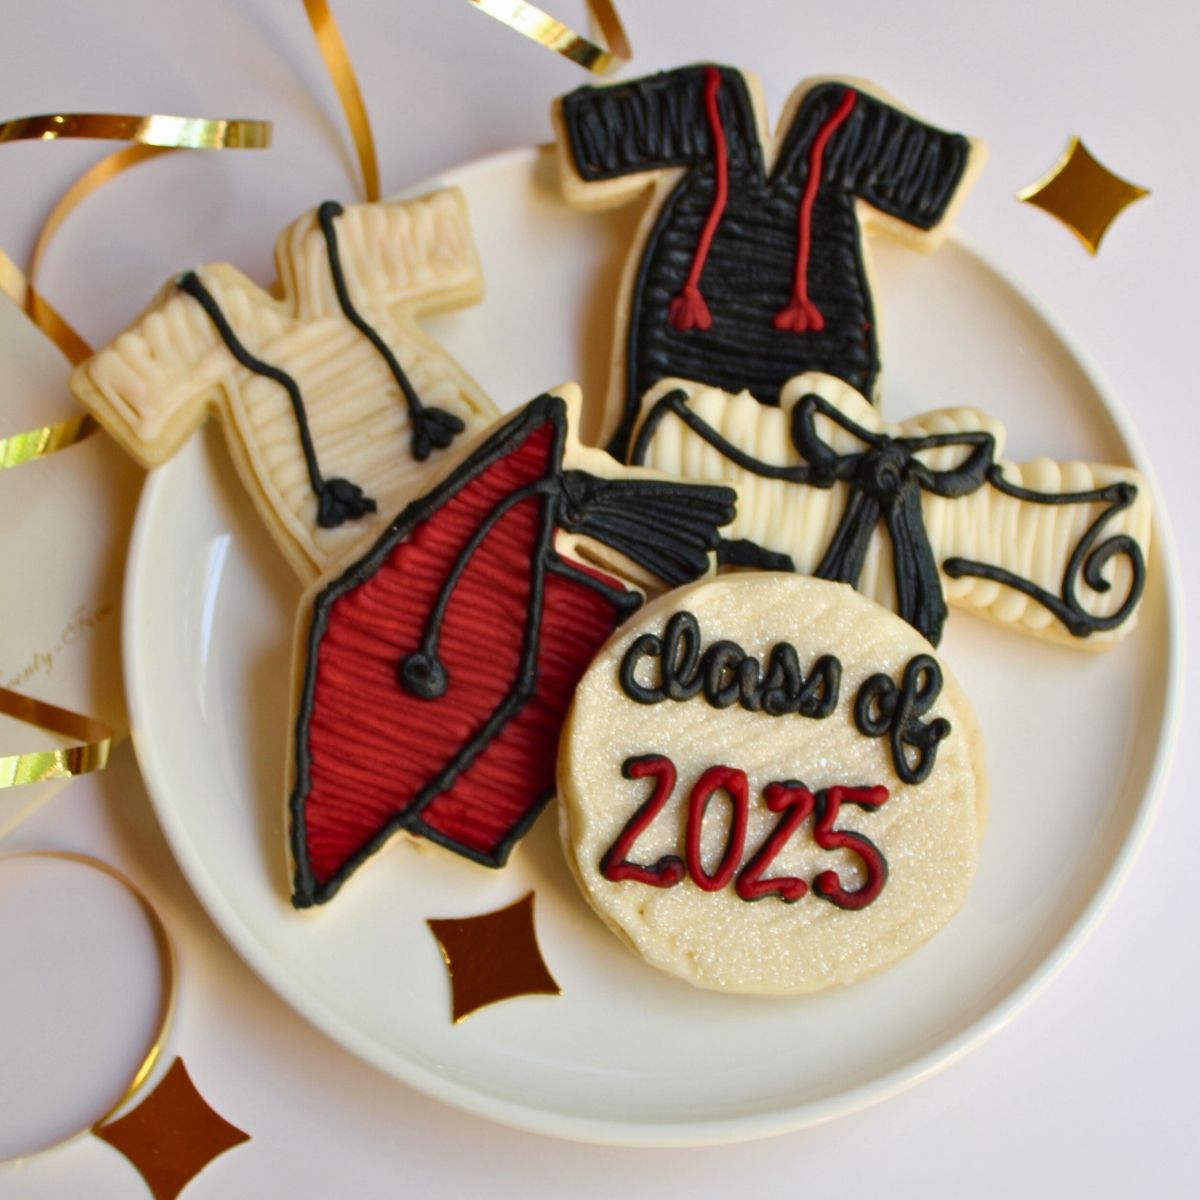
Decorating Ideas for Graduation Cut Out Cookies (By Shape!)
If you’re searching for graduation cut out cookies because you need ideas for how to decorate them, you’re in the right place.
In this section, I’m sharing exactly how I decorate four classic shapes: the graduation cap, diploma, graduation gown, and a simple round cookie with the graduation year piped on. These are all done with buttercream frosting and are beginner-friendly.
You don’t need advanced piping skills, just a few colors and some basic tools. I’ll break it down cookie by cookie so you can follow along.
Graduation Cap Cookies
This one always turns out sharp and bold. I like to keep it simple but polished.
How I decorate it:
- Use your school color (or black) to outline the cap with a piping bag.
- Fill in the center using a zigzag or back-and-forth motion with the same color.
- Once the base has crusted, pipe the tassel fringe using white.
- Optional: Add a dot of color where the tassel meets the top of the cap.

Diploma Cookie
This one is fun to customize and looks great in any school color combo.
Color combo I use:
- White (main fill)
- Black (outline)
- Black accent (bow or ribbon)
Decorating steps:
- Outline the diploma.
- Fill the center with white icing using a zigzag pattern.
- Once set, pipe on a bow using your school color—this adds a perfect personal touch.

Graduation Gown Cookie
This one is a showstopper when kept simple and bold.
How I do it:
- Pipe the entire gown in black for a clean, traditional look.
- Use your school color to pipe a tassel or stole detail.
- You can add small accents like initials or a button line if you want more texture.

Round Cookie with Grad Year
This is great for filling out your cookie tray or personalizing with names or numbers.
Easy design idea:
- Ice the round cookie in a base color (white or school color).
- Once crusted, use a small tip to pipe on the graduation year (like “2025”) or a phrase like “Congrats Grad” or “Smart Cookie.”
These are also great for using up extra icing colors!

Make Ahead and Storage Tips
Want to get ahead? You totally can.
I have a full post on how to freeze these cookies, so you can bake early and decorate later. Here are some quick tips:
- Freeze the cookies after baking, before decorating.
- Or freeze them fully decorated once the frosting has set.
- Store at room temperature in a sealed container for 3–4 days.
This makes them ideal for prepping ahead of a busy graduation party.
Add a Personal Touch
Every batch of graduation sugar cookies I make is a little different and that’s the fun part.
Here are some of my favorite creative ideas:
- Use alphabet cutters to spell out the grad’s name or “2025.”
- Match the tassel color to the graduate’s robe for a special detail.
- Add a tag that says “One smart cookie!” and package them as party favors.
No matter what, these cookies are sure to make your grad feel celebrated!
Leave a Reply