


When I started shipping cookies from my home bakery, I had no idea how complicated (and expensive) it could be. Standing in line at the post office, paying an additional fee for them to print labels, and crossing my fingers that everything arrived on time. I knew there had to be a better way!
Eventually, I figured out a shipping process that works. I now print my shipping labels at home, right from my kitchen counter, and it saves me so much time and money. If you're trying to get more organized with your order fulfillment, or just want to stop wasting half your day at the post office, here’s how I do it.
Why I Print My Own Shipping Labels
Let’s be real, shipping baked goods takes some planning. But once I started printing my own labels at home, everything got easier. Now I can:
- Pack and label everything in batches
- Ship out orders faster
- Skip the long lines
- Save money by avoiding extra service fees
It’s also a lot less stressful when I’m in the middle of a big sale or busy weekend. I just print, pack, and schedule a pickup. No running errands, no last-minute panic.
Choosing the Right Printer
Not all printers work well for shipping labels, especially if you're doing this regularly. Choosing the right type of printer depends on your shipping volume and budget. I’ve tried a few setups, and here’s what I’ve learned:
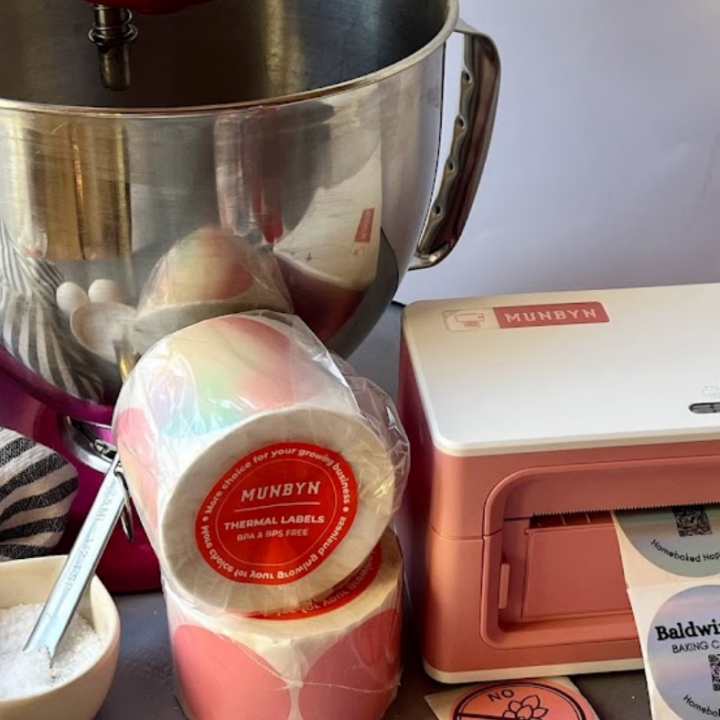
Thermal Label Printers
This is what I use now, and I wish I had gotten one sooner.
- Thermal printers don’t use liquid ink — they use heat, so there are no cartridges to replace.
- The labels come out as high-quality prints, resistant to smudging and moisture.
- It’s fast, reliable, and perfect for high-volume label printing.
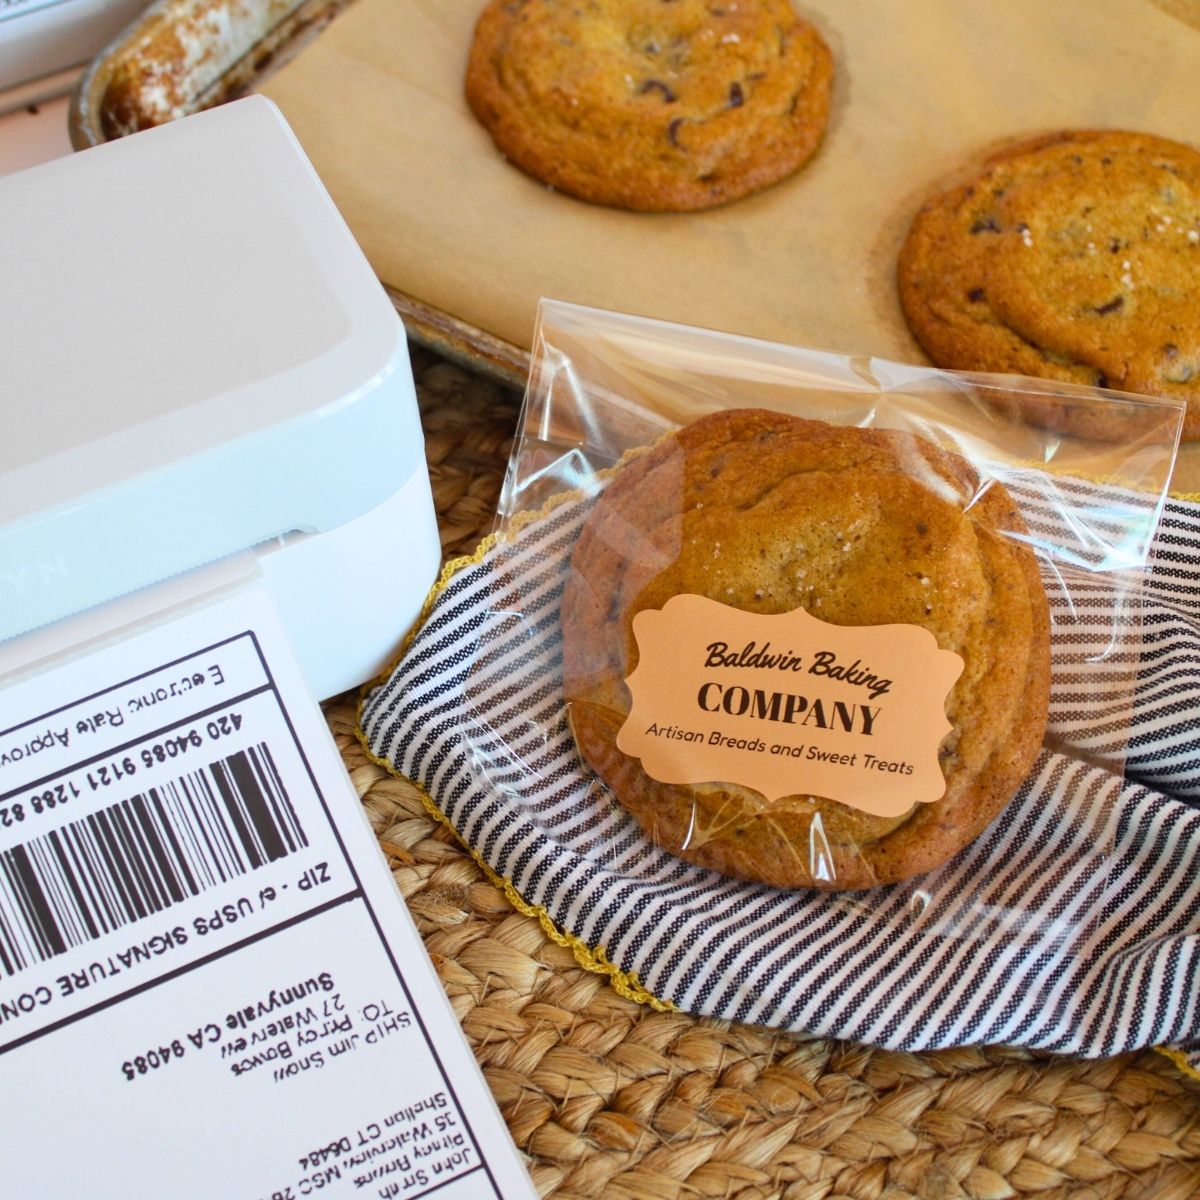
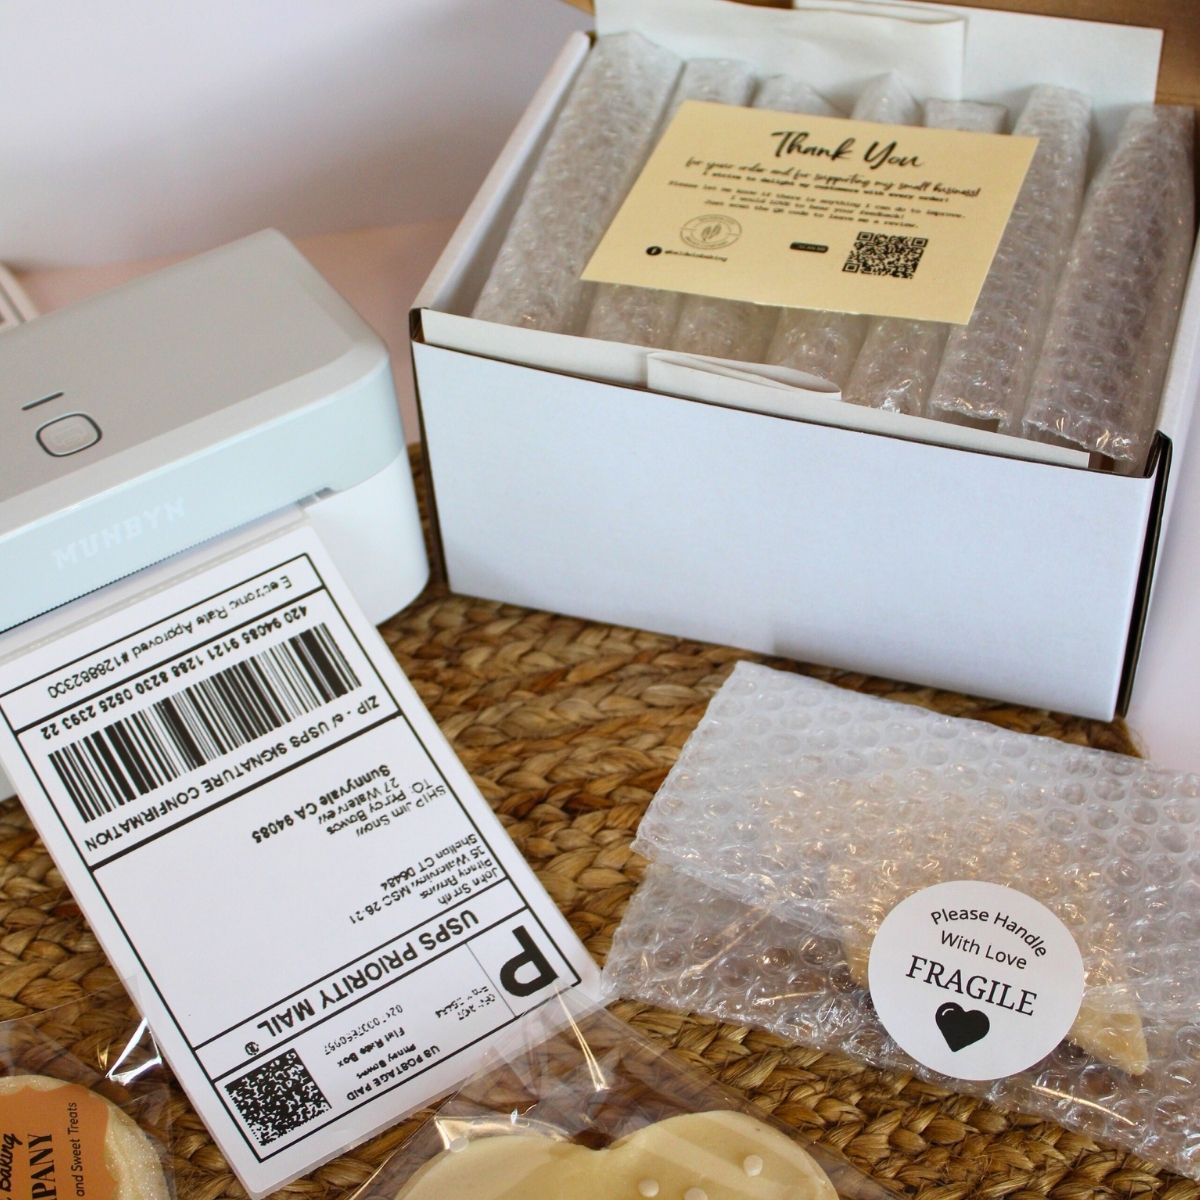
Why I Like the MUNBYN RealWriter 403B for My Home Bakery
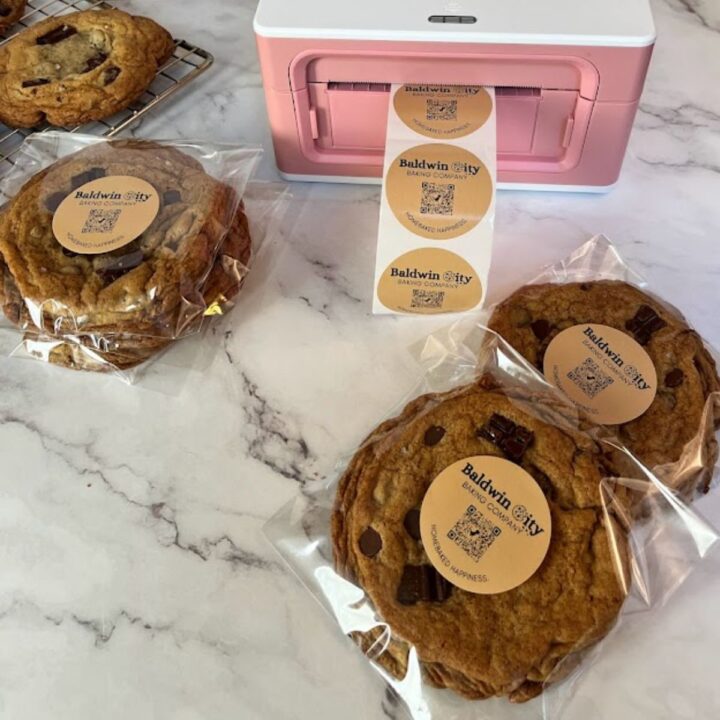
What I really love about the MUNBYN RealWriter 403B thermal printer is how simple and helpful it is—especially if you’re running a small baking business from home. Here are some of the best things about it:
-
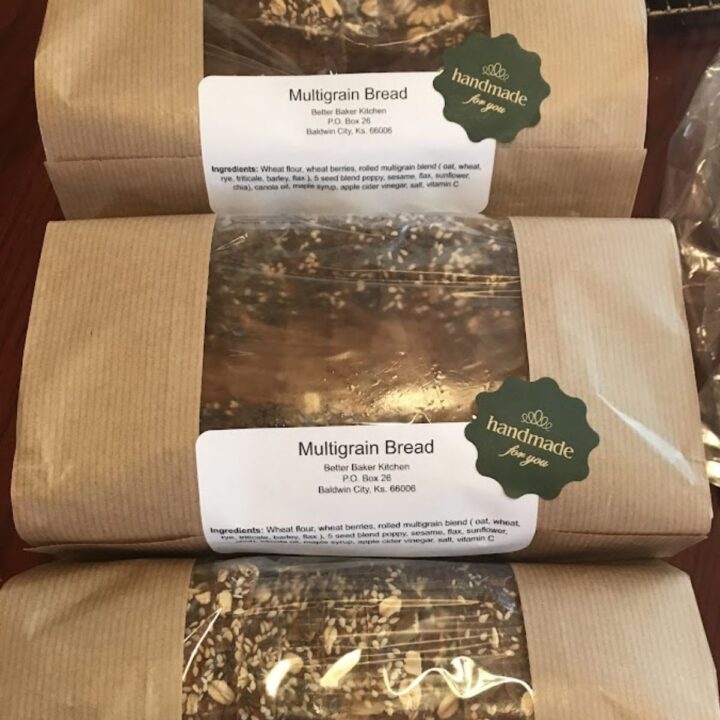
Your labels come out super clear – Whether you’re printing a shipping label or some cute labels for your cookies, the text and design look sharp and easy to read. No smudges or faded ink, so your packages are more likely to make it to the right place.
-
It connects with Bluetooth – You don’t need to sit right next to it or mess with cords. You can print from across the room using your Mac, PC, or smart phone.
-
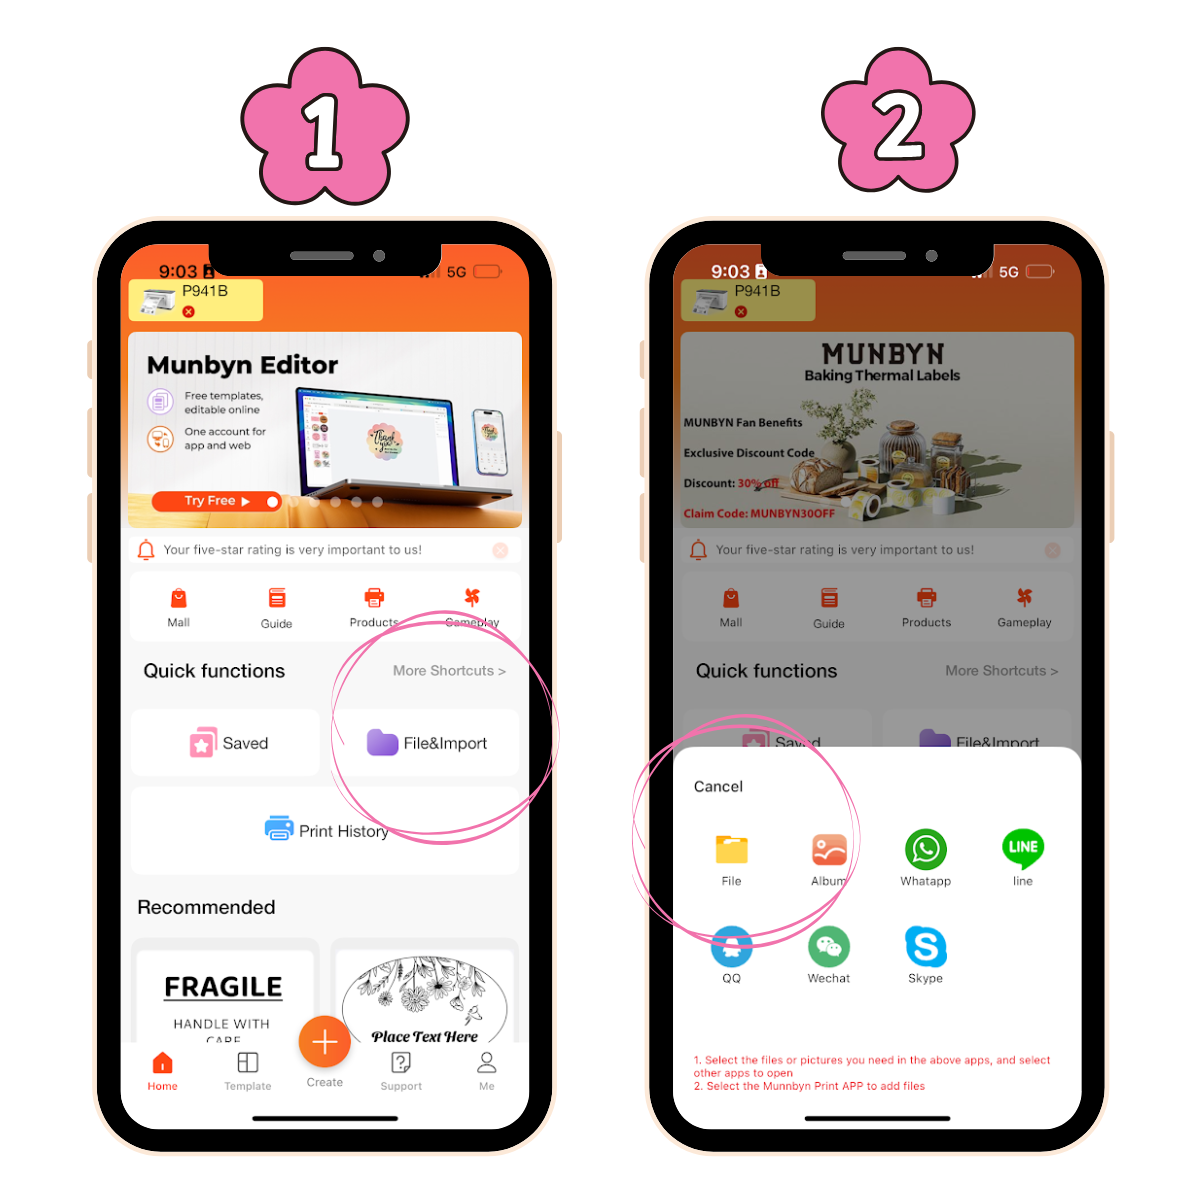
You can make your own labels – Use the free MUNBYN app or their web-based Munbyn Editor to design labels that match your brand. It’s easy, even if you’re not super techy.
-
It doesn’t waste labels – The printer is smart enough to line things up right, so your labels don’t print crooked or cut off. That means less waste.
-
It’s affordable – At $79.99, it’s a great deal. You get professional-looking labels without spending a ton. It's perfect if you're just getting started or want to save money.
Inkjet Printers
I started out with an inkjet printer. It was fine for the first time or two, but the print quality wasn’t always great.
- Ink can smudge easily, and label sheets don’t always feed cleanly.
- Ink refills cost more than you’d think, especially if you print often.
Laser Printers
Laser printers are a better standard printer option if you already have one for your online business.
- They use toner instead of liquid ink, which improves the durability of your shipping labels.
- But they’re still not as efficient as thermal printers when it comes to label printing.
Which Printer Should You Choose?
If you’re shipping cookies every week or handling multiple orders from your online store, a thermal printer is the perfect match. It gives you high-quality labels quickly and is the cheapest way to ship long-term.
What to Include on Your Shipping Label
Once you’ve chosen your shipping method and you're ready to buy a label, the website you’re using will walk you through a few key fields. It’s a simple process, but getting these right is important for smooth deliveries and happy customers.
Here’s what you’ll typically need to enter:
- Shipping address and return address – These make up your address label, so double-check for typos before you hit print.
- Type of shipping service – Like Priority Mail or ground, depending on what’s fastest and most affordable.
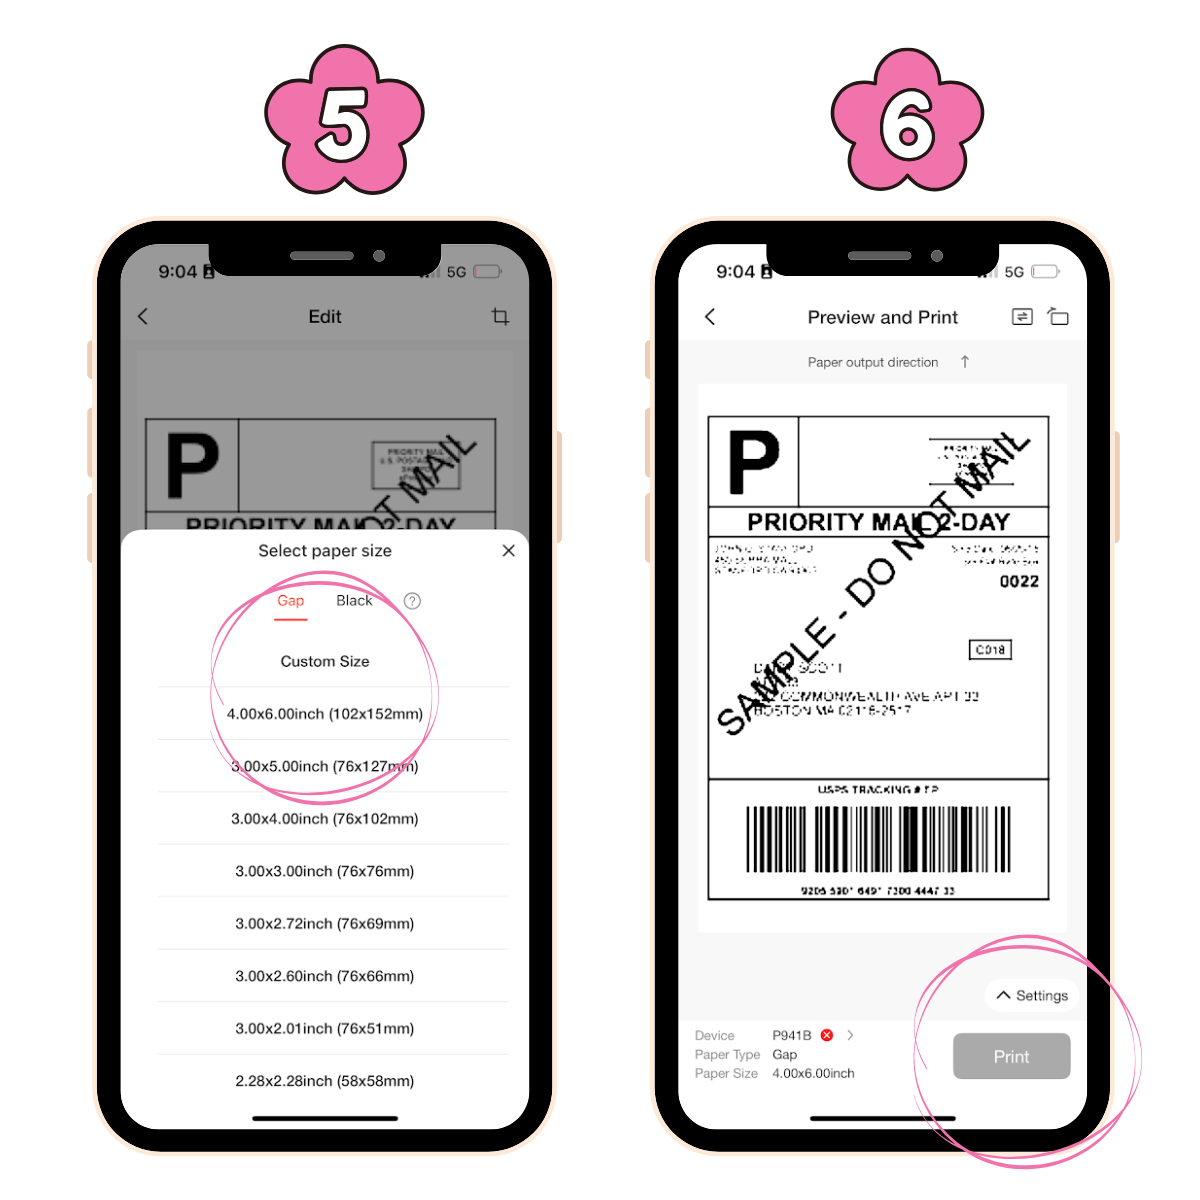
- Package details – You’ll select the type of package, enter the weight, and choose the correct label size (usually 4x6 for thermal printers).
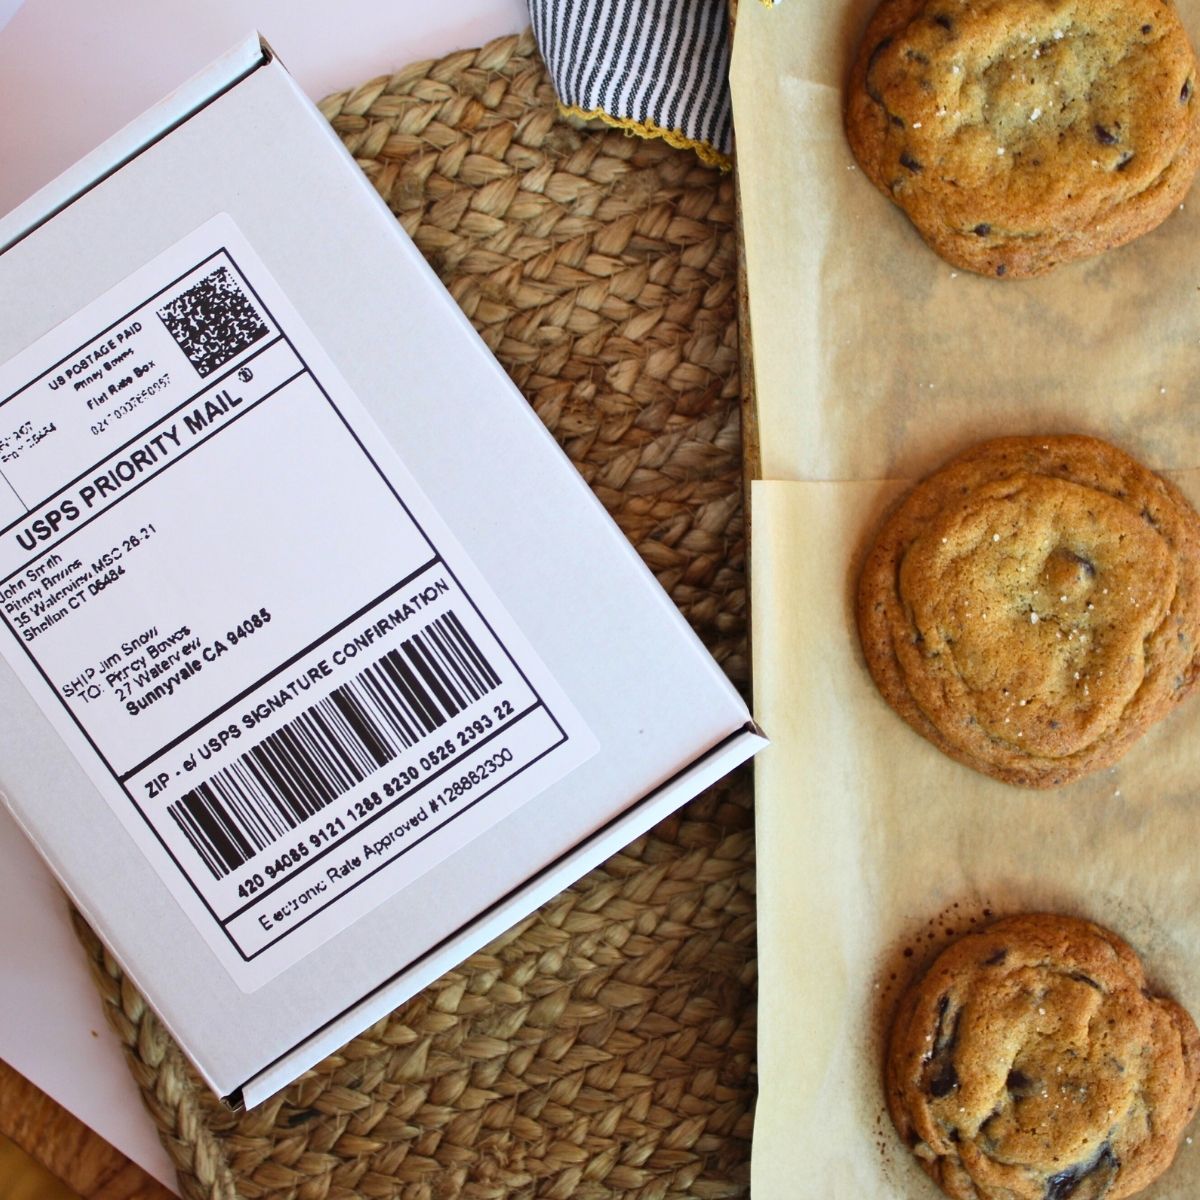
Once that’s done, you’ll download your shipping label file (usually a PDF), and use your thermal printer to print the shipping label on adhesive labels. Stick it on a flat part of the box so it’s easy to scan during shipping.
Why I Use Pirate Ship to Print My Shipping Labels at Home
When I first started shipping cookies, I tested a few different carriers and online tools, hoping to find something simple and affordable. But I kept running into the same problem:
My customers were paying too much for shipping.
Between printing manual labels and navigating each carrier’s site, it was so frustrating! Plus, the prices just weren’t working for a small business like mine.
Then I found Pirate Ship, a free third-party app that connects you with discounted rates from major courier services like USPS and UPS. It changed everything.
Here’s why I love it:
- It works with any type of package
- I can download the shipping label file and print it from my phone or laptop
- It keeps my prices low!
Now, I can get orders out fast and ship confidently, without overcharging my customers.
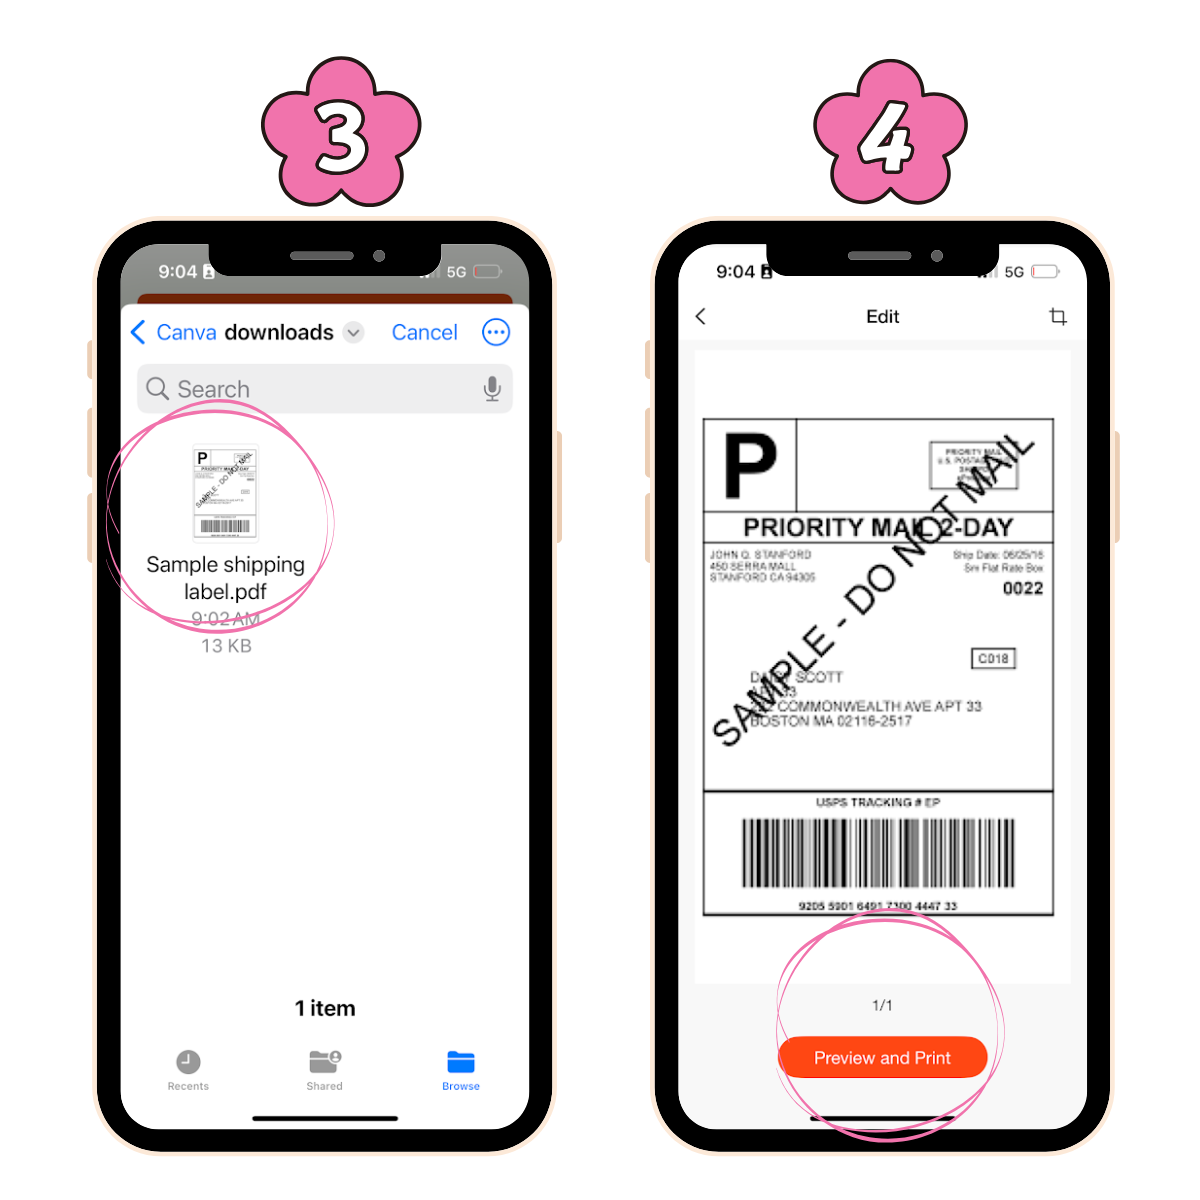
How I Print Shipping Labels at Home (Step-by-Step)
Here’s the exact system I use to ship cookie orders using my Munbyn thermal printer and Pirate Ship. (My favorite free app that helps you get the best rates with major carriers.)
Create your shipment in Pirate Ship
I log into Pirate Ship and enter the recipient’s name, address, and return address. I also select the box size and enter the total package weight using my kitchen scale.
Compare shipping rates
Pirate Ship automatically shows me the best carrier options (like USPS or UPS) based on cost and delivery time. I choose the best option for that order.
Download your 4x6 label
Once I’ve selected the service, I download the PDF file. Pirate Ship formats it as a standard 4x6 shipping label, ready for thermal printing.
Print the label using my Munbyn printer
I load my Munbyn thermal printer with self-adhesive 4x6 shipping labels and send the label to my Munbyn thermal printer.
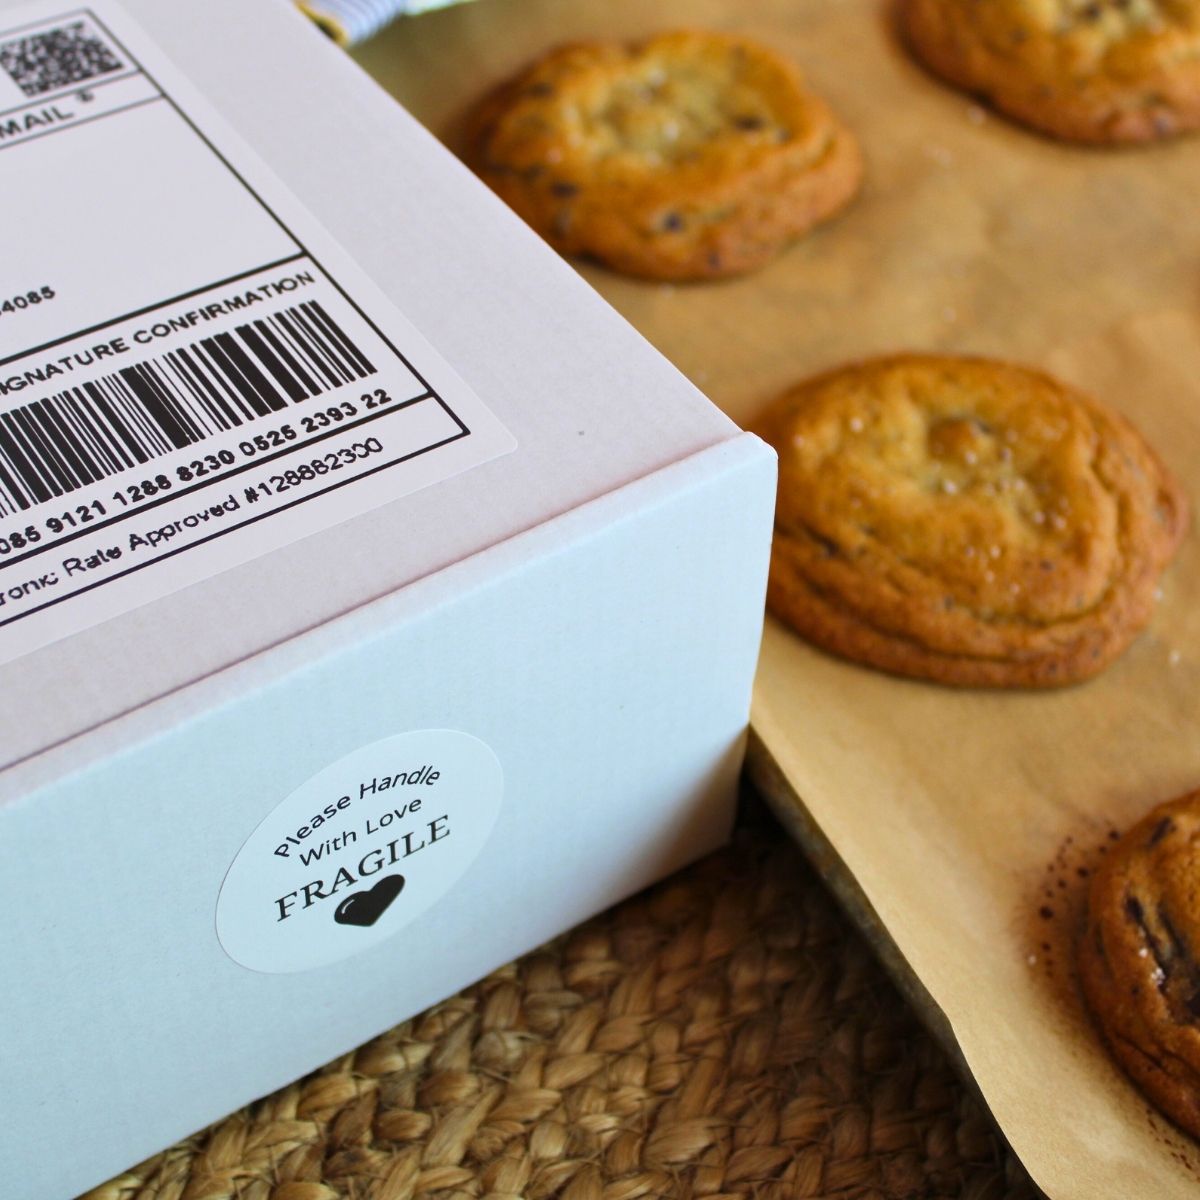
Apply the label and pack the box
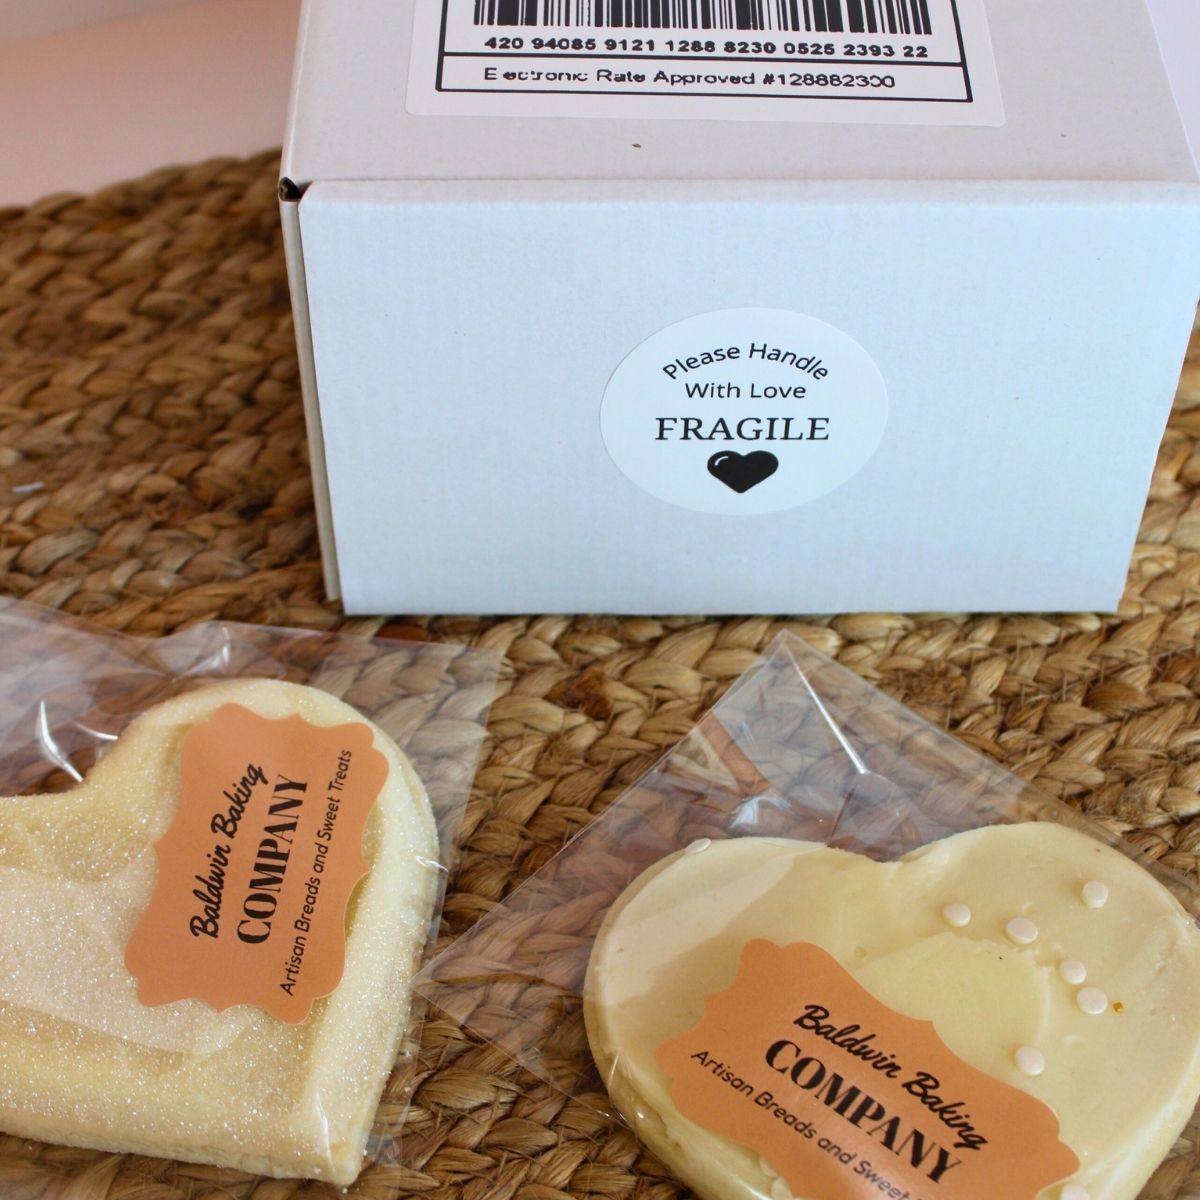
I stick the label to the top of the box in the flat, visible safety zone.
📌Pro Tip: I always tuck in a thank-you card before sealing the box!
Schedule a pickup or drop it off
Depending on the carrier, I either schedule a porch pickup through their mobile app or drop off the package at the nearest location.
Smart Shipping Tips for Bakers
Shipping baked goods takes a little trial and error, but here are a few things I’ve learned that make the process smoother and more predictable:
Stick to One or Two Box Sizes
Using the same size boxes for every order keeps things simple. I have one size for small orders and one for larger ones. That way, when a customer orders, I already know which box I’ll use and can quickly quote the shipping cost because I know the dimensions and the weight ahead of time.
Weigh the Full Package
Always weigh the entire package with cookies, box, crinkle paper, bubble wrap, labels, and everything. Guessing leads to undercharging or surprise fees. A kitchen scale works perfectly for this.
Use Sturdy Packaging
Cookies are delicate. I use crinkle paper to cushion the bottom, wrap each cookie in bubble wrap, and pack everything snugly into a strong shipping box. It keeps the cookies protected and helps avoid breakage.
Keep a Digital Scale Within Reach
Having a digital scale on hand makes it easy to weigh each order right before you print the label. Even a small weight difference can affect the price, so it’s worth getting it right.
FAQ: What Bakers Need to Know About Shipping Labels
What needs to be on the label?
Your shipping label should include the recipient’s name, address, zip code, and return address, plus tracking info like a barcode or QR code.
How do I pay for shipping?
Most shipping platforms let you buy labels directly on their site. You’ll enter your shipment details, pay by card, and download the label as a PDF file. You’ll need Adobe Acrobat Reader or a similar program to open and print it.
Do I need a scale?
Yes — a shipping scale helps you avoid common issues like underpaid postage. It’s a must-have for any online store.
Can I print on regular paper?
Yes, but label sheets or adhesive paper offer better results. They hold up during shipping and make your packages look more professional.
Now You Know How to Print Shipping Labels at Home
Once I figured out how to print my shipping labels at home, everything changed. I no longer lose time at the post office, and my orders go out quicker with fewer mistakes.
Using a thermal printer and Pirate Ship has made shipping way easier and more efficient for my home bakery.
The Munbyn thermal label printer has become one of my favorite tools. It prints fast, it’s super clear (no wasted labels or reprints), and the quality stands out whether I’m printing a 4x6 shipping label, an ingredient label, or a custom logo sticker.
Whether you're shipping your first cookie box or scaling up your online business, printing labels at home is the easiest way to streamline your shipping process and save time every step of the way.
Ready to give the MUNBYN RealWriter 403B a try?
I’ve been loving how easy it is to print clean, professional labels for my home bakery—and right now, you can grab one at a discount.
Use the code MUNBYN403B at checkout to save 13%. Just a heads-up: this code is only good until June 15, so don’t wait too long!
Click here to shop the printer →
You Might Also Like:
Leave a Reply