


If you’ve ever wondered how to shape sourdough without losing all those beautiful bubbles, this is the step-by-step guide you’ve been waiting for.

Why This Shaping Method Works
- Maintains dough structure without deflating the bubbles built up during the bulk fermentation.
- Creates strong surface tension for that perfect oven spring.
- Works for high hydration doughs and lower hydration doughs alike with just a bit of practice.
This is my favorite shaping method because it creates just the right amount of surface tension without overly deflating the dough. I first learned this technique while training as an artisan bread baker in France, and it’s still the method I come back to for soft crumb and good oven spring. Whether you're baking in a loaf pan or using a batard-shaped banneton, this method works beautifully for both.
What Tools You’ll Need
You don’t need a lot of fancy gear to shape sourdough well, but a few tools will make the process smoother:
- A bench scraper or bench knife for handling and shaping the dough
- A proofing basket or loaf pan, depending on the shape you’re going for
- Rice flour or all-purpose flour to dust the work surface and basket
- A clean, lightly floured work surface
- Plastic wrap or a shower cap to cover the dough during the final proof
For large batches, divide the dough into smaller portions before shaping to keep things manageable.
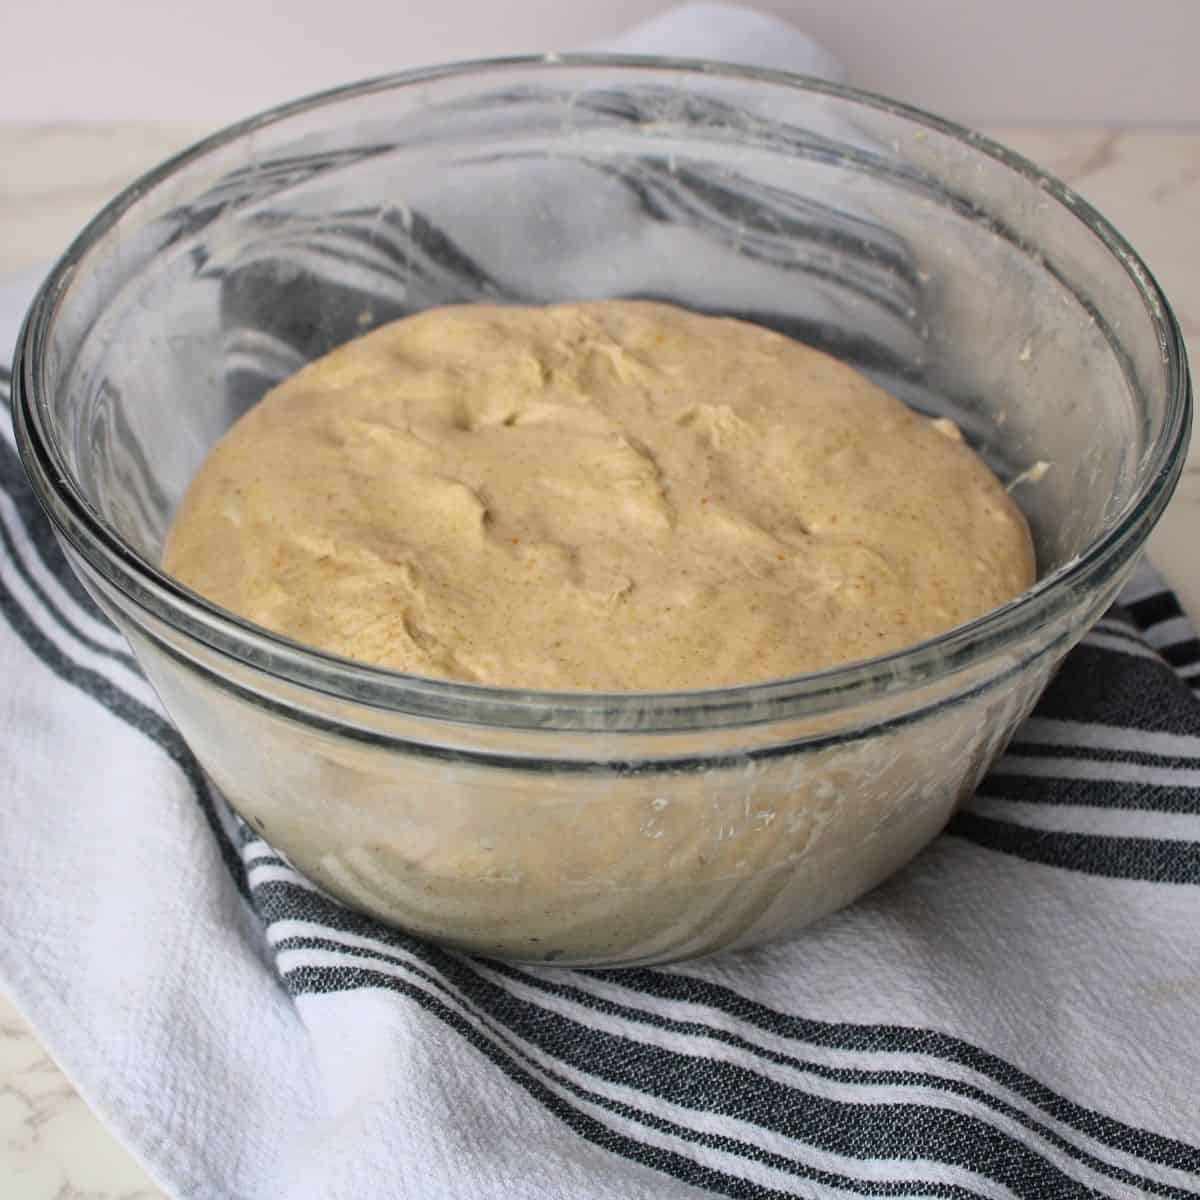
When to Shape Sourdough
After the first rise (also called bulk fermentation), the dough should feel puffy, soft, and slightly jiggly. That’s your sign it’s ready to shape. Gently press a finger into the dough—if the indentation springs back slowly, you're good to go.
If this is your first time shaping sourdough, don’t stress. This step-by-step guide breaks the process down in a way that’s easy to follow, even for beginners.
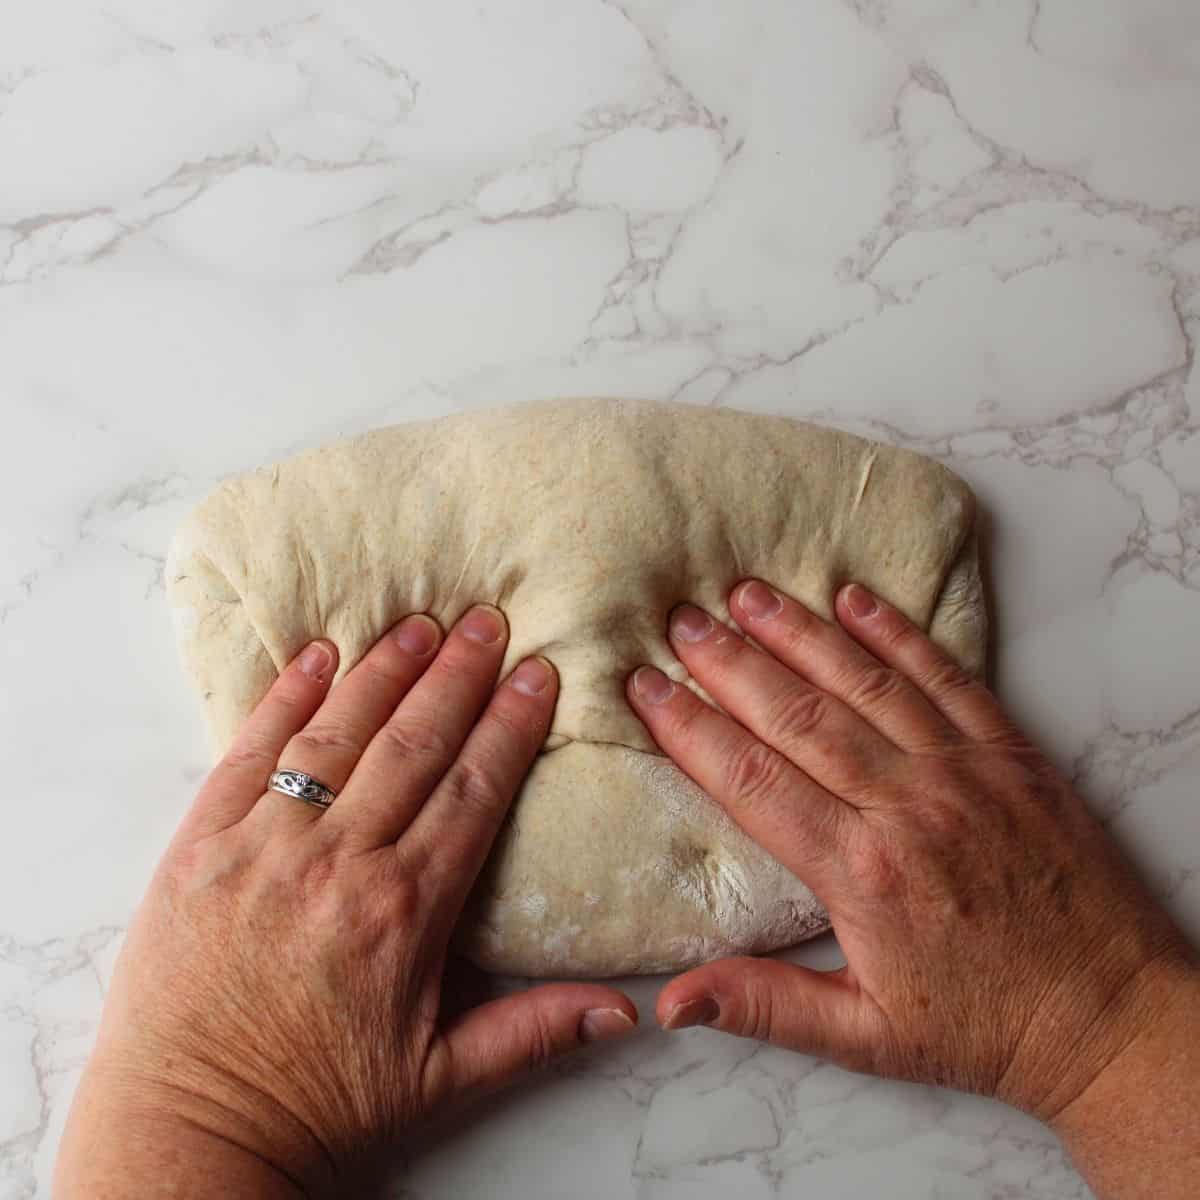
- Step 1: Place your piece of dough onto a lightly floured work surface. Gently pat it into a rough rectangle—not too thin, just enough to stretch it slightly. Fold the top third of the surface of the dough down toward the center.
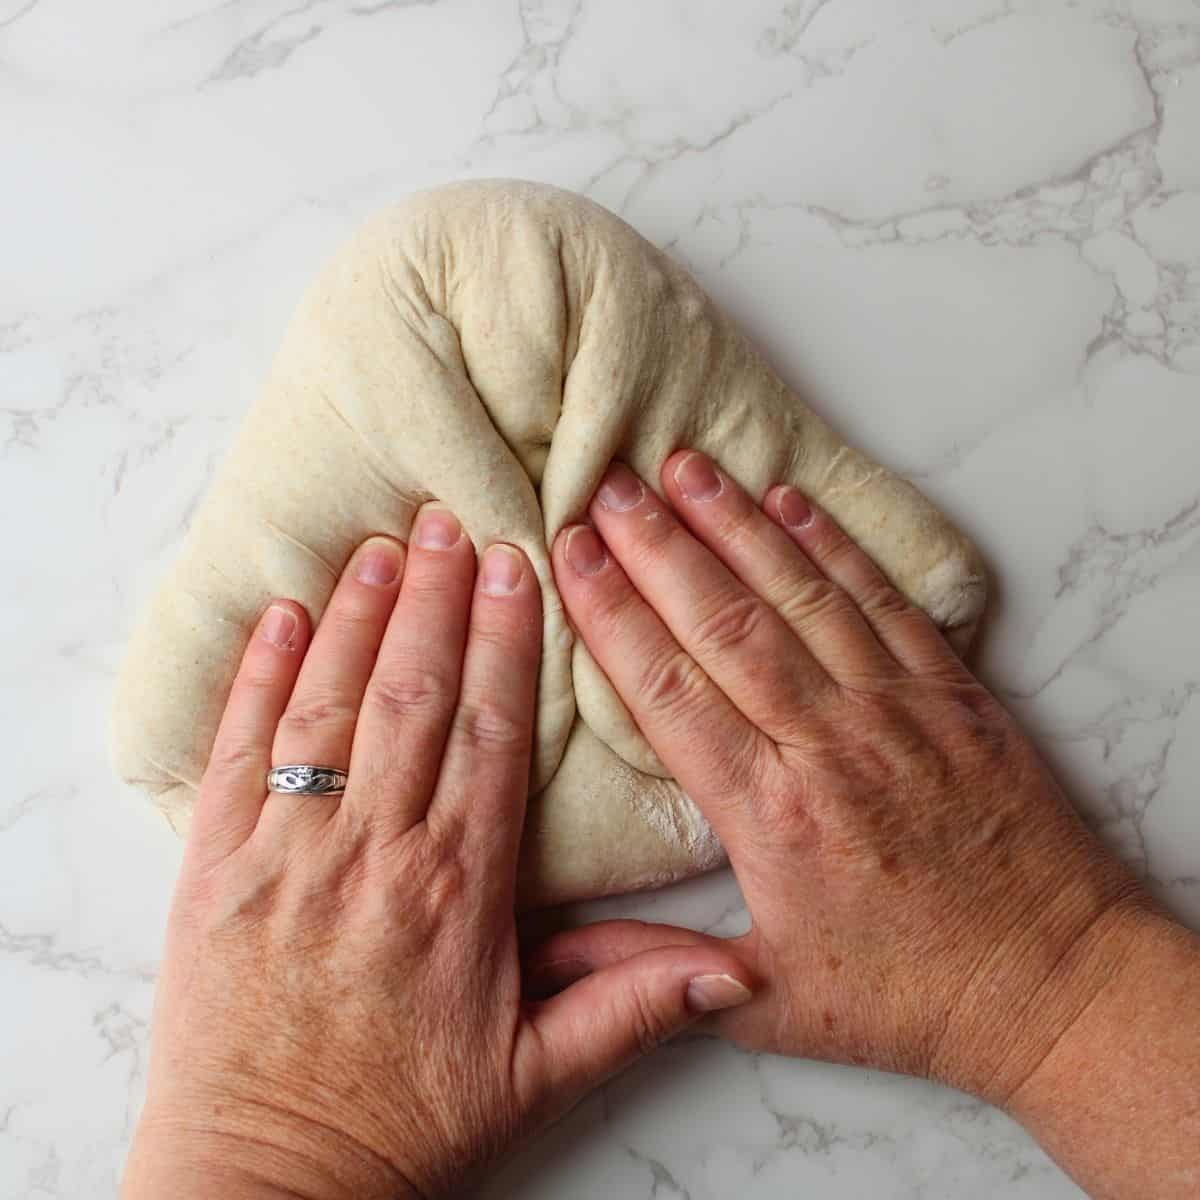
- Step 2:Bring both the left and right sides of the dough inward, like you’re making a triangle. This manages the width og your loaf and creates tension on the outside of the dough.

- Step 3: Now fold the top of the triangle down, creating surface tension as you seal the seam. You should feel the dough becoming more taut.

- Step 4: Fold the dough over on itself and seal the seam with the palm of your hand.This tension is what gives your bread its final shape and dough height.
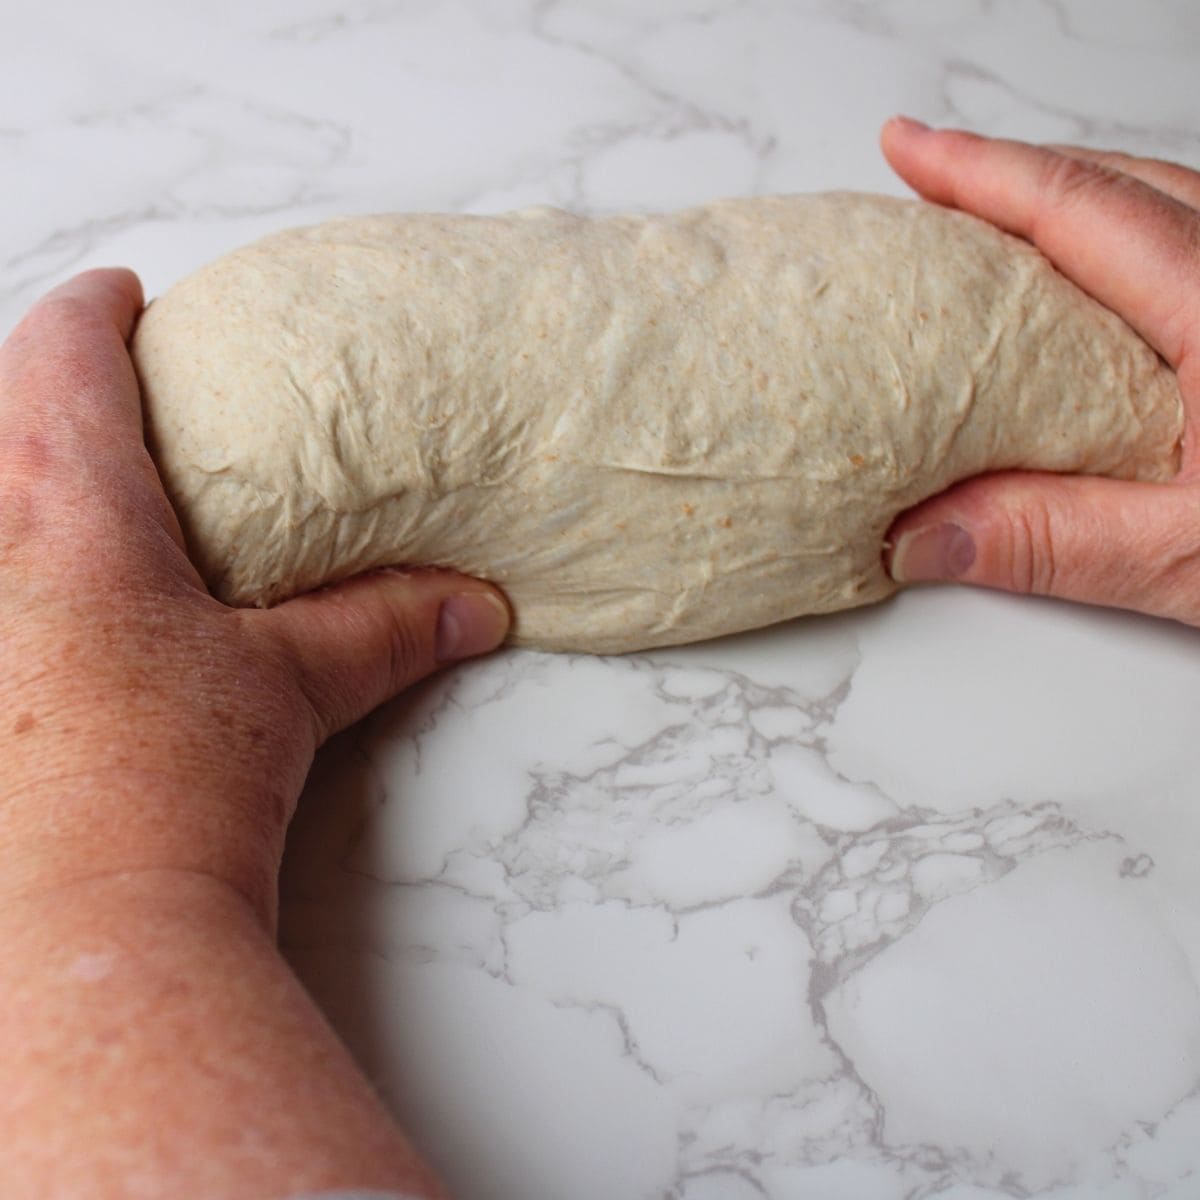
- Step 5: Give the dough one final roll under your hands to even out the shape. If making a batard or oval loaf, elongate slightly to match your baking vessel or proofing basket.
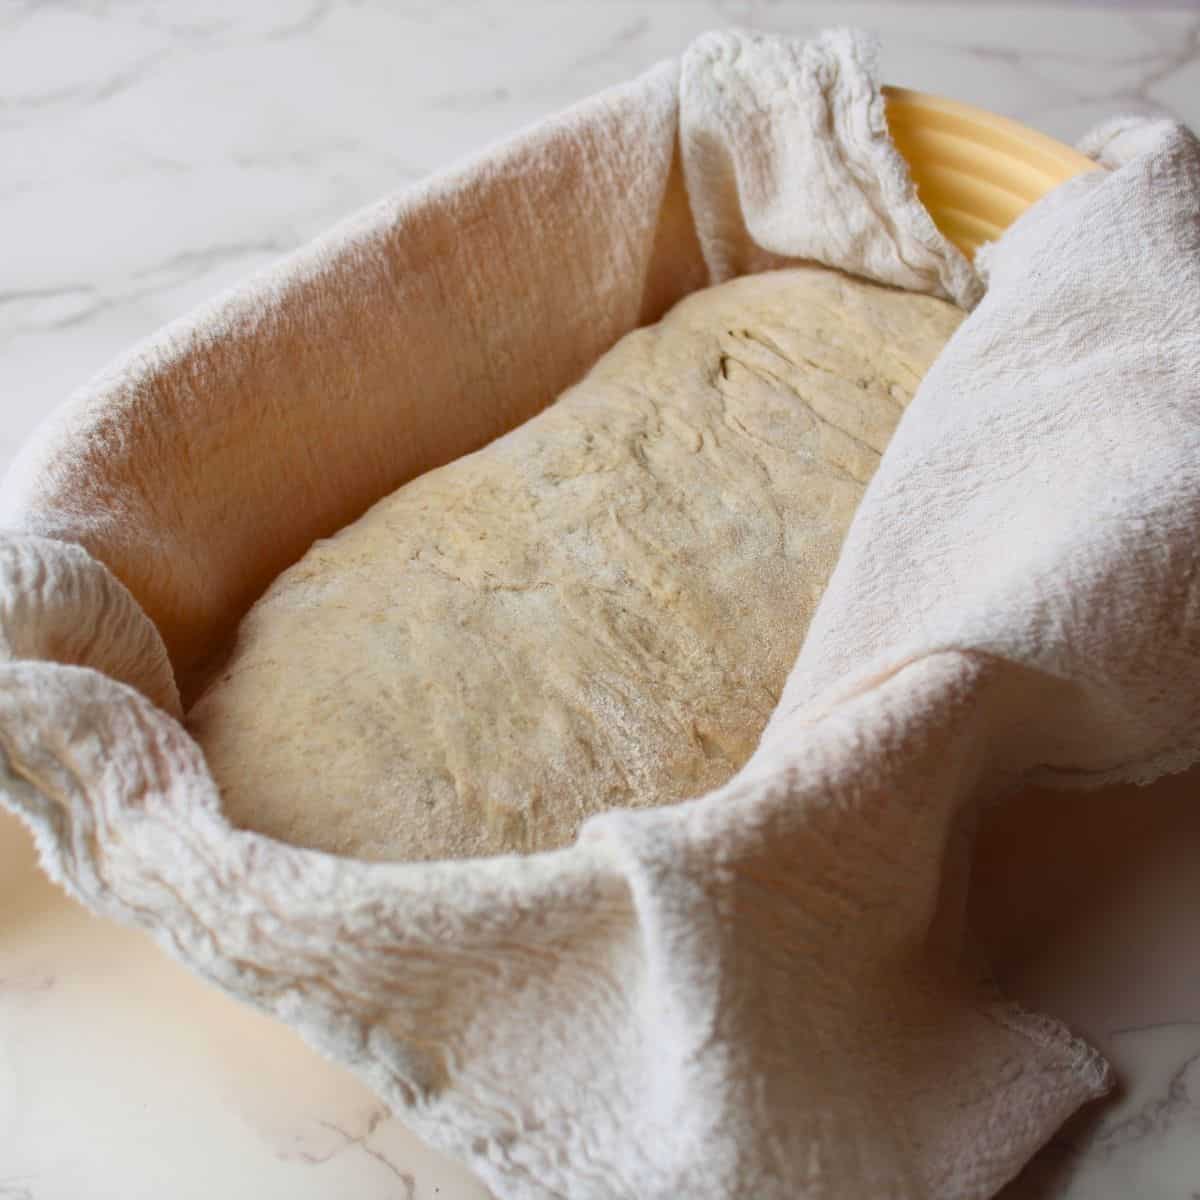
- Step 6: Now your dough is ready for its final rise. Lightly dust your floured banneton with rice flour or grease your loaf pan, then gently place the shaped dough inside, seam-side up (for batard) or seam-side down (for pan loaves).
 Want to turn your baking hobby into a business?
Join the Bake Better Academy and get real support with pricing your bakes, marketing your menu, labeling your products, and attracting new customers to your home bakery. It's everything you need to build a business you love!

Wondering how long to prove your shaped dough? This guide walks you through exactly how to tell when it’s ready to bake.
Tips for Sticky or High-Hydration Doughs
If your dough feels soft, sticky, or hard to control, you're likely working with a high hydration dough. Don’t worry—this method still works well with a few small adjustments:
- Flour your hands or use slightly damp fingers
- Let the dough sit uncovered for 10–15 minutes before shaping to help it firm up
- Use a bench scraper to help move and tighten the dough
- Avoid over-flouring, which can make shaping harder
With time, you’ll get a feel for the dough’s strength and know when it’s ready to shape.
Shaping for Different Final Loaf Types
This shaping method is flexible enough to use for multiple loaf styles:
- For a batard or oval shape, place the dough seam-side up in a floured banneton.
- For a round boule, tighten the dough into a ball using a gentle circular motion and place it seam-side down.
- For a loaf pan, finish shaping into a log and place seam-side down in the pan.
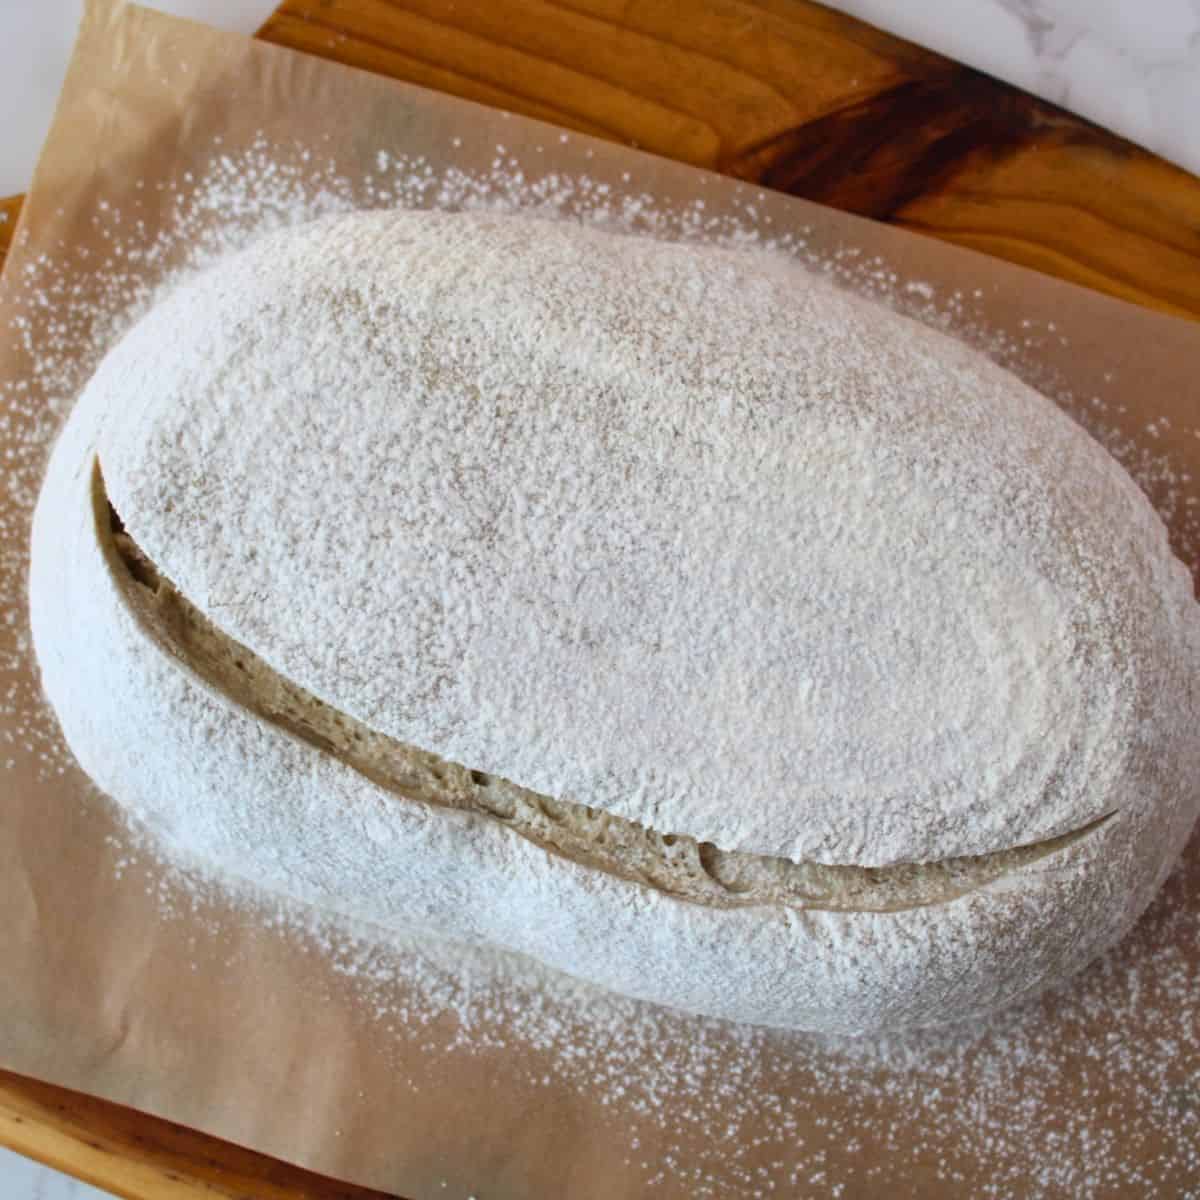
Each shape creates a slightly different look and crust texture. A round loaf gives a more rustic feel, while a pan loaf is great for slicing.
No Dutch Oven? No Problem.
Don’t have a Dutch oven? You can still bake beautiful sourdough bread.
A Dutch oven helps trap steam for a crisp crust, but it's not the only way to get great results. If you're just getting started or baking with what you have, try my Easy Sourdough Bread Recipe Without a Dutch Oven. It’s beginner-friendly and delivers a soft, flavorful loaf—no fancy tools required.
Want to Try Other Shaping Styles?
There are many shaping techniques out there, and each one can lead to a slightly different final result. This method is great for building tension and keeping the dough’s airy structure, but it’s not the only way.
If you're looking for a simple, flexible approach that works for most loaf shapes, this is a solid choice. Still, don’t be afraid to experiment with different shaping styles over time as your confidence grows.
What’s Next After Shaping?
Once your dough is shaped and resting in its proofing basket or loaf pan, it’s time to think about the final proof and bake timing. You’ll want to give the dough enough time to rise again before baking—but not too much.
Not sure how long that takes? I’ve got you covered.
Read this next: How Long to Prove Sourdough Bread Before Baking
It breaks down what to look for, how to do the poke test, and how room temperature affects proofing time.
Final Thoughts
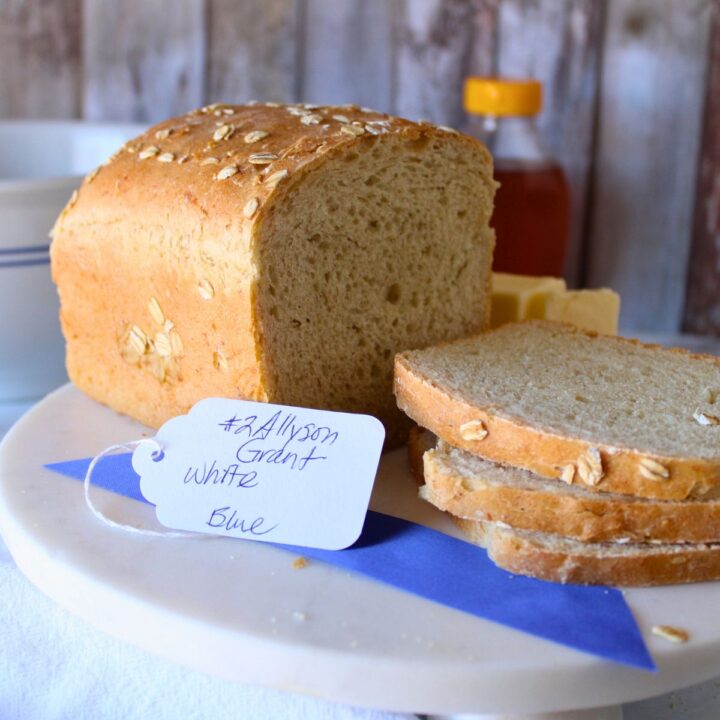
There are many shaping techniques out there, but this one consistently gives me the best oven spring and a beautiful crumb. Whether you're making a round boule, an oblong loaf, or something more rustic, mastering the shaping process is one of the most important basics in the bread-making process.
Once you've shaped your dough, you're well on your way to a perfect loaf of homemade sourdough!
Don’t have a Dutch oven? You can still bake beautiful sourdough bread.
A Dutch oven helps trap steam for a crisp crust, but it’s not the only way to get great results. If you're just getting started or baking with what you have, try my Easy Sourdough Bread Recipe Without a Dutch Oven. It’s beginner-friendly and delivers a soft, flavorful loaf—no fancy tools required.
More Sourdough Resources You’ll Love
Want to keep baking or learn how to take care of your starter between loaves? Here are a few more helpful tutorials:
- How to Freeze Sourdough Starter – Save your starter for later without starting over.
- How Long Does Homemade Bread Last? – Tips on storing your loaf so it stays fresh.
- Easy Sourdough Bread Recipe Without a Dutch Oven – No special tools needed.
- Soft and Fluffy Sourdough Buns – A beginner-friendly recipe using the same shaping principles.

Leave a Reply