
Have you been wanting to learn more about sourdough starters? Are you looking for more flavor and complexity from your bread baking efforts? Are you noticing that commercial yeast is hard to find right now?
Here is an easy recipe for how to make your own sourdough starter from scratch so that you can bake delicious artisan bread with no commercial yeast. In just 5-10 days you will have a flavorful sourdough starter that is ready to use in your favorite recipes.
In this article you will learn the easiest way to make a sourdough starter, and how to maintain it. I’ll even show you how to store your starter and give you an easy recipe to try when your sourdough starter is ready to use.
Before we start, Could you do me a favor? Will you pin this post to your Pinterest Recipe board? To pin it, just click on the image below. Every little bit of traffic helps me grow this blog and I really appreciate it!
Jump to Recipe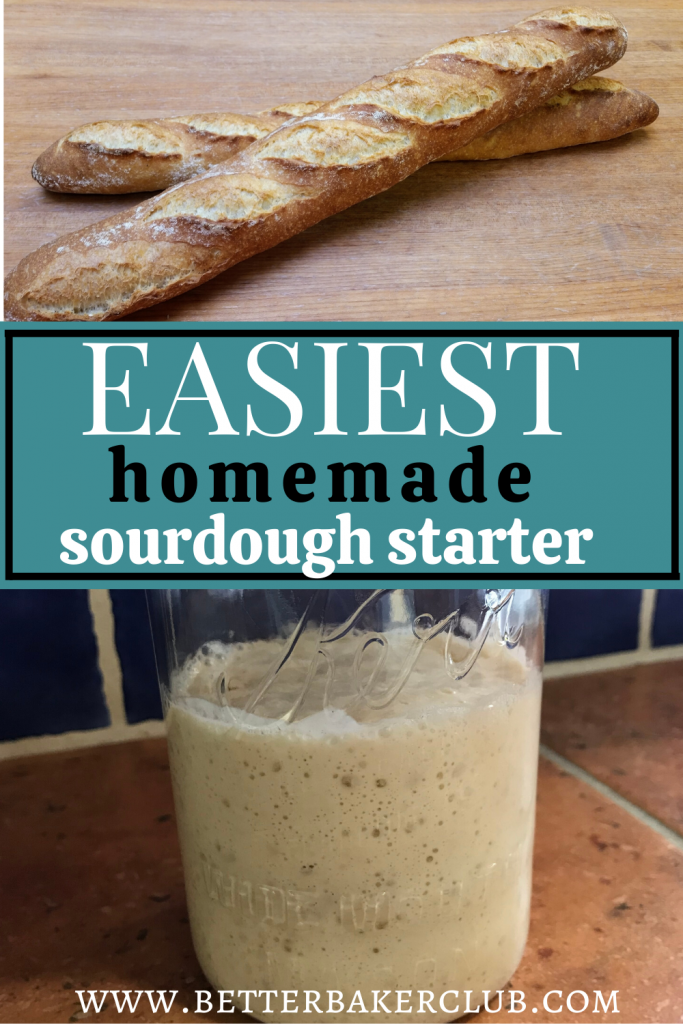
How to begin a sourdough starter
Starting your sourdough at home is very simple. It requires only two ingredients and a few supplies. I have had great success starting my sourdough starter with whole wheat flour. (Keep in mind, there are lots of different methods out there. This is what works well for me).
One thing that is important to know: I’ve seen a few recipes for “easy overnight sourdough starters” that call for flour, water and yeast.
Adding yeast to flour and water and letting it sit overnight is not a sourdough starter!
Those “instant” sourdough starters are actually a sponge, or poolish. They are great for certain things (like my Spongy Soft Focaccia) but don’t be fooled into thinking that is a true sourdough starter.
What is the difference between commercial yeast and sourdough?
Sourdough starters are similar to commercial yeast in that they both contain some form of yeast. Commercial yeast is grown in a controlled environment, while sourdough has wild yeast and the added lactobacteria that many people associate with the “sourdough” taste.
Supplies you’ll need to begin your starter
Disclosure: Some of the links in this post are affiliate links and if you go through them to make a purchase I will earn a commission. Keep in mind that I link these companies and their products because of their quality and not because of the commission I receive from your purchases. The decision is yours, and whether or not you decide to buy something is completely up to you.
Glass quart jars: I like to have two jars on hand. When you go to feed your starter, you’ll be saving 1/2 cup each time. Its nice to have a clean jar to start each feeding with. Just dump the 1/2 cup of starter into a clean jar and add the flour and water and stir. The dirty jar is called discard. There are plenty of things you can do with this, or you can throw it away. Its up to you.
Cheesecloth: These are great for covering your jars instead of lids. When I first started my starter I was using a lid, and on day 5, I only had a few small bubbles. When I switched to cheesecloth I got lots more growth between feedings. It allows the natural yeasts in the air to filter in.
Food Scale: Although my directions have measurements for feedings, this is actually my favorite way to feed the starter. See below for my “Lazy Feeding Method”
Unbleached Bread Flour– I really like King Aurthur bread flour. I always have it on hand for baking breads and it gives me a super active sourdough starter as well.
Whole Wheat Flour- You may see a variety of methods for starting your sourdough. Some people use rye flour, some even use fruit! Using a high-quality whole wheat flour like Bob’s Red Mill has always worked for me. It doesn’t need to be Bob’s Red Mill. Just be sure that it is fresh and 100% whole wheat.
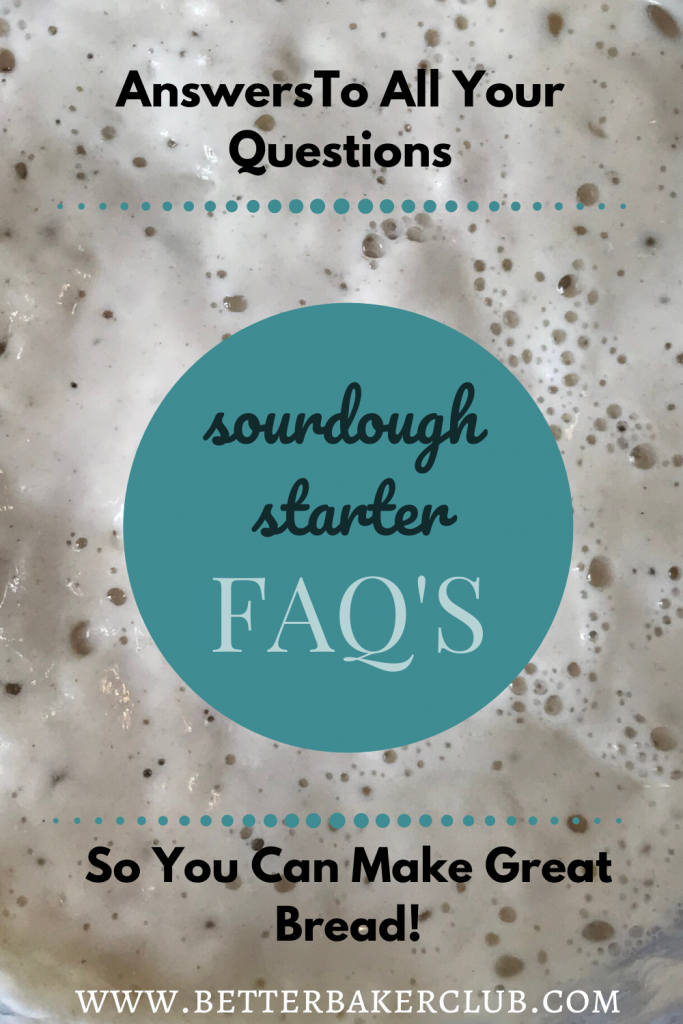
Frequently Asked Sourdough Starter Questions
How long does it take to grow a sourdough starter?
If you are starting from scratch with flour and water it will take between 5-10 days.
Why do I discard half the sourdough?
When building a new starter the proportion of flour, water, and the starter is 1/1/1. If you did not discard your sourdough and just fed it as is, the volume of starter would quickly become too much to handle.
Why is there liquid on top of my starter?
The liquid on the top of your starter is called hooch. It is an alcohol that forms when the starter is hungry. Pour it off and feed your starter more frequently.
How often should I feed my starter?
You’ll want to keep your starter active by feeding it twice daily if you are a regular bread baker.
How do I know when my starter is ready to use?
Once you begin to see bubbles in your starter and it is doubling in size between feedings it’s ready!
How can I tell if my starter has gone bad?
If you notice red or pink spots on your sourdough starter, a dangerous bacteria may have developed and it should be discarded. A liquid layer on the top, however is not the sign of a bad starter, just a hungry one.
How do I use my sourdough starter in a regular bread recipe?
A basic rule of thumb for using sourdough starter in place of commercial yeast is: Substitute 1 cup of starter for each package of yeast and then subtract about 1/2 cup of water and 3/4 cup of flour from the recipe to compensate for the water and flour in the starter. Remember that sourdough needs more rising time than commercial yeast.
To bake with your starter, feed it 4 hours before mixing the dough so the starter is at its most active.
Ingredients
- 1 cup whole wheat flour
- 8 cups unbleached bread flour
- 4 1/2 cups water
Instructions
- DAY ONE- Add 1 cup whole wheat flour to a glass quart jar. Add 1/2 cup water. Stir and cover with a towel or cheesecloth and leave at room temperature for 24 hours.
- DAY TWO-Discard half the starter. Add 1 cup unbleached bread flour, and another 1/2 cup water, Stir until all the water is incorporated and cover. Allow to rest for 24 hours.
- DAYS THREE-TEN- Feed the starter twice a day. Measure 1/2 cup of starter and reserve. Discard the remaining starter. Add to the 1/2 cup of reserves starter, 1 cup unbleached bread flour, and 1/2 cup water. Stir and cover for 12 hours. Repeat twice daily until you see growth between feedings.
- When the starter begins to double in size between the 12 hour feedings, it is ready to go.
- STARTER MAINTENANCE- if you plan on baking bread regularly, then continue the twice-daily feeding schedule from days three-ten.

When you are ready to bake with your starter, check out this awesome recipe for Sourdough Pizza Crust!


J West
Wednesday 9th of February 2022
Thank you, my wife is starting bakery this year and we're gathering helpful articles to start us off on the right foot. We really appreciate your input. We really enjoyed your post on social media and might get a head start there. Much respect and happy baking!
Better Baker
Thursday 17th of February 2022
So glad you found this blog post useful. Thanks for stopping by! You may also enjoy my Facebook group: Home Bakery Business Tips. Here’s the link to join: https://www.facebook.com/groups/474052560472378