


Why is photographing baked goods so important?
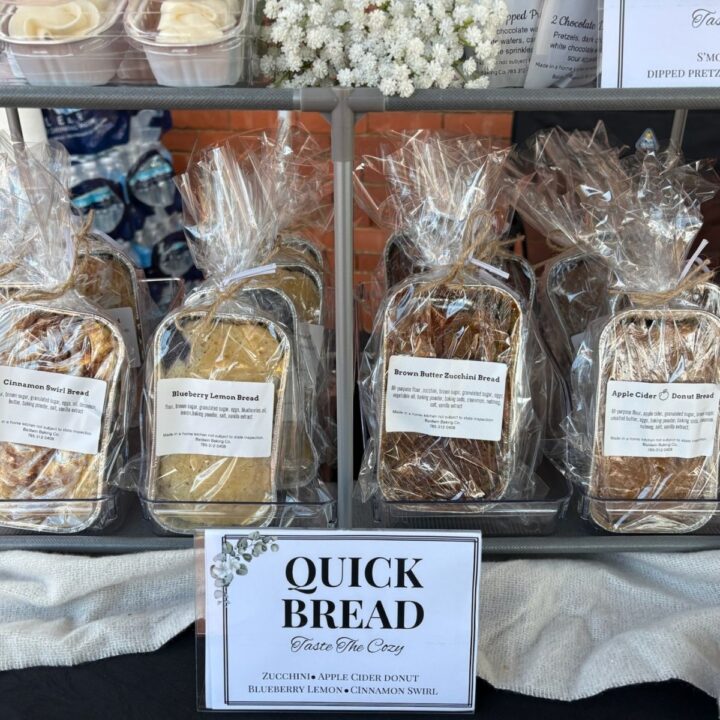
Let’s face it, post-2020 we are buying more things online than ever. If you are a home-based baker you probably don’t have customers looking at your baked goods before they buy, so it’s important to have great-looking photos available online. A great picture can do wonders for your sales!What can you expect to find in this article?
I’m going to share with you some of the tricks you can use to get great photos using your phone’s camera. I’ll share how to find the best camera settings, how to use baking props to set the scene, how to get a good composition with your baked goods, and finally some tricks for getting a great shot.What are the best camera settings for photographing baked goods?
The standard camera app that comes on your phone can be used to capture some great pictures, video, and even bursts for action shots. If you don’t have the newer models though you may find that you want more from your phone camera.Use photo apps to enhance camera features
I like to use the Lightroom app. Instead of using the camera app that comes on my iPhone, I open up the Lightroom app and use the camera there. You’ll have your choice of more settings to help you get just the right shot. Apps like this can help you take pictures, edit them, organize and manage your photos all inside the mobile app. Here is a link to the Lightroom app if you want to check it out.Use filters for maximum effect
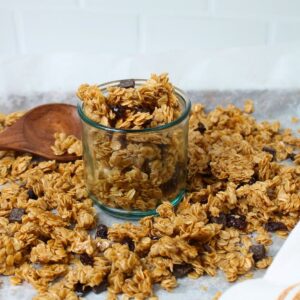
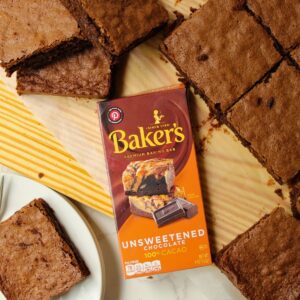
Nothing will ruin a good food photo more than having your colors off. If your phone camera isn’t picking up the right tones try using filters to enhance the colors of the food that are already present in your photo. Filters can help make chocolate the right shade of brown, and strawberries look irresistibly red. Filtered sunlight will also help pick up the natural tones in your photo and I’ll go into that more in the next section. To showcase your baked goods for maximum drool-factor, make sure the colors are accurate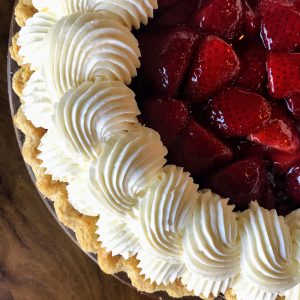

Setting the scene
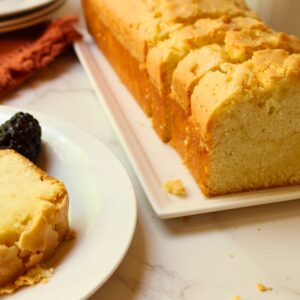
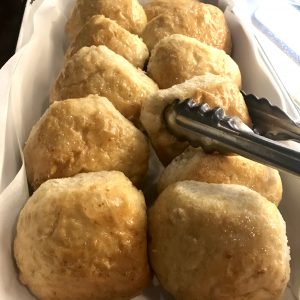
When it’s time to stage a photoshoot with your baked goods your goal is to create a pleasing photo that focuses on your treats. Backgrounds, props, shadows, and lighting can either be helpful or be a distraction. Follow these tips to get your best food photos yet. Try photographing your baked goods in natural light Natural light has an amazing and beautiful quality to it that captures the natural beauty of food. Try placing your arrangement in front of a window with filtered light coming from behind your shot. To direct the light onto your focal point, use white foam core boards to bounce some of the light back onto your food. Have a neutral background To showcase your baked treats make sure that you have eliminated all distract around and behind them. You can use poster board or foam core to create a “stage” for your products. Start setting a scene in a neutral space. If you want some texture and dimension you can add faux wood grain or marble contact paper to your poster boards. Use props sparingly Props can elevate your photo to a new level or distract your viewers from the items you want to sell. To use props to your advantage focus on two things:- Use your props to accent the color of baked goods- pick a focal color from your set up and then accent it with a prop in the background.
- Tell a story with your props- A pretty kitchen towel wrapped around a bread pan makes it look warm from the oven, and measuring spoons with a few ingredients scattered about gives things a baked from scratch feel.
Getting the perfect shot
Now that you have your lighting, food and props arranged you’ll want to make sure you get the best shots possible. Here are the shots that I make sure to get before I take everything down.Make sure you are photographing your baked goods from overhead
Sometimes called a “flat lay” shot, this is where you arrange your set up on a flat surface and capture it from directly above. You may need to rearrange the composition since a flat lay photo can require some adjusting before things look perfect.Get a hand in the shot
Almost like a prop, hands in food shots can add so much to your photo. Hands give a sense of activity and make the images come to life. My favorite ways too add hands in a photo are:- A plate of cookies or brownies with a child’s hand grabbing one
- Showing hands doing work (rolling pins, whisks, knives)
- If you can’t do a hand- try a spatula serving or a fork with a bite on it
Photograph your baked goods with horizontal and vertical perspectives
I’ve learned the hard way that I need to remember to turn my camera and photograph both horizontal and vertical images. A horizontal photo is wider, and a vertical photo is taller.- Horizontal shots- Most photos are shot this way. They have a bigger sense of space and are great for blog posts, cover photos, and general use.
- Vertical shots- Sometimes you need photos like this for practical reasons (Pinterest!), but vertical images also capture a sense of height and focus on the subject. (think- tall stack of cookies)
Are you ready to practice photographing your baked goods?
I’ve shared a few reasons why it is so important to get good photos of your treats. You don’t have to buy expensive equipment to get started. Bake something beautiful and then grab your smartphone, a sunny window, some colorful props, and start practicing. I’d love to see your best food pics. Drop them in the comment section and share how you did! Do you want to learn more about selling your baked goods online? Here are a few links that you may enjoy.
Three sure-fire ideas to increase bakery sales!


Leave a Reply