Decorating cookies with buttercream is one of my favorite ways to add a little something special for any occasion. But most buttercream recipes are made for cakes, not cookies. That’s why I’m sharing my go-to recipe for cookie frosting, plus some tips to make sure your designs stay perfect every time!
What is Sugar Cookie Buttercream Frosting?
Sugar cookie buttercream frosting is a thick icing that’s great for making frosted sugar cookies. Unlike royal icing, which hardens completely, this frosting stays semi-soft with just a light crust. It's delicious to eat and keeps its shape. It’s made from basic ingredients like butter, powdered sugar, and a bit of vanilla or almond extract. You can easily color it or add different flavors to match any theme. It’s perfect for spreading or piping onto sugar cookies, giving them a sweet and beautiful finish!
How to Package Cookies with Buttercream Frosting
- Let the Frosting Set: After decorating, allow the buttercream to sit for a couple of hours to form a light crust.
- Store in a Single Layer: Place the cookies in a single layer inside an airtight container or cookie box to keep the frosting from getting smushed. I recommend using wax paper bags, glassine bags, or even a charcuterie box.
- Chill for a Bit: If you need to transport the cookies, chill them briefly in the fridge to firm up the frosting.
- Avoid Heat: Keep the cookies in a cool place to prevent the buttercream from melting.
These tips will help your frosted cookies stay neat and beautiful when packaged! Check out my favorite cookie packaging options on Amazon!
How to Make the Best Buttercream for Cookie Decorating
The first step in decorating buttercream cookies is making the right buttercream. American buttercream is the easiest way to go. It's simple to make with basic ingredients like room temperature butter, powdered sugar, vanilla extract, and a little heavy whipping cream. Here’s how to make it:
Buttercream Recipe:
- ½ cup of unsalted butter (room temperature)
- 3 cups powdered sugar
- 3 tablespoons heavy whipping cream
- 1 teaspoon vanilla extract (or almond extract for a fun twist)
Instructions:
- In a large bowl, beat the butter on medium-high speed using a stand mixer with the paddle attachment until fluffy.
- Lower the speed to low and gradually add powdered sugar.
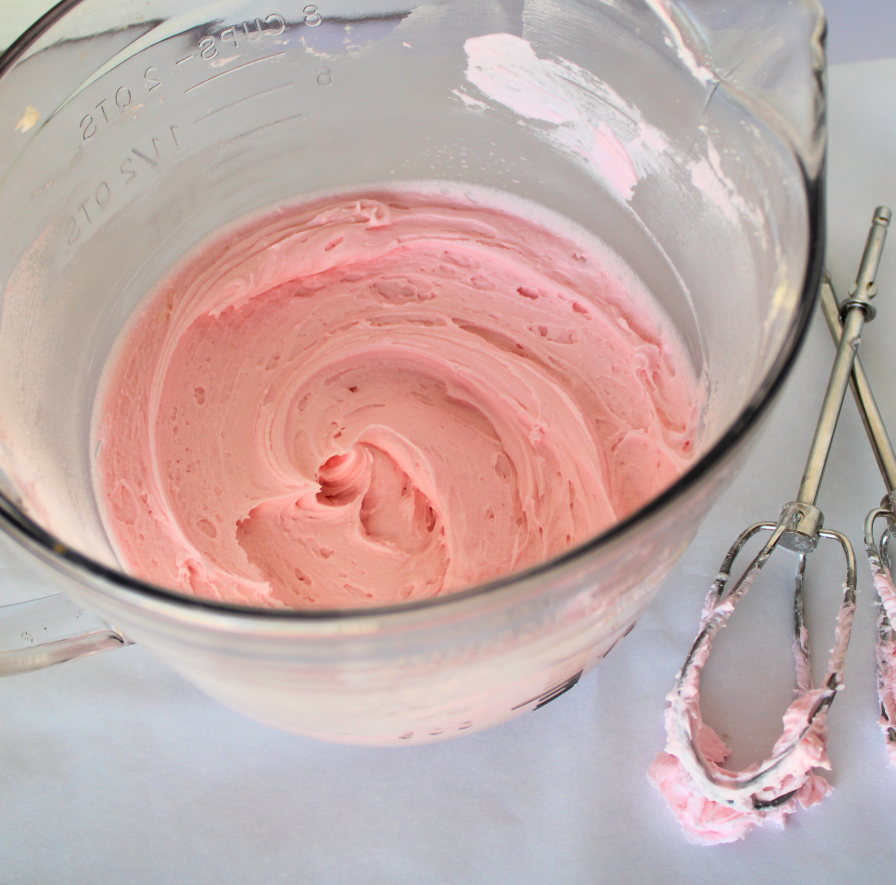
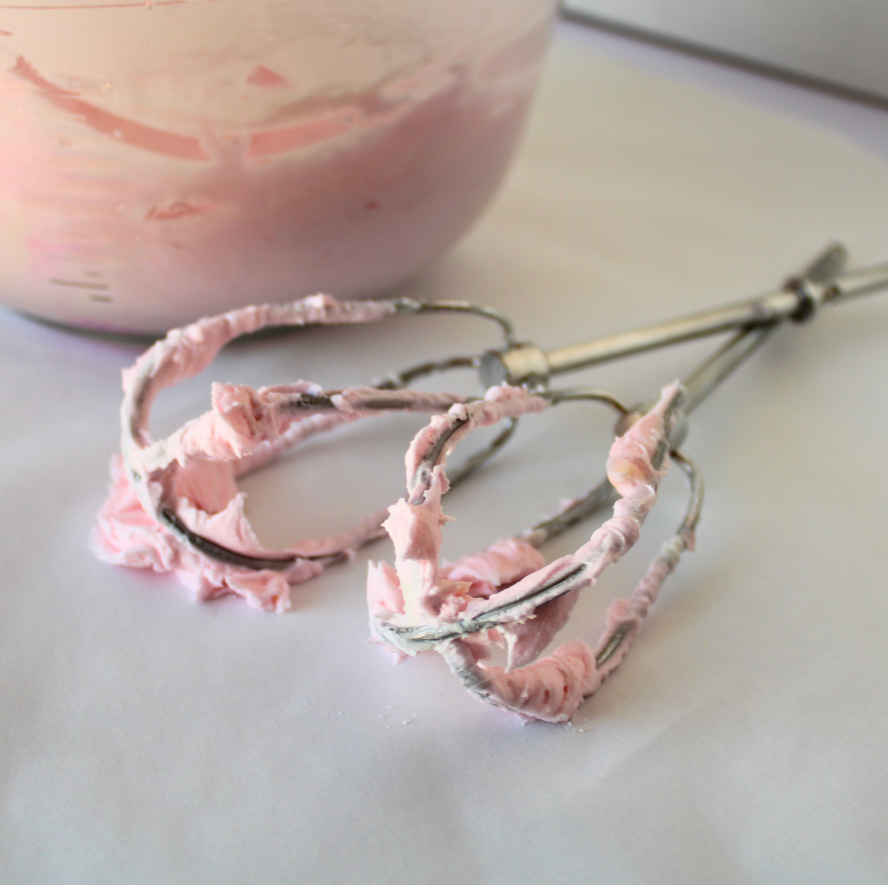
- Add vanilla extract and heavy whipping cream. Increase the speed to medium-high and mix until the frosting is fluffy and smooth. You should have a fluffy buttercream frosting with the right consistency for piping.
- Add gel food coloring for different colors if you want to create bright, colorful designs!
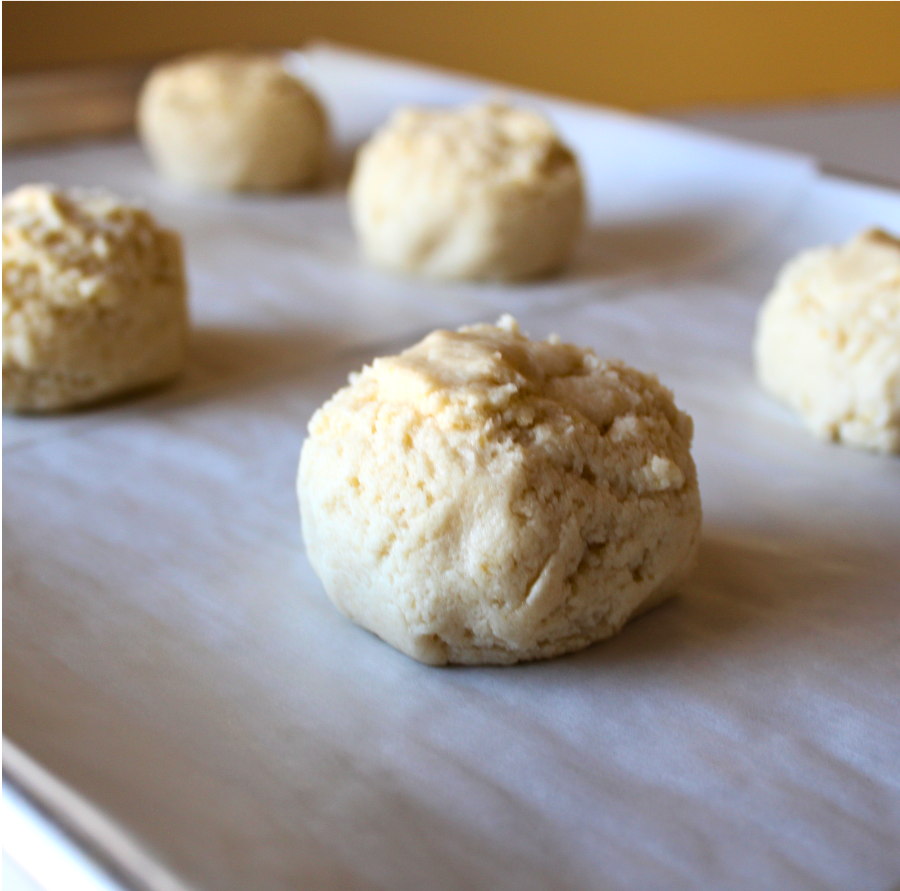
This is the best buttercream recipe for decorating cookies because it’s smooth, creamy, and holds up well on cookies. If you're looking for a great recipe to pair with this buttercream, try my cut-out sugar cookies. They are the perfect complement to buttercream and provide excellent results for decorating.
How to Flavor and Color Buttercream Frosting
Flavoring the Frosting:
- Extracts, Emulsions, and Oils: These are the easiest ways to flavor buttercream. Vanilla, almond, peppermint, and other flavors can be added in place of or alongside vanilla extract. My favorites are LorAnn oils and emulsions because they provide strong flavors without thinning the frosting.
Coloring the Frosting:
- Gel Food Coloring: Gel colors work best for buttercream since they don’t affect the consistency like liquid colors do. My go-to is Americolor gel, which gives vibrant results. For stiffer frosting, mix the colors in first and reduce the liquid by 1 teaspoon to keep the frosting thick enough for decorating.
The Right Tools for Buttercream Cookie Decorating
To get the best results, you'll need the right tools:
- Piping bags or icing bags for neat designs.
- Piping tips, like a star tip or round tip, to create beautiful patterns.
- Offset spatula or butter knife to spread the buttercream.
- Cookie cutters for fun shapes like Christmas trees or round cookies.
- Baking sheets or cookie sheets to bake and cool your cookies.
You can find most of these at stores like Hobby Lobby or check out my favorites from my Amazon Shop (as an Amazon Associate, I earn a small commission if you make a purchase through my affiliate links).
Techniques for Decorating Buttercream Cookies
There are so many different ways to decorate buttercream cookies! Here are a few techniques:
- Piping Designs: Using a piping bag with a piping tip, you can create intricate designs like flowers, borders, or even simple straight lines. For easy details, try using a sandwich bag with the corner snipped off. It’s a great option for beginners!
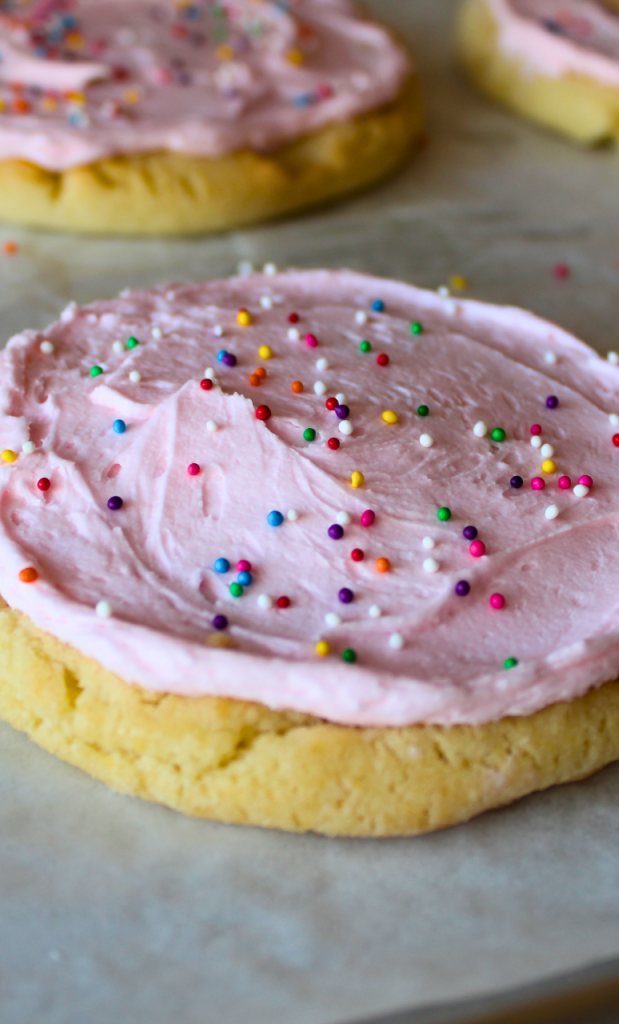
- Spreading Buttercream: If you want a smooth, frosted look, the easiest way is to use a butter knife or offset spatula to spread the frosting in a single layer. This works well for making cutout cookies look professional and delicious.
- Adding Color: Buttercream is perfect for adding different colors to your cookies. You can use gel food colors to match any theme, like soft pastels for a baby shower or bright greens and reds for Christmas cookies.
Storage and Packaging Tips for Buttercream Cookies
After decorating your cookies, you want to make sure they stay fresh and intact. Here are some tips:
- Let the buttercream set for a couple of hours so it forms a slight crust before stacking or packaging.
- Store the cookies in an airtight container lined with wax paper to prevent the buttercream from smudging.
- If you need to transport them, lay them in a single layer on a baking sheet or cookie sheet, separated by wax paper or plastic wrap.
These storage tips will help your buttercream sugar cookies stay fresh for days!
Common Mistakes to Avoid When Decorating Cookies with Buttercream
Decorating cookies with buttercream can be tricky at first, but here are a few tips to avoid common mistakes:
- Too soft or too stiff buttercream: Make sure your buttercream has the right consistency—not too stiff to pipe, but not so soft that it won’t hold its shape. You can add more powdered sugar to thicken it or a little bit of heavy cream to thin it out.
- Bleeding colors: Use gel food coloring instead of liquid coloring to prevent your colors from bleeding into each other.
- Smudged designs: Let the buttercream set before packaging or moving your cookies.
Design Ideas for Buttercream Cookies
Looking for some fun designs? Here are a few ideas to inspire you:
- Christmas tree cookies: Pipe green buttercream using a star tip to create a tree shape, and use different colors for ornaments.
- Baby shower cookies: Use pastel-colored buttercream to pipe cute designs like baby feet, hearts, or flowers.
- Round cookies with intricate details: Create intricate designs by layering colors and using different piping tips.
The possibilities are endless, and decorating with buttercream can be just as fun as eating the cookies!
Best Buttercream Frosting for Decorating Cookies
To make the best cookies possible, start with the best sugar cookie recipe.Try this easy sugar cookie recipe for soft sugar cookies that are the perfect complement to buttercream.
The buttercream frosting recipe typically yields enough to frost about 12-24 medium-sized cookies, depending on how thickly you apply the frosting.
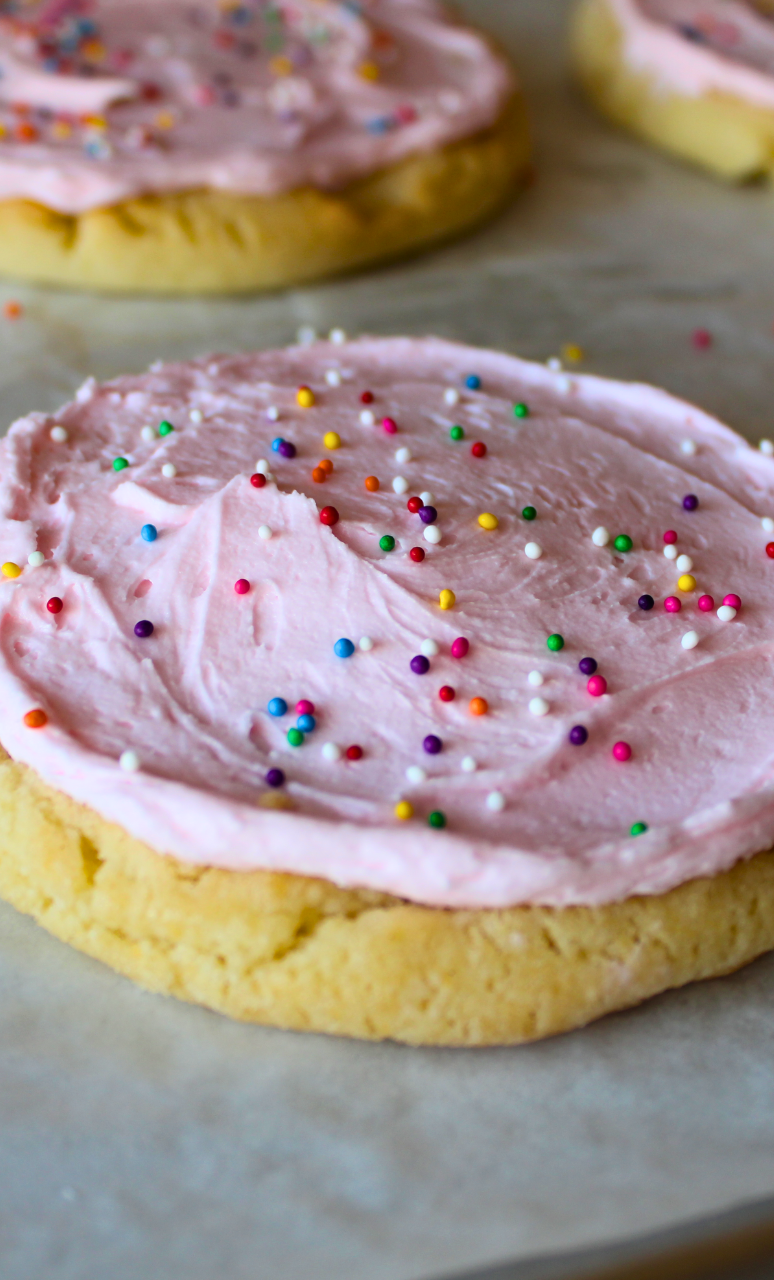
Best Buttercream Frosting for Cookie Decorating
Equipment
- Stand mixer with a paddle attachment (or electric mixer)
- Large bowl
- Piping bags or icing bags
- Piping tips (optional)
- Offset spatula or butter knife
Ingredients
- 1 cup 2 sticks unsalted butter, softened to room temperature
- 4 cups powdered sugar sifted for best results
- 2-3 tablespoons heavy whipping cream
- 2 teaspoons vanilla extract or almond extract for a different flavor
- Gel food coloring optional
Instructions:
- In a large bowl or the bowl of a stand mixer fitted with the paddle attachment beat the butter on medium-high speed for 2-3 minutes, until light and creamy.
- Reduce the speed to low and gradually add the powdered sugar one cup at a time. Once all the sugar is added, increase the speed to medium-high and beat until fully combined and smooth.
- Add 2 tablespoons of heavy whipping cream and vanilla extract. Beat on low speed to incorporate the liquids then increase the speed to medium-high and beat for 1-2 minutes until the frosting is fluffy. If the frosting is too thick, add the remaining tablespoon of cream.
- For colored frosting add a few drops of gel food coloring and beat until the color is evenly mixed.
- Use the frosting immediately for
- piping or spreading on cooled cookies.
Instructions
- In a large bowl or the bowl of a stand mixer fitted with the paddle attachment, beat the butter on medium-high speed for 2-3 minutes, until light and creamy.
- Reduce the speed to low and gradually add the powdered sugar, one cup at a time. Once all the sugar is added, increase the speed to medium-high and beat until fully combined and smooth.
- Add 2 tablespoons of heavy whipping cream and vanilla extract. Beat on low speed to incorporate the liquids, then increase the speed to medium-high and beat for 1-2 minutes until the frosting is fluffy. If the frosting is too thick, add the remaining tablespoon of cream.
- For colored frosting, add a few drops of gel food coloring and beat until the color is evenly mixed.
- Use the frosting immediately for
- piping or spreading on cooled cookies.
Notes
Storage: Leftover frosting can be stored in an airtight container in the refrigerator for up to 1 week. Let it come to room temperature and re-whip before using.
Consistency: If the frosting is too soft, add a bit more powdered sugar. If it's too stiff, add a little more cream, 1 teaspoon at a time.
Shelf Life: Frosted cookies can be stored at room temperature in a single layer for up to 3 days or refrigerated for up to 5 days in an airtight container.

Laurie Moser says
To make this frosting dairy free, could I use oat cream or other plant based cream? Or does it even need to be the thickness of cream? Maybe oat milk would work?