
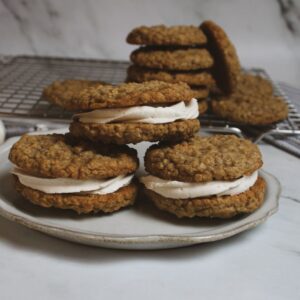


These homemade cookie dunkers are a combination of a dunk-able cookie cut into festive shapes served with a creamy frosting for dipping. Some call them sugar cookie dunkers or dunkeroos, but no matter the name, they’re adorable and perfect for Easter, Valentine’s Day, Christmas,St. Patrick’s Day, or even classroom parties.
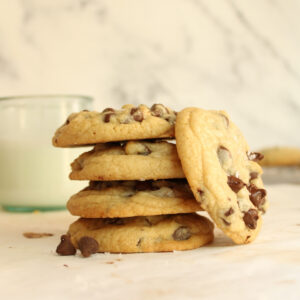
For a different spin on this, try filling the containers with my rolled chocolate chip cookies.

Try them with classic rolled sugar cookies or my rolled chocolate chip cookies for a fun variation.
Follow me on social!
Why You’ll Love These Cookie Dunker Cups
- No chilling the dough
- Cookies hold their shape when baked
- Perfect for seasonal treats at markets and events
What Are Cookie Dunker Cups?
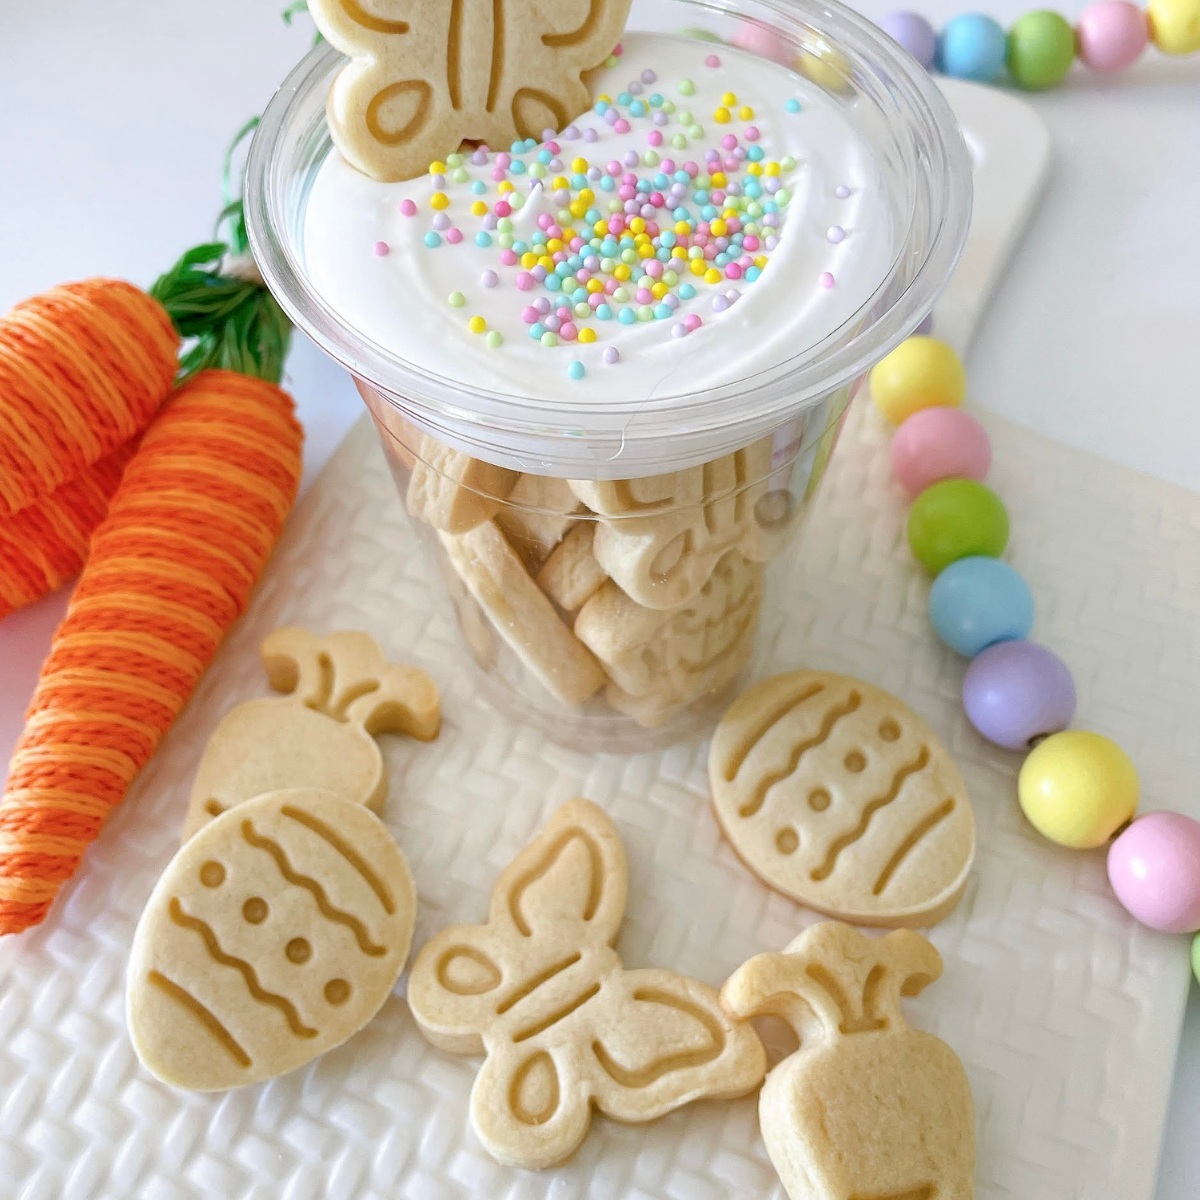
Cookie dunker cups are individual snack containers filled with mini sugar cookies and a portion of frosting for dipping.
Instead of spreading frosting on top, you dip. That makes them fun to eat and easy to sell at events where people want a treat they can carry while they walk around.
I like to package them in clear containers because they are impossible to resist when you can see the cookies stacked inside.
How to Make Cookie Dunker Cups Look Professional
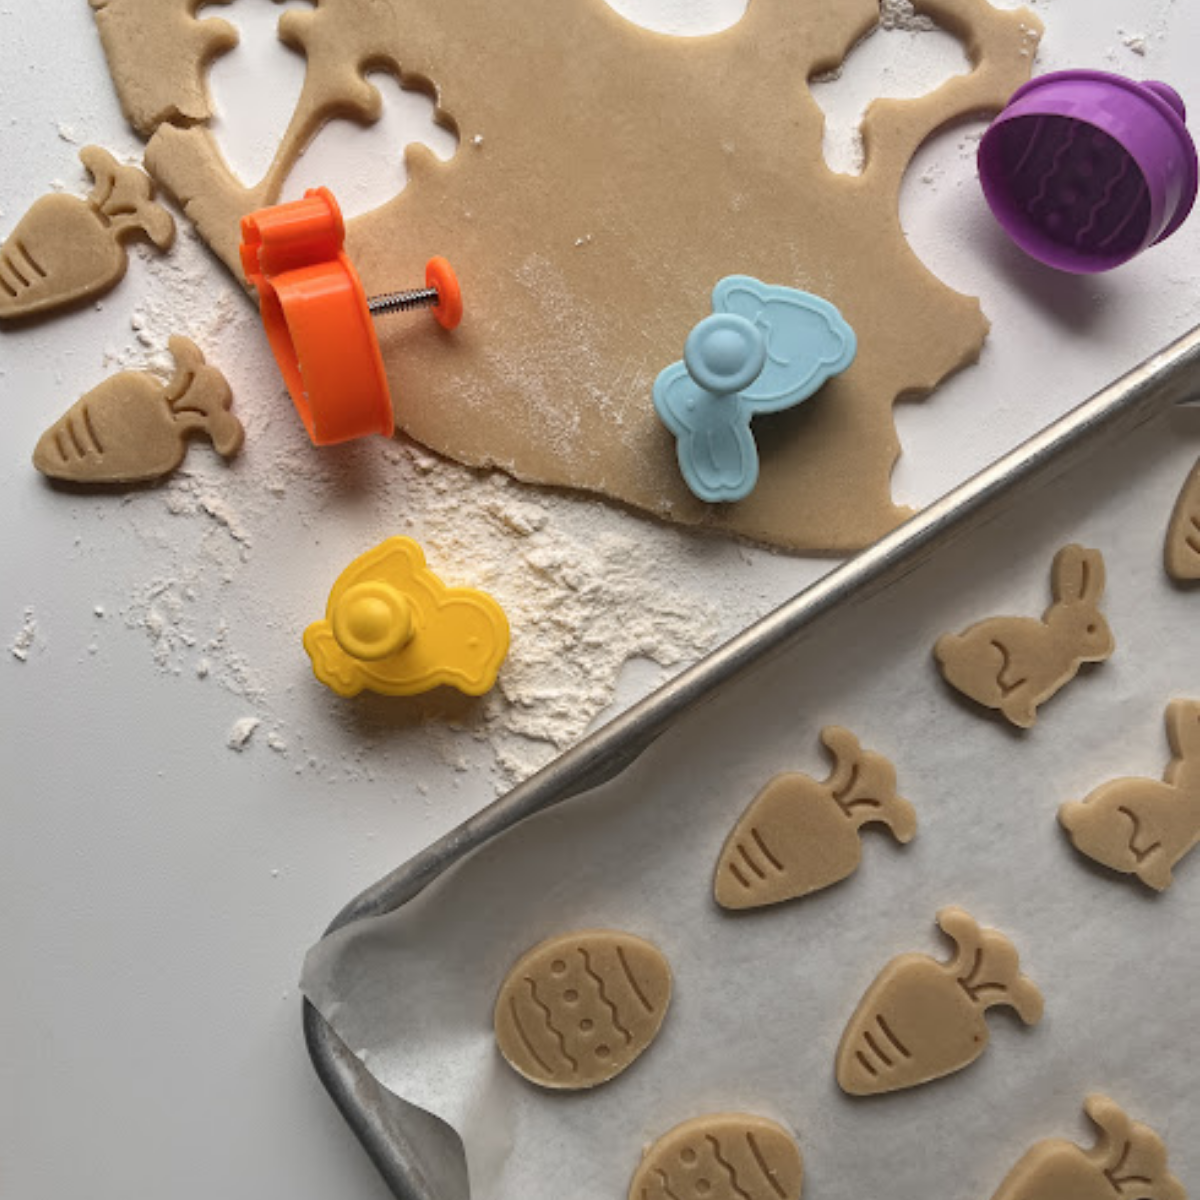
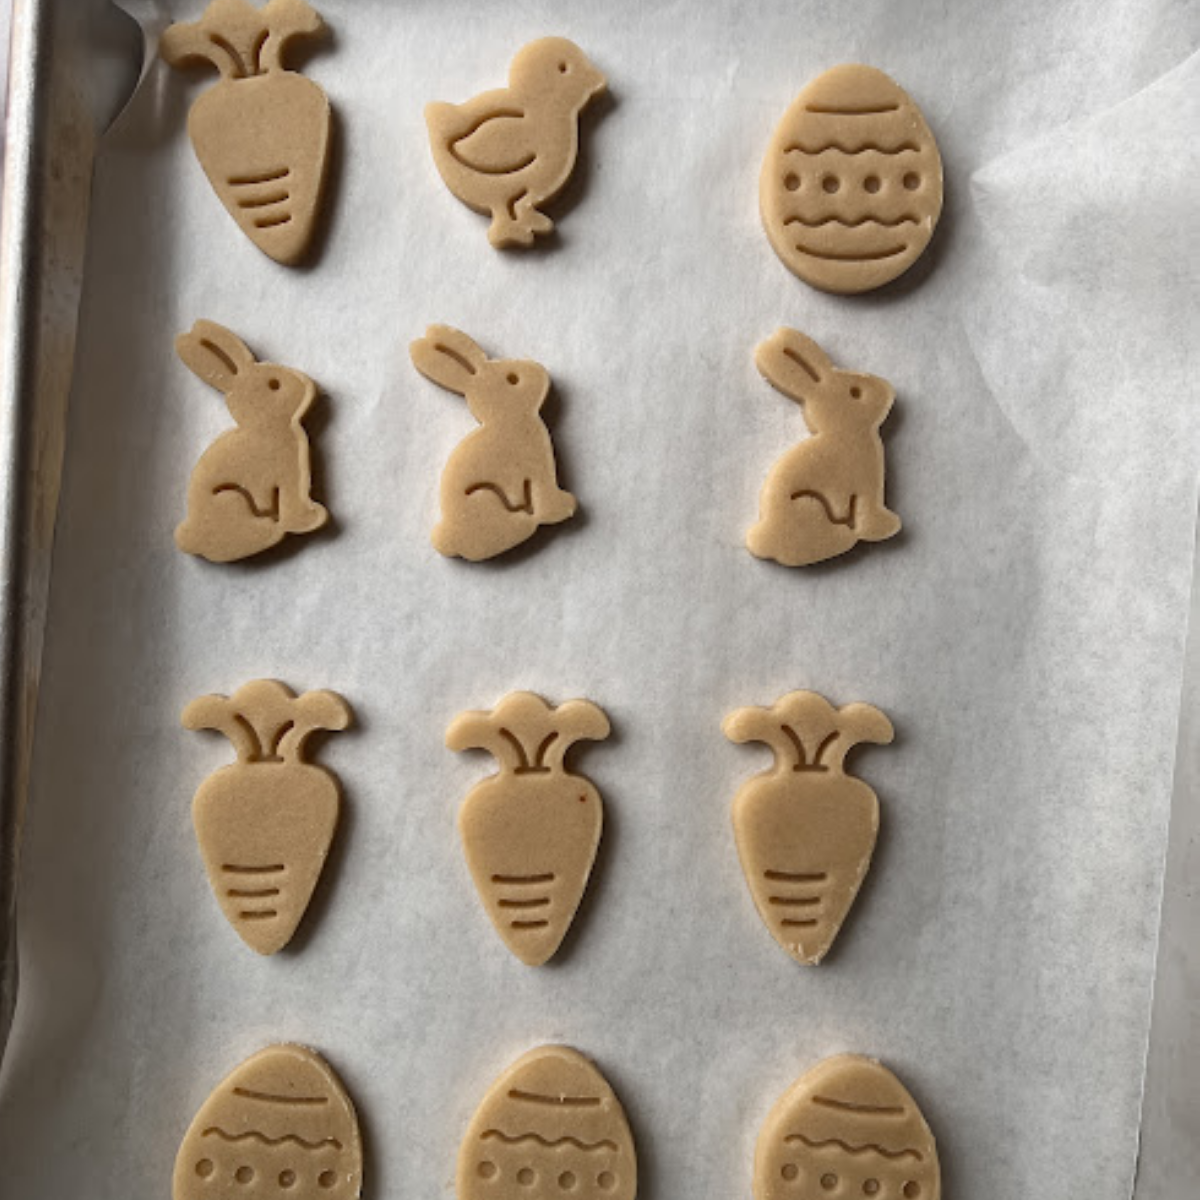
If you want your cookie dunker cups to look extra cute and seasonal, try using plunger style cookie cutters. These cutters press a small design into the dough before baking. The imprint stays on the cookie after it bakes. Even without icing, the cookies look detailed and festive.
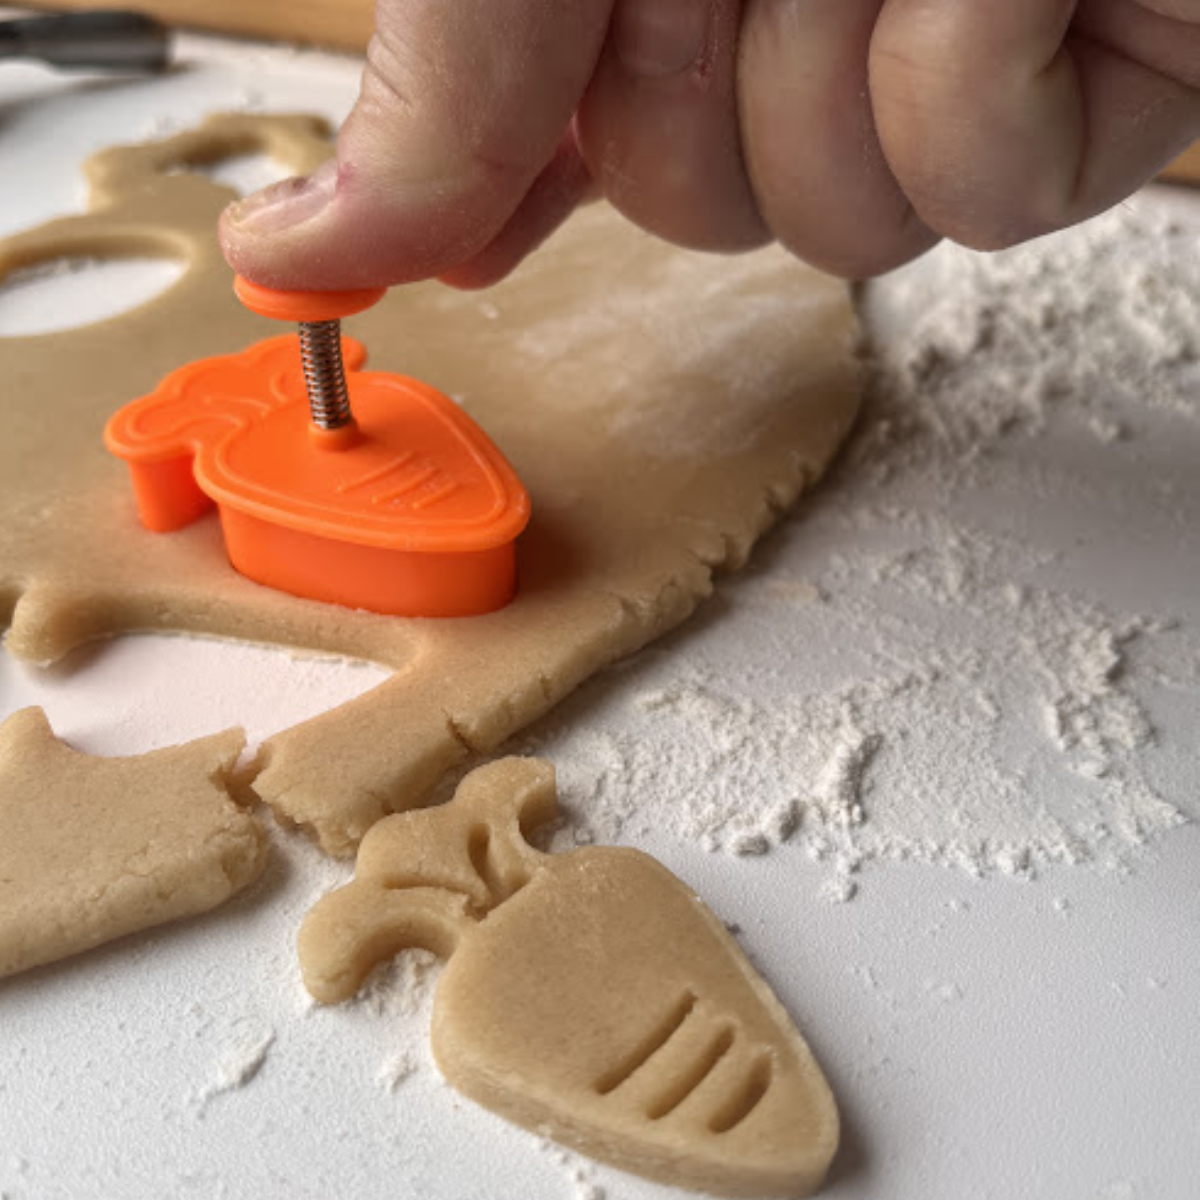
You don’t have to use plunger cutters, but they make your cookie dunkers look more polished.
It also helps to roll your dough to an even thickness. When the cookies are the same thickness, they bake evenly and look more professional inside your packaging.
Ingredients for Cookie Dunkers Recipe
Rolled Sugar Cookie Ingredients
This is a great cookie recipe to use for any type of cut out cookie because it holds it shape so well.
Unsalted butter – Works best at room temperature so it creams smoothly with the sugar.
Granulated sugar – Gives structure and keeps the edges slightly crisp.
Egg – Use a large egg at room temperature for even mixing.
Vanilla extract – Adds classic sugar cookie flavor. Use pure vanilla if possible.
Almond extract – Optional, but gives that subtle bakery-style taste.
All-purpose flour – All-purpose flour works perfectly here. Measure carefully.
Cornstarch – Helps the cookies stay soft while holding their shape.
Salt – I use regular iodized table salt for consistent flavor.
Buttercream Frosting Ingredients
Unsalted butter – Softened butter whips up smooth and fluffy.
Powdered sugar – Creates structure and sweetness in the frosting.
Vanilla extract – Keeps the flavor simple and crowd-friendly.
Salt – Balances the sweetness. Just a pinch makes a difference.
Milk – Adjusts the consistency so the frosting is creamy and pipeable.
You can find the full ingredient amounts and step-by-step instructions in the recipe card at the bottom of this post.
Supplies for Cookie Dunker Cups
Here are all of the products I use to get the look you see in the photos.
Cookie Cutters
Mini cookie cutters work best so they fit easily into the packaging.
Some of my favorite seasonal sets include:
Easter cookie cutter set (pictured)
Valentine’s cookie cutter set
Christmas cookie cutter set
Shamrock cookie cutter set
Packaging for Cookie Dunker Cups
Clear packaging is what makes cookie dunker cups so eye-catching.
12 oz parfait cups with lids
These separate the frosting from the cookies and stack neatly for transport.
Mini loaf pans with clear lids
These give a bakery-style presentation and look beautiful on display tables.
2 ounce soufflé cups with lids
Perfect for holding frosting inside any packaging option.
Cellophane treat bags
Great for bundling a smaller set of cookies with a frosting cup attached.
How to Make Cookie Dunkers
Make the Sugar Cookie Dough
In a stand mixer, cream the butter and sugar together until just combined and slightly fluffy.
Add the egg and extracts and mix until smooth.
In a separate bowl, whisk together the flour, cornstarch, and salt. Slowly add the dry ingredients to the mixer and mix just until a soft dough forms.
Roll the dough between two sheets of parchment paper to an even thickness of about ¼ inch.
At this point, you can refrigerate the rolled dough for up to two days or freeze it for later. If you want to bake right away, you can skip chilling. This dough works both ways.
Cut and Bake
Preheat your oven to 350°F.
If the dough has been chilled, let it sit at room temperature for 20 to 25 minutes so it is easier to cut.
Use mini cookie cutters or plunger style cutters to press shapes into the dough.
If your cutter sticks, dip it lightly into cornstarch before pressing into the dough.
If you have handled the dough a lot and want extra crisp edges, place the cut-out cookies in the refrigerator for 5 to 10 minutes before baking.
Bake for 8 to 10 minutes in a 350 degree oven, just until the cookies are set but still pale. Do not let them brown.
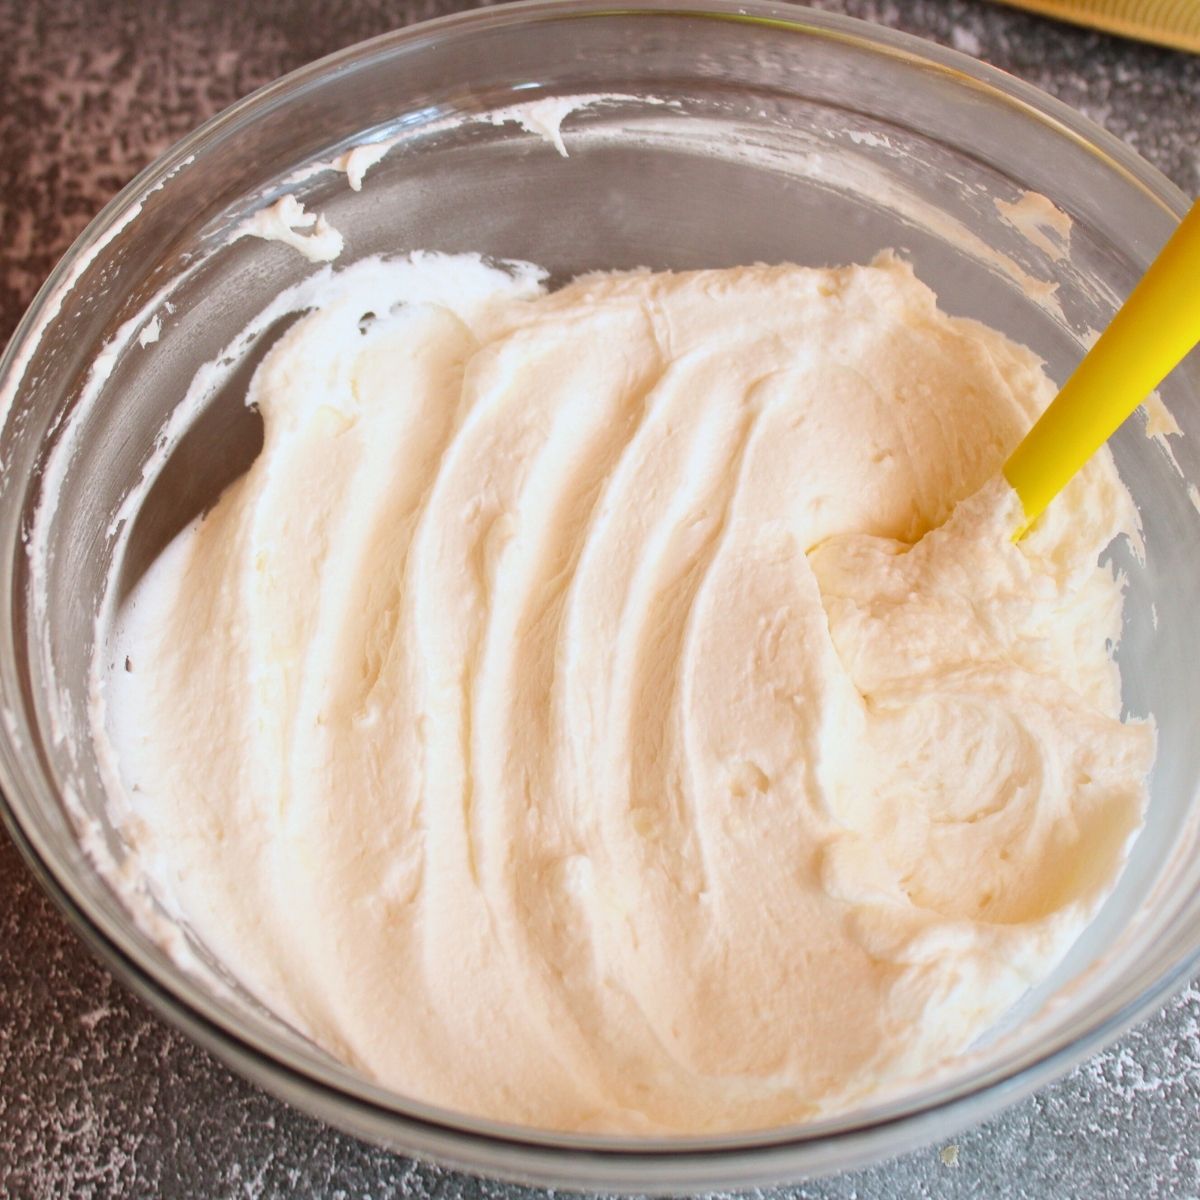
Make the Frosting
In a stand mixer, or using an electric mixer, beat softened butter until smooth and creamy.
Add powdered sugar, vanilla, salt, and milk. Mix on low at first, then increase speed and beat until light and fluffy.
The frosting should be smooth and easy to spoon or pipe.
Note for Cottage Bakers: If you live in a state where dairy-based frostings are not allowed under cottage food laws, use a shelf-stable frosting instead.
Assemble the Cookie Dunker Cups
Place cookies into your chosen packaging.(The one I'm using holds about 5-6)
Add about 1½ ounces of frosting into a 2 ounce soufflé cup or the top compartment of a parfait cup.
Seal with a lid and decorate for the season.
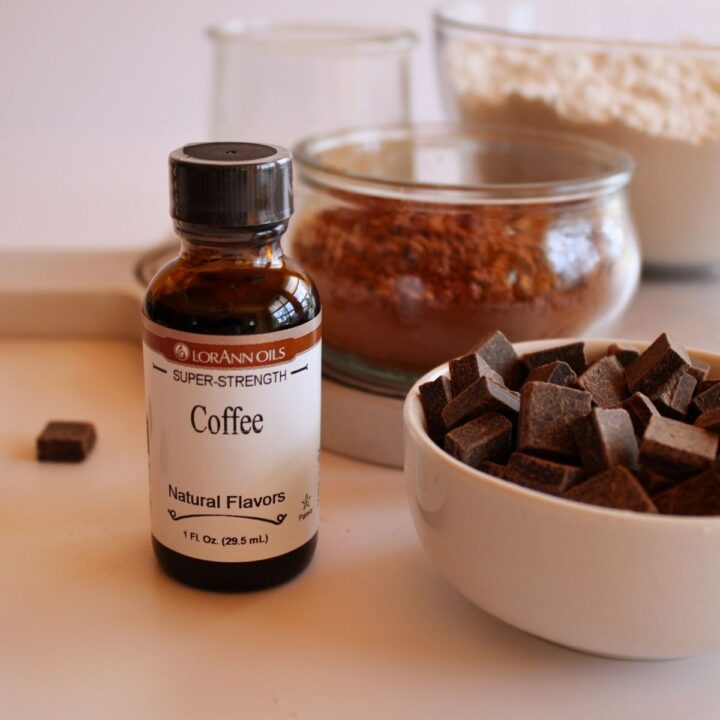
Flavor Variations for Cookie Dunkers
For more variety, try swapping out the frosting flavors.
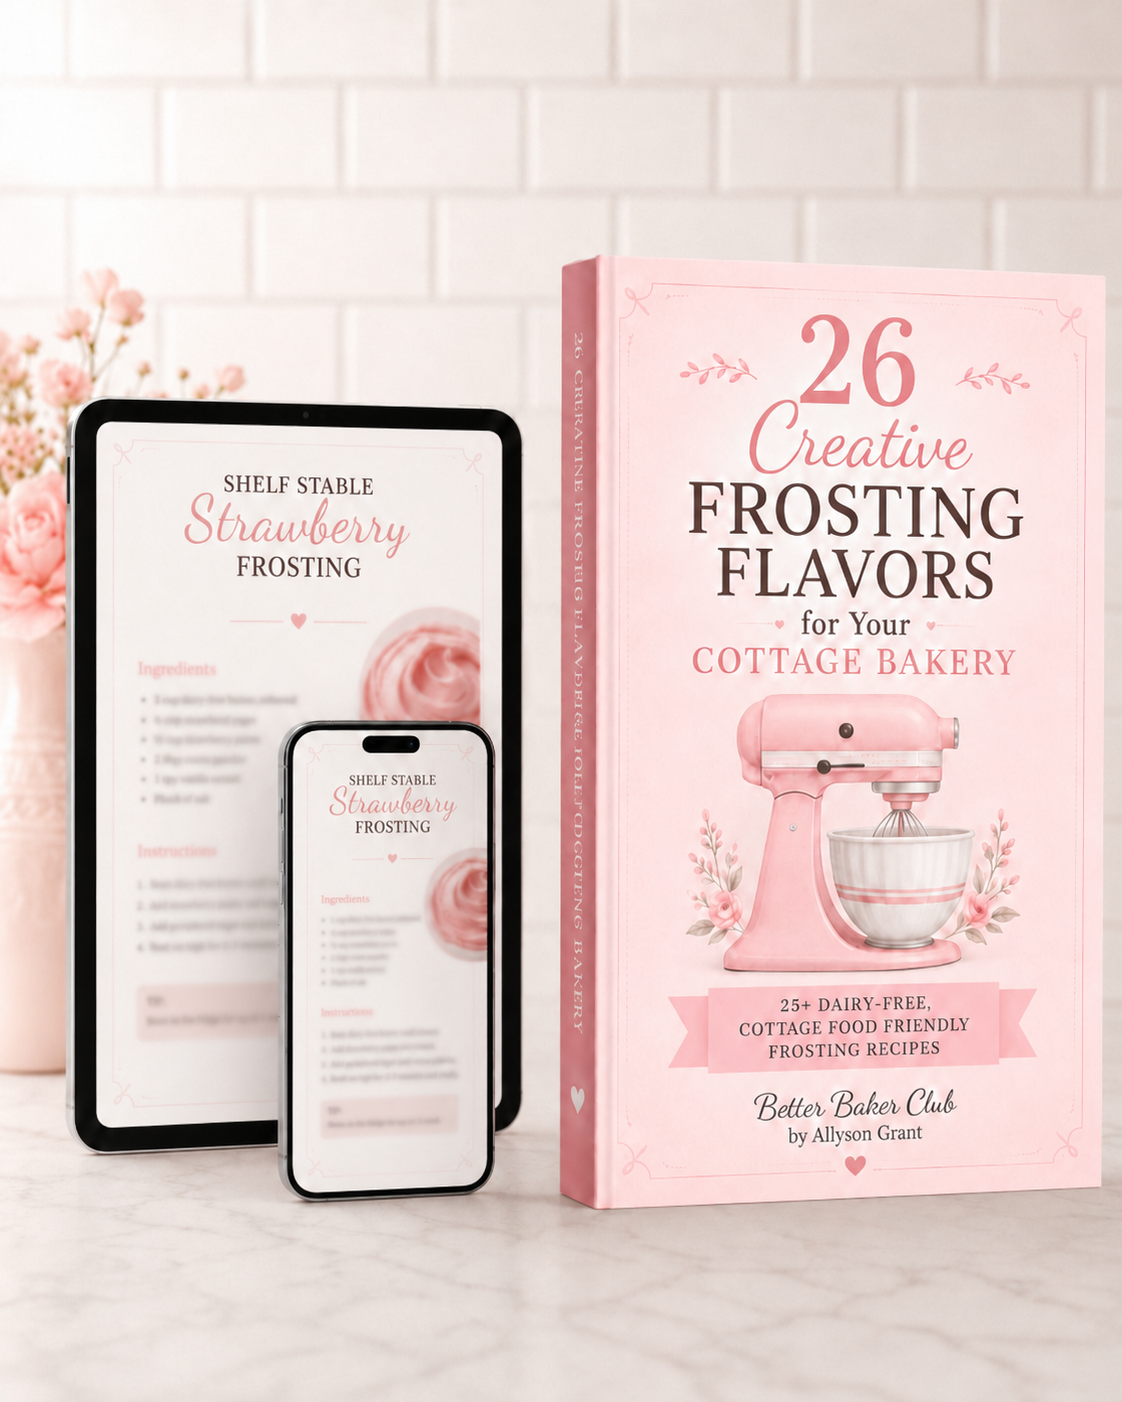
Want More Frosting Recipes?
Get 26 shelf-stable frosting recipes you can use for cakes, cupcakes, cookies, and more!
Download the complete frosting collection today for only $5.
You can also swap the cookie dough for a chocolate chip cut out cookie.
Storage and Make Ahead Tips
- Sugar cookie dough can frozen for up to 3 months or refrigerated for up to two days
- Buttercream can be made one day ahead and stored in the refrigerator. Let it come to room temperature and rewhip before using.
- Baked cookies stay fresh for 3 to 4 days in an airtight container.
No-Chill Sugar Cookies That Hold Their Shape!
Equipment
- Hand-held mixer
- Stand Mixer
Ingredients
- 1 cup 2 sticks unsalted butter, softened to room temperature (227g)
- 1 cup white sugar 200g
- 1 large egg
- 1 tablespoon vanilla extract
- ½ teaspoon almond extract
- 3½ cups all-purpose flour 500g
- 1 tablespoon cornstarch
- ¼ teaspoon salt
Instructions
Preheat and Prepare
- Preheat oven to 350°F (180°C). Line baking sheets with parchment or silicone mats.
Cream the Butter and Sugar
- In a large bowl, cream butter and sugar with a mixer on medium speed until light and fluffy (2–3 minutes).
Add the Egg and Extracts
- Beat in the egg, vanilla, and almond extract until well combined.
Combine Dry Ingredients
- Whisk flour, cornstarch, and salt in a separate bowl. Gradually mix into the wet ingredients until a soft dough forms.
Roll and Cut
- Roll dough between two sheets of parchment to ¼ inch thickness. Cut into shapes and place on prepared baking sheets.
Bake and Cool
- Bake for 8–10 minutes until edges are just set. Cool 5 minutes on the pan, then transfer to a wire rack.
Decorate
- Once completely cooled, decorate with your favorite icing.
Notes
- No chill time needed. That’s right—none! You can roll, cut, and bake right after mixing the dough.
- Roll them slightly thick. I like to roll the dough to about ¼ inch or even a little thicker. It gives you a soft center with just the right amount of structure for decorating.
- Don’t wait for browning. These cookies should come out when they’re just set in the center. If the edges start to brown, they’ve gone too far.
- Freezing the dough is a breeze. Roll it between two sheets of parchment, wax paper, or plastic wrap, then lay the slabs flat on a cookie sheet and freeze. Once frozen, stack or store them in a freezer bag. When you’re ready to bake, just pull out a slab, cut your shapes, and pop them in the oven—no thawing required.
- Freeze baked cookies too. After baking and cooling, you can freeze the undecorated cookies in a single layer, then transfer them to a freezer bag. When you’re ready to decorate, let them thaw on a paper towel to soak up any moisture.
- Watch your bake time. I bake mine at 350°F for about 10 minutes, but every oven is different. Smaller cookies may take 8 minutes, larger ones up to 11. You’re looking for a cookie that’s set but still pale.
Buttercream Frosting for Cookies
Ingredients
- 1 cup unsalted butter softened to room temperature
- 3 cups powdered sugar sifted
- 2 teaspoon vanilla extract or 1 teaspoon vanilla + ½ teaspoon almond extract for bakery-style flavor
- 1-2 tablespoon milk or heavy cream
- Pinch of salt
Instructions
- In a large bowl with a handheld mixer or stand mixer fitted with the paddle attachment, beat butter on medium speed until smooth and creamy (about 2 minutes).
- Reduce to low speed and gradually add powdered sugar, mixing until incorporated. Scrape down the sides of the bowl as needed.
- Mix in vanilla and salt.
- Increase to medium speed and beat until fluffy. Add milk or cream, one tablespoon at a time, until frosting is spreadable but stiff enough to pipe.
Notes
More Delicious Cookie Recipes to Try
Bakery Style Chocolate Chip Cookies
Chocolate Fudge Brownie Cookies
Sourdough Chocolate Chip Cookies
Want More Frosting Recipes?
Get 26 shelf-stable frosting recipes you can use for cakes, cupcakes, cookies, and more!
Download the complete frosting collection today for only $5.
Erica Rabe says
Do you have a recipe for the cookies?
Ann says
I am not seeing the pics, links or list as described. Am I missing it somehow?
Michelle says
@Ann, I was thinking the same thing!
Judy says
Please send me the recipe for the cookie dunkers and icing.
Virginia says
Wondering do you shared the cookie and icing recipe
Better Baker says
Thank you for asking! I've just updated the post to include the cookie and frosting recipe.
Better Baker says
The Cookie dunkers post has been updated to include the recipe for cookies and icing. Thank you for asking!
Better Baker says
Thanks for asking. The recipes are now part of the post!
Better Baker says
Thank you for asking! I've just updated the post to include the cookie and frosting recipe.
Better Baker says
Thank you for asking! I've just updated the post to include the cookie and frosting recipe.
jaime says
What kind of price do you charge for something like this in your area?
Nonya says
This is very appealing and I'm going to give it a try for a fundraiser. Is refrigeration required? How do you cover the "dipping topper"?
Jackie B. Austin, TX says
thank you for sharing your recipes. Would you also share where we can find/purchase your cookie cutters you show in this cookie dunker post?
Lachelle says
Tysm for sharing, I plan on making this for an upcoming farmers market, what is the shelf life regarding the frosting.
Patricia Brewer says
Do you have a link for your cutters? They are adorable!
Julie says
Where did cookie cutters come from?
Kat says
Morning Sally,
Do you have any suggestions for a kitchen sanitizer that would be approved for the bakery.