


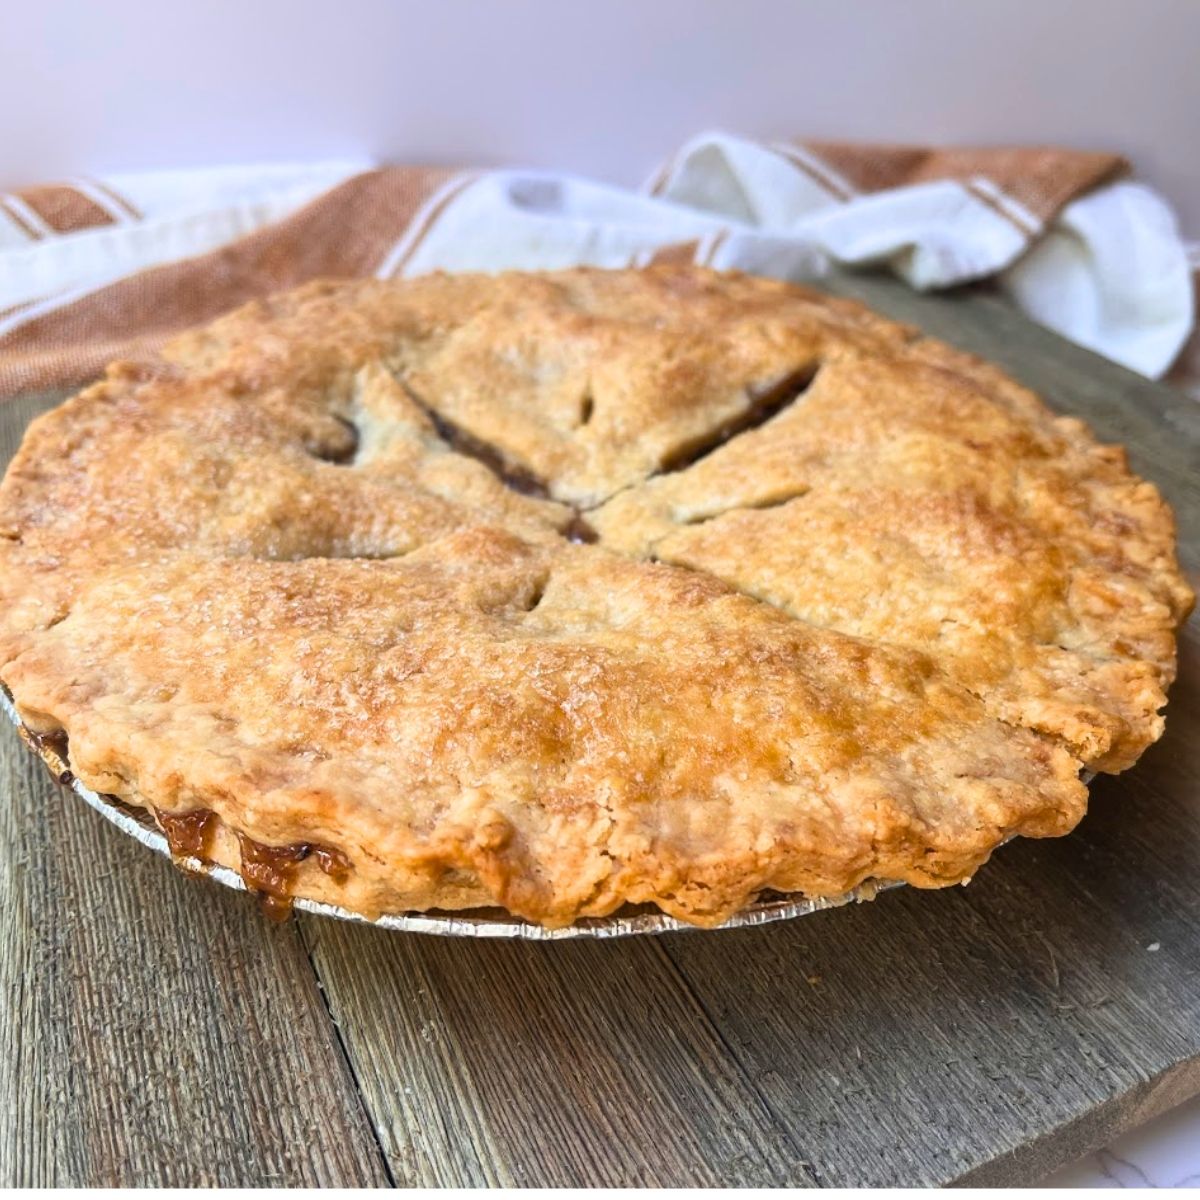
Last Thanksgiving, I made all my crusts the night before, and it was the main reason that my dessert baking felt stress-free. In fact, chilling your dough is one of the best ways to guarantee a crust that bakes up golden brown instead of tough and dense.
In this post, we’ll walk through:
- Why chilling pie dough matters
- How to properly store it
- The best way to roll it out the next day
- What kinds of pies benefit most from overnight refrigeration
Whether you’re making pumpkin pie for Thanksgiving, apple pie for a Sunday supper, or a double-crust fruit pie in the summer, these tips will set you up for success.
If This Is Your First Time Making Pie Crust…
Don’t stress. The secret to a tender pastry isn’t complicated. All you need is cold butter, a light hand, and giving the dough time to rest. Even pros rely on these same basics.
I still remember my first attempt: I added way too much water, and the dough turned sticky. Lesson learned! Less is more when it comes to hydration. With practice, you’ll be pulling out bakery-level pies in no time.

Why Refrigerating Pie Crust Overnight Works So Well
1. It Keeps the Butter Cold
A good pie crust starts with cold butter (or shortening). When you refrigerate the dough overnight, those little bits of fat firm back up. The result? Flaky, crisp layers that puff slightly when they hit the oven’s heat.
2. It Lets the Gluten Relax
Mixing flour and water creates gluten, which can make your crust chewy. Allowing the dough to rest in the fridge gives that gluten time to relax. This means when you grab your rolling pin, the dough won’t fight back or shrink in the pie plate.
3. It Helps the Dough Hydrate
Pie dough is just flour, fat, and cold water. Its made of simple ingredients, but they need time to come together. Overnight rest allows the flour mixture to fully absorb the water, leading to a dough that rolls out smoothly without cracking.
Think of it like cookie dough. Most of us have heard how chilling chocolate chip cookie dough deepens the flavor... pie dough benefits from a similar pause, only it’s all about texture.

How Long Can You Refrigerate Pie Crust?
- Overnight (12–24 hours): Ideal. This gives the dough enough time to rest without drying out.
- Up to 2 Days: Still safe, but you may need to let the dough soften a bit at room temperature before rolling.
- Longer than 3 Days: The dough can start to discolor and develop a slightly sour smell. If you want to keep it longer, the freezer is your friend.
I once left a batch in the fridge for five days and thought I could get away with it, but nope. The crust baked up flat and tasted off. Lesson learned: stick to the 2–3 day rule or freeze it instead.
Step-by-Step: How to Refrigerate Pie Dough Overnight
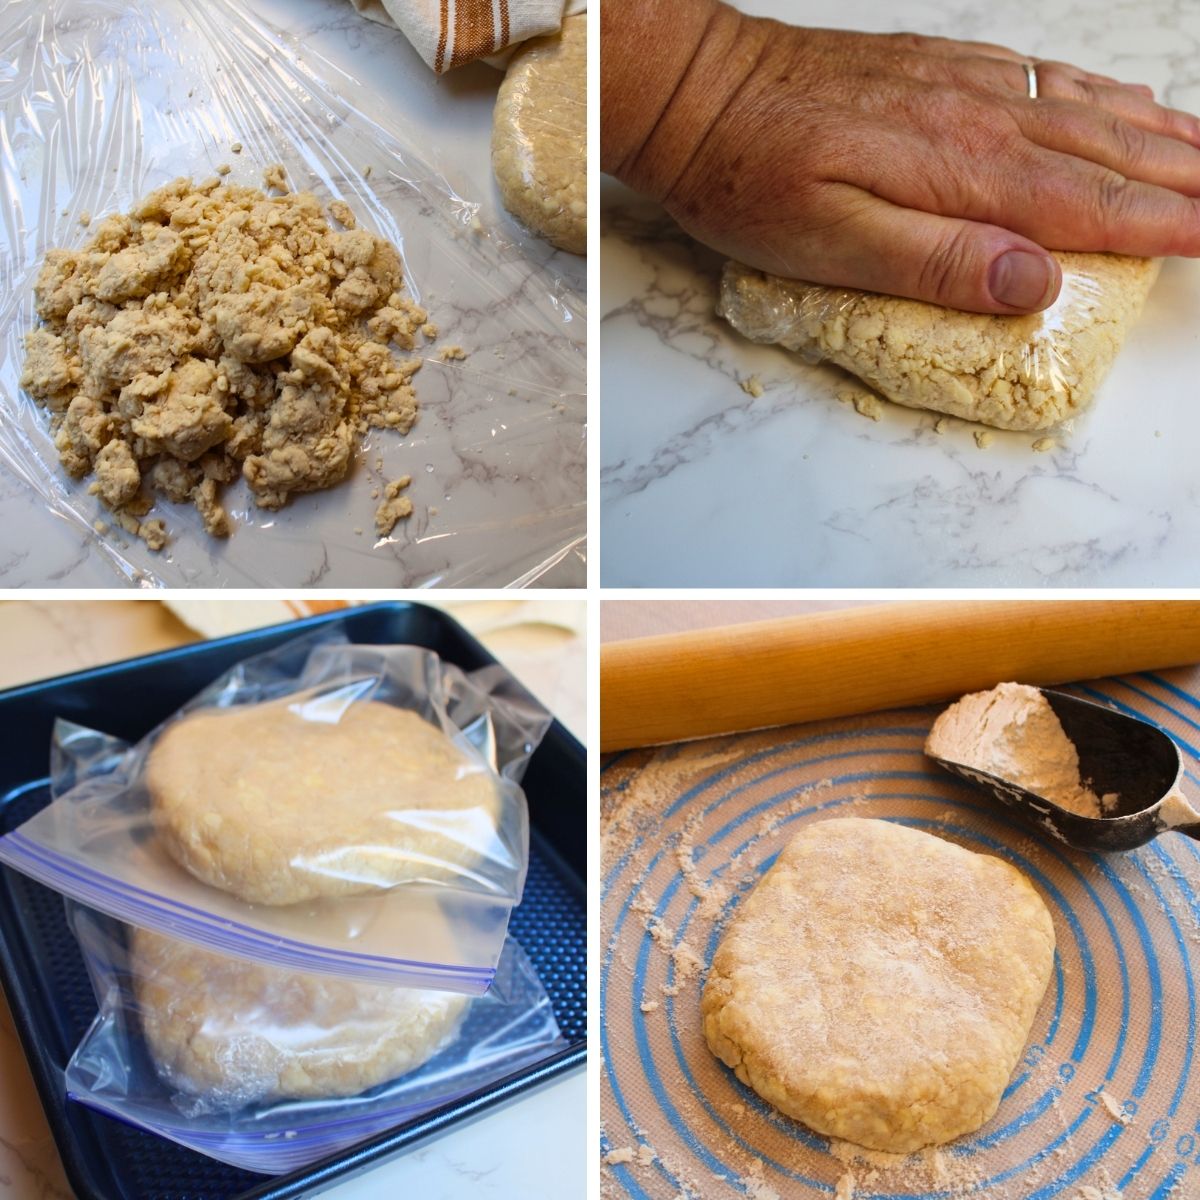
- Shape Into a Disk
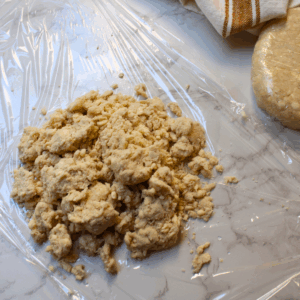
After mixing, form the dough into a flat, round disk. A smaller disk chills faster and is easier to roll than a ball. - Wrap Well
Use plastic wrap first, pressing it snug against the dough. Then, for extra insurance, place the wrapped dough into a freezer bag or airtight container. - Refrigerate
Place the dough in the coldest part of your fridge (usually the back, not the door). Aim for at least 2 hours before rolling, but overnight is best. - Bring to Room Temp (Briefly)
If the dough is rock hard the next day, let it sit at room temperature for 10–15 minutes before rolling. Don’t let it warm too much or you’ll lose that cold-butter magic.
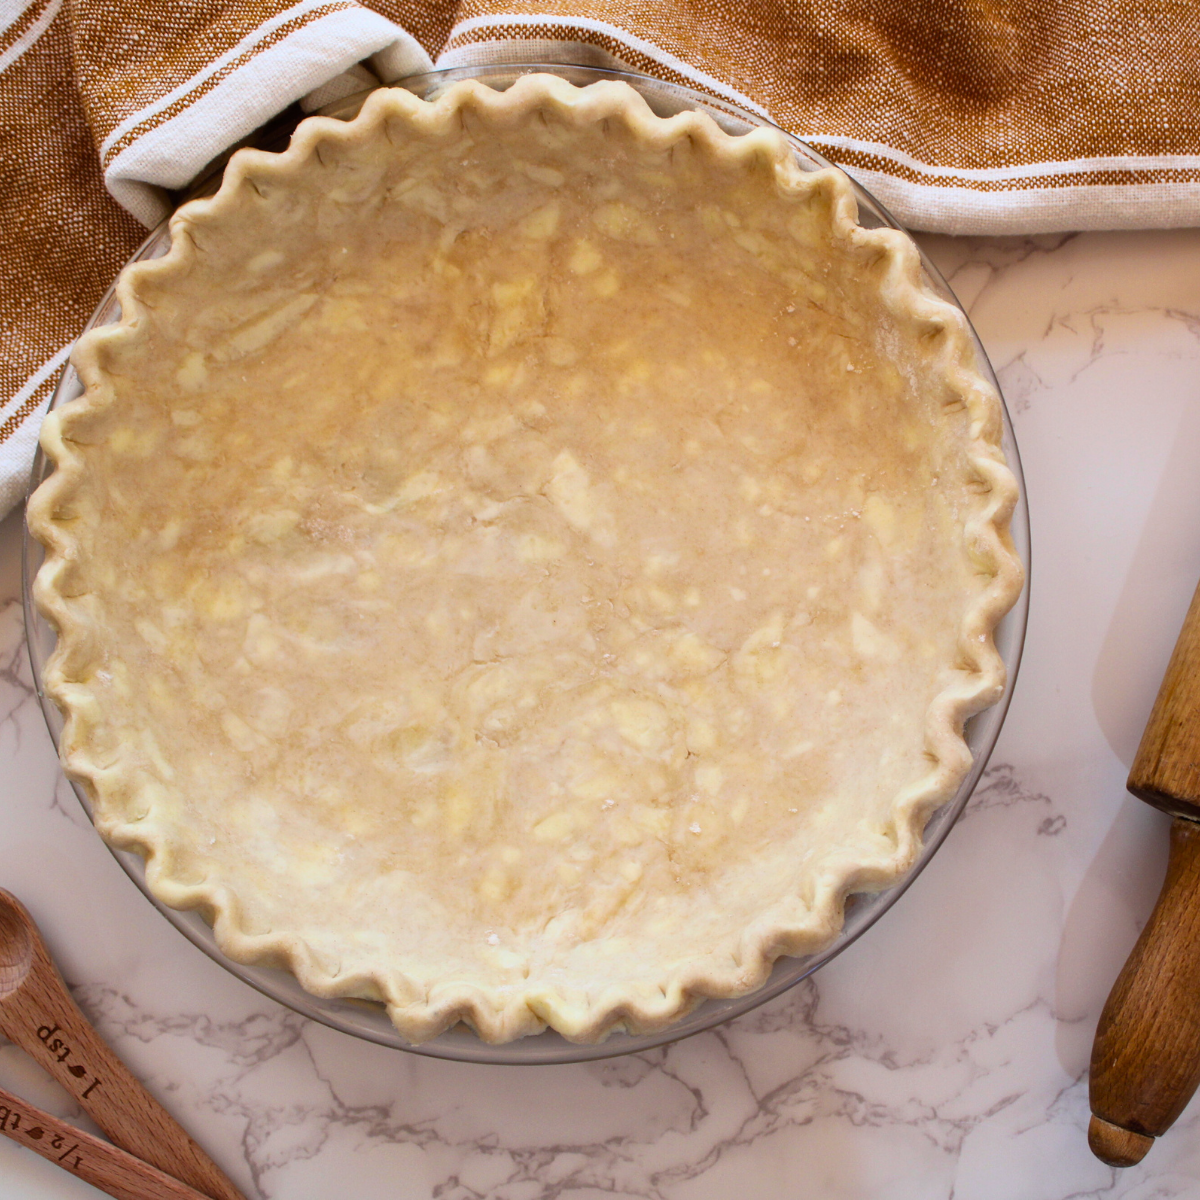
Rolling Out Pie Crust After Refrigeration
When you’re ready to bake, lightly flour your work surface and rolling pin. Start from the center of the dough and roll outward, turning the dough a quarter turn every few strokes. This keeps the disk even and prevents sticking.
- Use a light dusting of flour. Too much flour can turn your crust tough, too little and it sticks.
- Rolling between parchment layers makes transferring the dough to the pie plate much easier.
- If cracks appear, just press them back together.
I’ve patched many cracks with my fingertips, and the pie still bakes up beautifully. Nobody notices once it’s filled and baked.
- If the dough feels dry, sprinkle on a little water and let it sit for a dough rest before rolling again.
Make-Ahead Pie Crust for the Holidays
The beauty of refrigerating pie crust overnight is that it buys you time. Thanksgiving morning is no moment to fuss over dry ingredients and cold water measurements. By mixing the dough the day before, you give yourself a head start and can focus on fillings.
Last year I had six pies to bake in one day: apple, pumpkin, and even a lemon meringue pie. The only way I pulled it off was prepping all the dough the night before. Total sanity saver!
Best Pies to Make with Chilled Dough
- Pumpkin Pie: A custard-based pie that needs a blind baked pie crust.
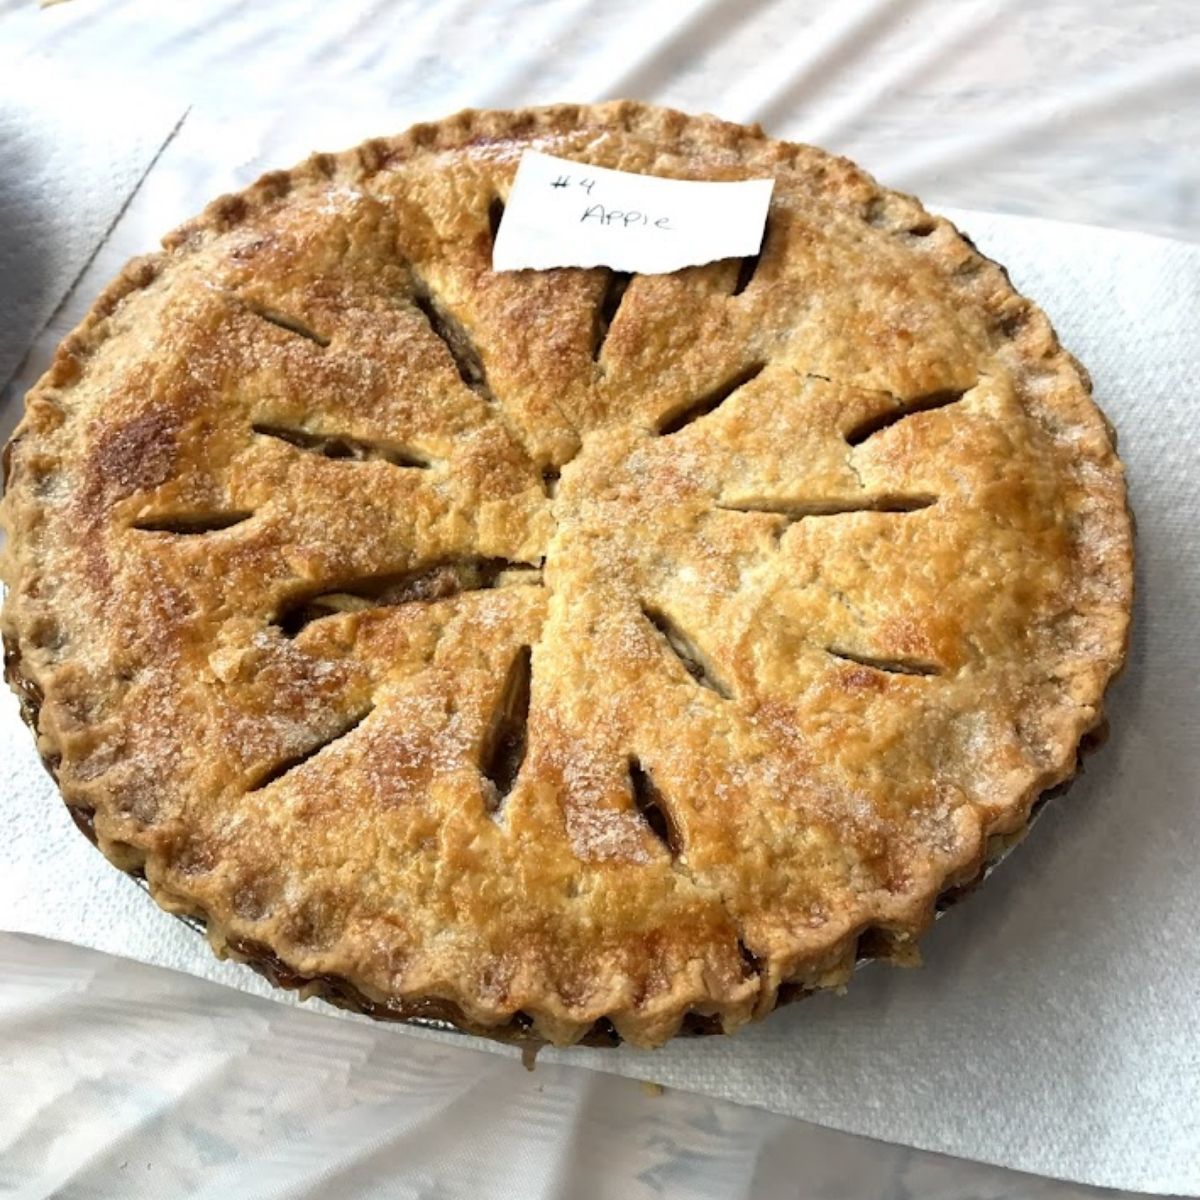
- Apple Pie: A double-crust pie benefits from firm pastry that holds up to juicy fruit.
- Pecan Pie: The rich, sticky filling contrasts beautifully with a crisp crust.
- Cream Pies: Banana cream or coconut cream pies also need a sturdy base, usually pre-baked.
- Savory Pies: Chicken pot pie or quiche also benefit from dough made ahead.
I could keep going...fruit pies in the summer, cream pies in spring, even savory meat pies in winter. Truly, chilling dough overnight works no matter the type of pie or time of year.
Can You Freeze Pie Dough Instead?
Yes! If you’re not baking for a few days, the freezer is the best option.
- To freeze unbaked dough: Wrap your disk in plastic wrap, then aluminum foil, and place in a freezer bag. It keeps for up to 3 months.
- To freeze rolled-out crust: Fit the dough into a pie pan, wrap the entire pie plate in plastic wrap and foil, and freeze. Bake straight from frozen. No need to thaw.
Avoiding Common Mistakes When Refrigerating Pie Crust
- Don’t leave it uncovered. Exposure to air dries out the dough, leading to cracks.
- Don’t let it sit too long. After 3 days, the butter begins to break down.
- Don’t roll it too soon. Give the dough at least 2 hours to chill; otherwise, you’ll end up with a tough crust.
- Don’t skip blind baking for custard pies. Custard fillings like pumpkin or lemon meringue need a crisp base. Use parchment paper and pie weights to blind bake.
Recommended Tools for the Perfect Pie Crust
You don’t need a huge kitchen or expensive gadgets to make a tender, golden pie crust, but these tools make the process smoother and more reliable. I’ve linked my favorite versions so you can grab exactly what you need.
- Large Mixing Bowl or Stand Mixer
A roomy mixing bowl is all you need if you prefer to work by hand. For a quicker option, a stand mixer with the paddle attachment cuts butter into flour without overworking the dough. This stand mixer is a long-term investment that I use weekly. - Pastry Cutter or Food Processor
The classic tool for pie crust is a pastry cutter. It keeps the butter cold and gives you full control over the dough texture. If you bake often, a food processor is worth it because it makes dough in under a minute. Try this pastry cutter for beginners or this food processor if you want to save time. - Rolling Pin
A sturdy rolling pin helps you get even thickness and prevents cracks when you roll your pie crust dough. I like a wooden French-style pin because it’s lightweight and easy to maneuver. Here’s my favorite rolling pin that I recommend for both cookies and pies. - Pie Plate or Tart Pan
Glass and ceramic pie plates are best because you can see when the bottom of the pie has browned. A tart pan with a removable base works beautifully for custard pies and lemon meringue. I suggest this glass pie plate for everyday use and this tart pan for more delicate desserts. - Parchment Paper & Pie Weights
If you plan to blind bake for pumpkin, cream, or custard pies, you’ll need parchment paper and pie weights. They prevent the crust from puffing or shrinking. You can use dried beans, but these reusable pie weights are cleaner and easier to store.
FAQ: Refrigerating Pie Crust Overnight
Q: Can I roll out my pie crust the night before and leave it in the fridge?
Yes! You can roll the dough, fit it into the pie plate, cover it tightly, and refrigerate overnight. Just wait to add the filling until right before baking so the crust doesn’t get soggy.
Q: What if I left my pie dough out on the counter overnight?
Sadly, it’s best to toss it. Dough made with butter can spoil if left out too long, and there’s a risk of food poisoning. Always refrigerate or freeze your dough for safe storage.
Q: Will my pie dough dry out in the fridge?
Not if you wrap it well. Press plastic wrap directly against the dough, then tuck it in an airtight bag or container. If it does feel dry when rolling, let it rest a few minutes and sprinkle on a little water.
Q: Can you refrigerate a double-crust pie overnight before baking?
Yes. Assemble the pie, crimp the edges, and cover loosely. Chilling helps the top crust hold its shape, which is especially important for apple or other fruit pies.
Q: Do I need to blind bake if I’m making pumpkin or cream pies?
Yes. Custard fillings like pumpkin, cream, or lemon meringue pies need a crisp base. Line the crust with parchment, pour in pie weights, and bake before filling. Read more on blind baking here.
Q: How long can I keep pie dough in the fridge?
Up to 2 days. After that, move it to the freezer.
I’ve pushed it to day three before and the flavor definitely suffered. Freezer storage is a safer bet if you’re planning ahead for a long time.
The Best Way to Prep Pie Crust Overnight
So, can you refrigerate pie crust overnight? Absolutely. In fact, it’s one of the best tricks for achieving a tender, flaky crust without last-minute stress.
Every time I prep my dough a day ahead, I end up with a better crust and a calmer baking day. Honestly, it’s the first thing I recommend to new bakers , and the one habit I’ll never skip again.
Next time you’re baking a holiday pie, whether it’s apple, pumpkin, pecan, or a savory chicken pot pie, don’t hesitate to make your crust the day before. Wrapped tightly and chilled, the dough will roll out easily, bake up beautifully, and save you precious time.
Overnight Pie Crust (Make-Ahead Friendly)
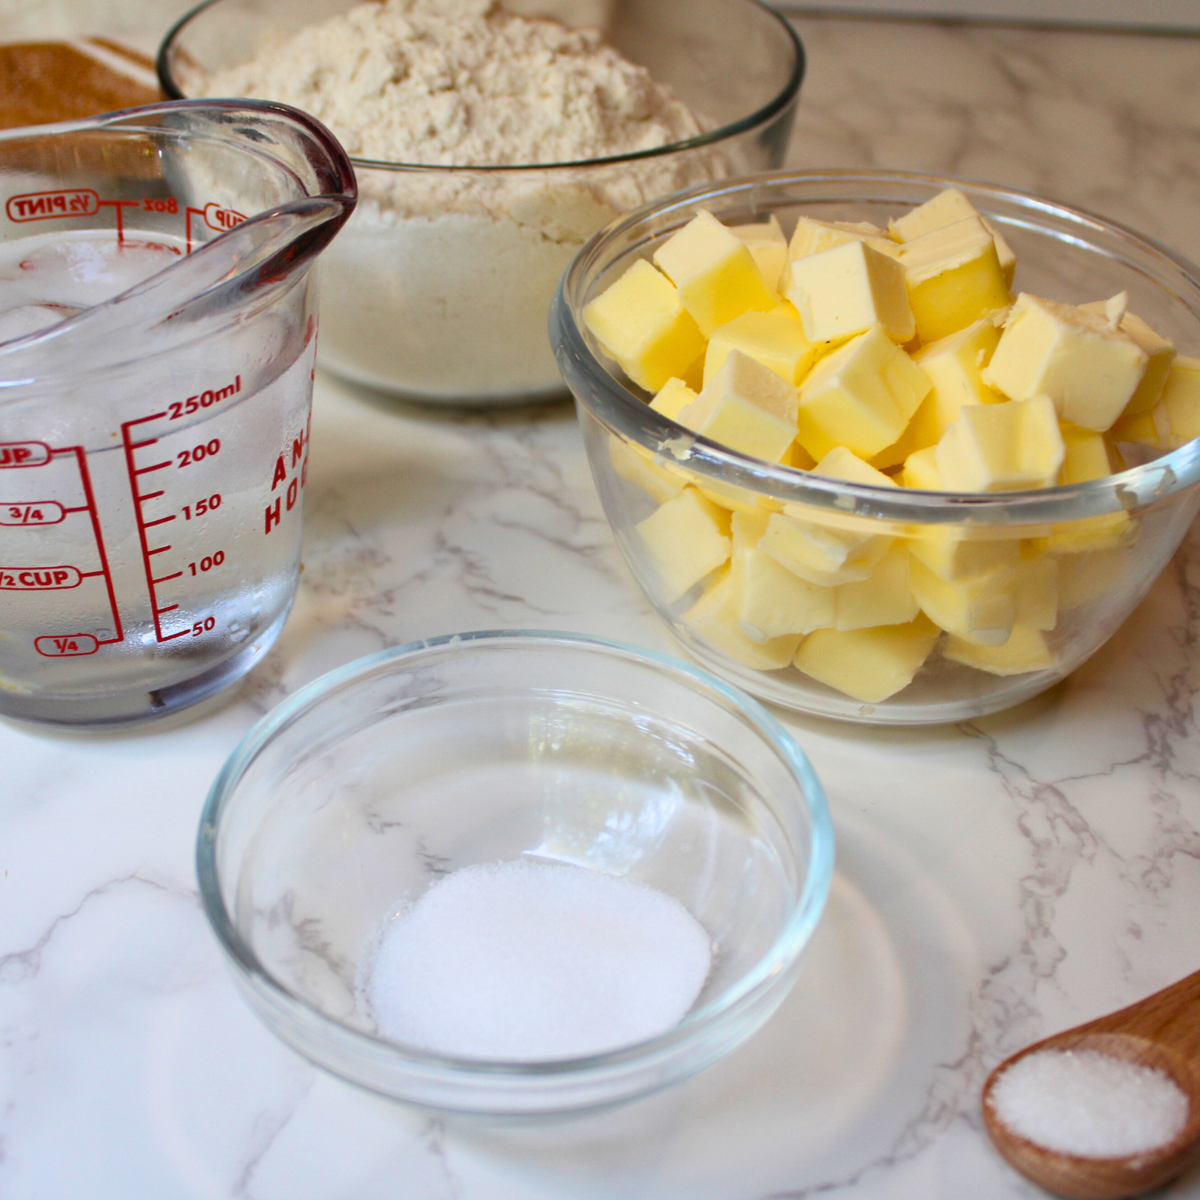
Ingredients
- 2 ½ cups all-purpose flour
- 1 teaspoon salt
- 1 teaspoon sugar optional, for sweet pies
- 1 cup 2 sticks cold butter, cut into cubes
- ½ cup ice water add more ice water 1 tablespoon at a time as needed.
Instructions
- In a large bowl, whisk together flour, salt, and sugar.
- Add cold butter. Cut it in with a pastry cutter or pulse in a food processor until mixture resembles coarse crumbs.

- Slowly drizzle in ice water, mixing just until dough holds together. Do not overwork.

- Divide dough into two disks. Wrap each tightly in plastic wrap.
- Refrigerate for at least 2 hours, or overnight.
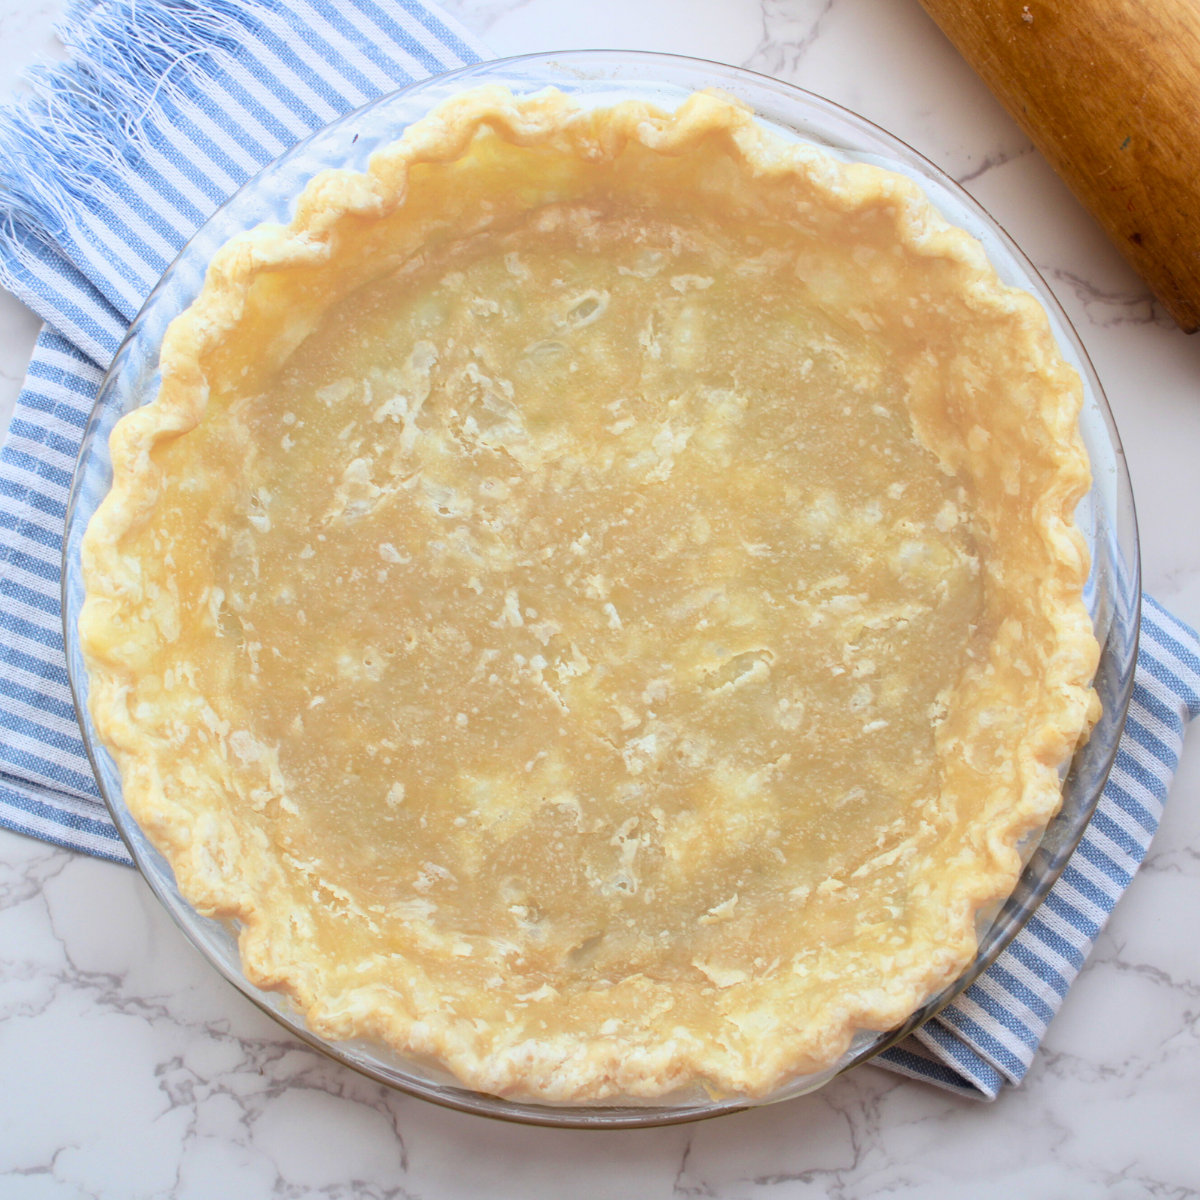
- When ready to use, roll out on a lightly floured work surface. Fit into a pie plate or tart pan as needed.

- Bake at 350℉. Partial blind bake (with parchment and pie weights)- 22 min. Full blind bake-remove pie weights after 22 min, bake additional 5 minutes. Or follow baking instructions for your pie filling of choice.
Notes
- Use a light dusting of flour. too much can turn the crust tough.
- Rolling between parchment layers makes transferring the dough to the pie plate much easier.
- If cracks appear, just press them back together.
- To freeze unbaked dough: Wrap your disk in plastic wrap, then aluminum foil, and place in a freezer bag. It keeps for up to 3 months.
- To freeze rolled-out crust: Fit the dough into a pie pan, wrap the entire pie plate in plastic wrap and foil, and freeze. Bake straight from frozen — no need to thaw.
- Give the dough at least 2 hours to chill; otherwise, you’ll end up with a tough crust.


Leave a Reply